
Related Manuals for Black & Decker BDASL101


Summary of Contents for Black & Decker BDASL101
- Page 1 BDASL101 BDASL102 BDASL103 BDASL201 BDASL202 BDASL203 Please have the model number available when you call.
- Page 2 IMPORTANT SAFETY INSTRUCTION SAFETY GUIDELINES - DEFINITIONS It is important for you to read and understand this manual. The information it contains relates to protecting YOUR SAFETY and PREVENTING PROBLEMS. The symbols below are used to help you recognize this information. DANGER: Indicates an imminently hazardous situation which, if not avoided, will result in death or serious injury.
- Page 3 DO NOT use the vacuum cleaner with DO turn off controls before you connect or blocked filters. Clean or replace filters disconnect the appliance to or from before continuing. (refer to User the mains supply. Maintenance section). DO disconnect the appliance from the DO NOT use the vacuum cleaner if the power supply when not in use, before changing the filters, cleaning the filters or...
- Page 4 IMPORTANT SAFETY INSTRUCTION CONT. READ AND SAVE THESE INSTRUCTIONS Symbols • The label on your tool may include the following symbols. The symbols and their definitions are as follows: V....volts A.....amperes Hz....hertz W....watts min ....minutes or AC..alternating current or DC ..direct current n o ....no load speed ....Class I Construction ....earthing terminal...
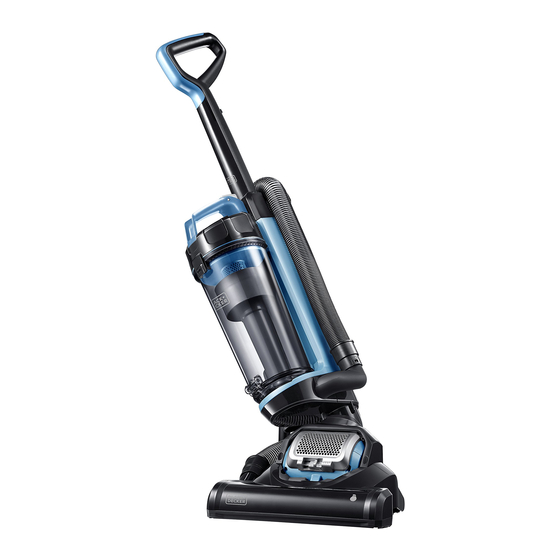
- Page 5 Dust cup release Connecting hose Power cord wrap Power on/off Nozzle...
- Page 6 Assembly Please Note: Always remove the plug from the power socket before fitting or removing accessories. Ensure all Filters are fitted, and fitted correctly before using. WARNING: DO NOT plug in your vacuum cleaner until you have completely assembled it per the following instructions and are familiar with all instructions and operation procedures.
- Page 7 Operation Twist the quick release cord hook to Step on the brush cover and pull back on release the power cord. handle, to engage for operation. Plug in your machine and push ON/OFF To maintain optimal performance, please button to switch ON/OFF. emtpy dust cup when debris reaches MAX FILL line.
- Page 8 The 2-in-1 crevice tool with brush allows for vacuuming in narrow and hard-to-reach places.
- Page 9 Maintenance And Care - Emptying WARNING: Turn off and unplug vacuum cleaner before performing maintenance to the vacuum cleaner. Emptying and cleaning the dust cup Press dust cup release Hold dust cup over garbage Close the base of the dust button to remove the dust bin and unclip the lock on the cup, align the cup base back...
- Page 10 Maintenance And Care - Cleaning Dust Cup Filter WARNING: Turn off and unplug vacuum cleaner before performing maintenance to the vacuum cleaner. 2. Open the dust cup 3. Remove the dust 1. Remove the dust cup. filter lid, located on the cup foam filter.
- Page 11 .&. W ARN ING: Turn off and unplug vacuum cleaner before performing maintenance to the vacuum cleaner. Carefully remove any string, hair or debris located on the brush roll. You can use a tool such as a small knife or scissors to remove and cut any hair or string.
- Page 12 Maintenance And Care - Cleaning Vacuum And Tools Do not clean the vacuum cleaner, components or accessories using petrol or any other flammable liquid or solvents, etc. Clean only the outside of the vacuum cleaner. Use only a moist cloth and mild detergent for cleaning the vacuum cleaner, components and accessories.
- Page 13 Six Screws...
- Page 14 dust cup Dust cup is full Filter is dirty dust cup dust cup Dust cup Item Name Part No. Color L0101 Black 2 in 1 Crevice Tool L0102 Cool Grey 4C L0301 Black Hose L0302 Cool Grey 4C Blue L0401 Brush Roll L0402...
- Page 15 one (1) please call customer service at 1-800-524-6716. authorized service agent. authorized Service Agent Imported By Midea USA, Inc. 5 Sylvan Way Parsippany, NJ 07054, USA 1-800-524-6716...