Table of Contents
Advertisement
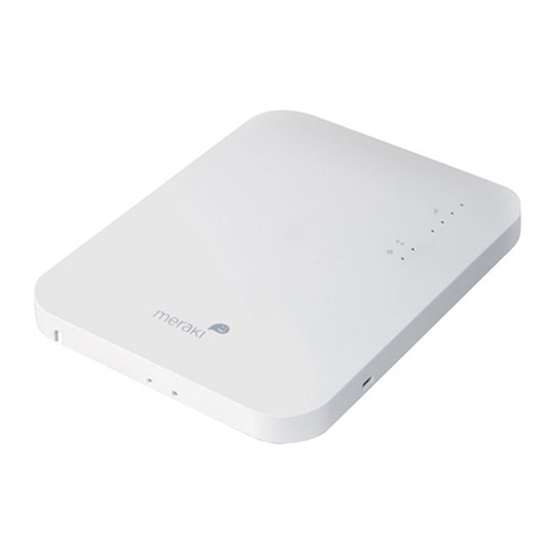
MR18 Installation Guide
The Cisco Meraki MR18 is a dual-band enterprise class 802.11n cloud-managed access point. Designed for high
capacity and high density, the MR18 meets the needs of the most demanding environments, and also includes the first
ever cloud-managed third radio dedicated to optimizing the RF environment and securing the airwaves.
Package Contents
The MR18 package contains the following:
• MR18 Cloud-Managed Access Point
• Mount cradle including built-in level tool
1
Advertisement
Table of Contents

Related Manuals for Cisco Meraki MR18


Summary of Contents for Cisco Meraki MR18
-
Page 1: Package Contents
MR18 Installation Guide The Cisco Meraki MR18 is a dual-band enterprise class 802.11n cloud-managed access point. Designed for high capacity and high density, the MR18 meets the needs of the most demanding environments, and also includes the first ever cloud-managed third radio dedicated to optimizing the RF environment and securing the airwaves. - Page 2 • Drop ceiling mount kit...
-
Page 3: Understanding The Mr18
• Wall screws, wall screw anchors, and security screws • Spare hardware Understanding the MR18 Your Meraki MR18 has the following features:... - Page 4 The mount cradle has the following features:...
-
Page 5: Security Features
A mounting template is included with the mounting plate to assist with the install. Security Features The MR18 features multiple options for physically securing the access point after installation: 1. Security screw – The accessory kit includes screws that can be used to secure the access point to the mount cradle. -
Page 6: Pre-Install Preparation
Factory Reset Button If the button is pressed and held for at least five seconds and then released, the MR18 will reboot and be restored to its original factory settings by deleting all configuration information stored on the unit. LED Indicators and Run Dark Mode Your MR18 is equipped with a multi-color LED light on the front of the unit to convey information about system functionality and performance: •... -
Page 7: Check And Upgrade Firmware
Check and Upgrade Firmware To ensure your MR18 performs optimally immediately following installation, it is recommended that you facilitate a firmware upgrade prior to mounting your MR18. 1. Attach your MR18 to power and a wired Internet connection. See the "Power the MR18"... -
Page 8: Installation Instructions
Static IP via DHCP Reservations Instead of associating to each Meraki AP individually to configure static IP addresses, an administrator can assign static IP addresses on the upstream DHCP server. Through “DHCP reservations,” IP addresses are “reserved” for the MAC addresses of the Meraki APs. -
Page 9: Choose Your Mounting Location
3. If being used in a mesh deployment, the MR18 should have line of sight to at least two other Meraki devices. For more detailed instructions regarding access point location selection, reference the Meraki Network Design Guide (meraki.cisco.com/library/). Install the MR18 For most mounting scenarios, the MR18 mount cradle provides a quick, simple, and flexible means of mounting your... - Page 10 • 6-32x4 mm screws • 6-32x7 mm screws only used for recessed rail mount (uncommon) • 2 rubber spacers 1. Attach the T-rail clips to the T-rail by rotating them and snapping them into place as shown. The black foam pads should be compressed slightly after installation.
- Page 11 2. Using the dashed lines on the mount cradle template as a guide, set the proper spacing of the T-rail clips on the T- rail. 3. Tighten the set screws on the T-rail clips to secure the clips using a 5/64”(2 mm) hex key. 4.
- Page 12 Tip: Pre-assemble rubber spacers and screws to the mount cradle. The mount cradle can then be held with one hand while the other hand holds a screwdriver. If mounting your MR18 to a dropped ceiling, skip to the "Power the MR18" section.
-
Page 13: Mount The Mr
Mount the MR18 Attach the MR18 to the Mount Cradle (This section applies to wall and/or solid ceiling, drop ceiling or electrical junction box mount where you have already installed the mount cradle.) The MR18 attaches to the mount cradle with two tabs on the cradle that insert into the MR18, and is secured to the cradle using one screw. -
Page 14: Desk Or Shelf Mount
Then adjust the MR18 to guide the MR18’s bottom slot into the cradle’s bottom tab until it clicks into place. Once in place, the MR18 should be secured to the cradle by using one of the included screws in the cradle’s bottom tab. To release the MR18 from the mount cradle, first remove the security screw that secures the MR18 to the cradle’s bottom tab. -
Page 15: Secure The Mr18
Secure the MR18 Depending on your mounting environment, you may want to secure the MR18 to its mount location. Your MR18 can be secured in several ways. If the MR18 has been installed using the mount cradle, it should be secured via security screw (Torx security screws are included) and/or Kensington lock.