Advertisement
Quick Links
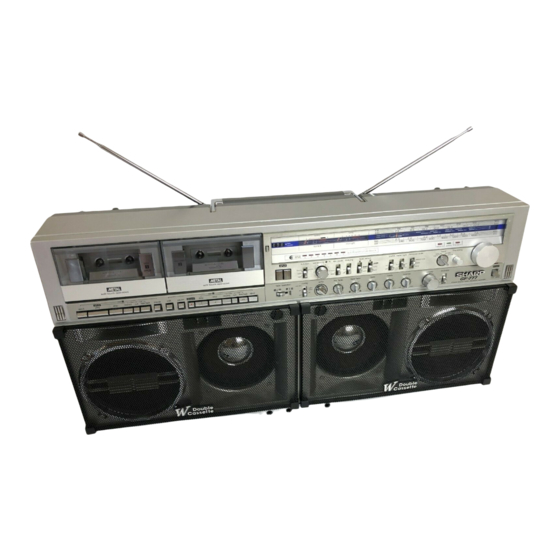
GENERAL DISASSEMBLY INSTRUCTIONS
FOR
RE-BELTING & REPAIR
OF
NON-FUNCTIONAL FF & REW
INSTRUCTIONS & PHOTOS
BY
BOBBY JENKINS*
AKA FATDOG
www.stereo2go.com
* - Except where noted
Note: Some of the pictures didn't turn out great, but they should be good enough to get you through
the process.
Advertisement

Related Manuals for Sharp GF-777


Summary of Contents for Sharp GF-777
- Page 1 GENERAL DISASSEMBLY INSTRUCTIONS RE-BELTING & REPAIR NON-FUNCTIONAL FF & REW INSTRUCTIONS & PHOTOS BOBBY JENKINS* AKA FATDOG www.stereo2go.com * - Except where noted Note: Some of the pictures didn't turn out great, but they should be good enough to get you through the process.
- Page 2 UNPLUG THE BOOMBOX AND REMOVE ANY BATTERIES!! Remove all of the knobs and switch covers on the front side of the boombox. I like to line them up in the order I took them off of the boombox. Turn the boombox around and remove the screws holding the boombox together. If you do this part right, all of the screws will stay in their respective holes.
- Page 3 Don't yank or pull the back off with force. There are some plugs that need to be disconnected first. First, there are two wires for the antennas that need to be disconnected. Take note of the colors of the wires and which post the wires went to. At the bottom of the case, there is a plug for the power lead.
- Page 4 Looking at the internals of the GF-777, there are four main areas that keep the primary electronics in place, as marked by the arrows. Remove the far-right screw. It will be a long screw with a washer. Remove the screw located at the top of the boombox where the arrow is pointing.
- Page 5 The fourth, and final area you need to look at is at the far left of the boombox (looking from the back). Remove the screws for the metal plate and the power switch. Back on the vertical, black speaker connector block, there are some plugs on the left underside. Disconnect the plugs as indicated by the arrows.
- Page 6 Almost there. To the far right of the boombox, there is another connector by one of the woofers. Disconnect this plug. Now, I cannot stress this enough - VERY CAREFULLY!!! - lift and remove the complete bracket housing from the inside of the boombox. Do not force anything at this point. If something is caught, find out what it is before continuing.
- Page 7 This would be an excellent time to clean out some dust bunnies and general nastiness from the front cover. There are five screws holding the tape deck mechanism to the plastic housing. Four of the screws are rather obvious.
- Page 8 The last one is somewhat hidden. It's on the other side, partially obscured by the black, input connector block. Remove the screws holding the input connector block to the housing and then remove the last screw holding the tape deck mechanism. There is also a plug (not pictured) directly underneath the input connector block.
- Page 9 If you need to replace the belt that operates the tape counter, pay special attention to its location. One of the posts/spindles is underneath the dial faceplate and it is somewhat awkward to get the belt around the post before connecting the tape deck spindle. In this example, I've already replaced that belt.
- Page 10 Once the tape decks are out, flip them over and remove the screws as indicated in the picture below. The three screws on the right side of the picture might not have to be removed, but it made things easier for me.
- Page 11 We finally reach the belts!!! Remove all the old belts and CAREFULLY turn the tape decks over. You will need to remove the flywheels without losing the little washer that slides over the posts.
- Page 12 One of my flywheels was slightly different from the other; there was a small "scoop" in the outer edge of the flywheel for Deck #2. If yours is the same way, pay attention to that on reassembly. Now that the flywheels are removed, clean the small idler wheels that were hidden. There are two idler wheels for each tape deck.
- Page 13 Double check all plug connectors and screws. You don't want to end up with screws remaining! After re-belting and cleaning the idler wheels, the GF-777 should PLAY, FF, and REW with the best of them! It's amazing what a little isopropyl alcohol and new belts will do.
- Page 14 (Azimuth tip courtesy of Mirko Henriquez aka Beatbox) I hope this tutorial made sense. If you have any questions, please contact Fatdog on the Stereo2Go.com forum! Thanks FYJ2972, Litfan, Beatbox, and many others whose advice allowed me to repair my GF-777!