Advertisement
Quick Links
Download this manual
See also:
User Manual
This product can be set up
using any current web browser,
i.e., Internet Explorer 5x, and
Netscape Navigator 4x or above.
Before You Begin
1. If you purchased this storage to share your file or media with other computers, you
must have Ethernet cable or Internet environment
2. It's best to use the same computer that for configuring the DNS-312H storage. See
Appendix at the end of this Quick Installation Guide or the Manual on the CD-ROM
for setting each network adapter to automatically obtain an IP address.
Check Your Package Contents
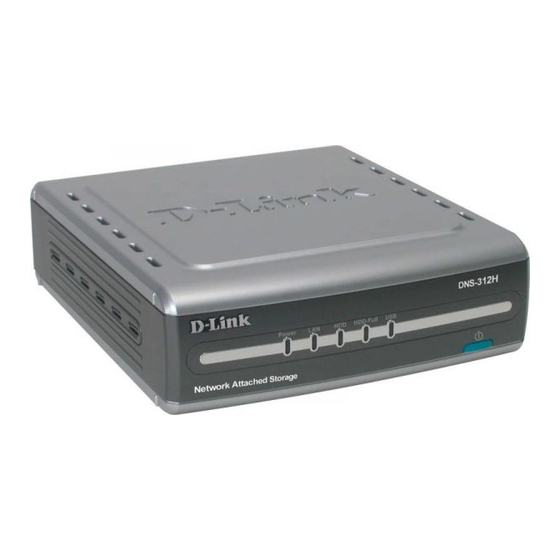
These are the items included with your DNS-312H purchase:
If any of the above items are missing, please contact your reseller.
©2004 D-Link Systems, Inc. All rights reserved. Trademarks or registered trademarks are the property of their respective
holders. Software and specifications subject to change without notice.
DNS-312H Network Attached Storage
CD-ROM (Containing Manual and Warranty)
Ethernet (CAT5 UTP/Straight Through) cable
12V DC Power Adapter
Network Attached Storage
1
DNS-312H
Using a power
supply with a
different voltage rating
will damage and void
the warranty for this
product.
Advertisement

Summary of Contents for D-Link DNS-312H
- Page 1 If any of the above items are missing, please contact your reseller. ©2004 D-Link Systems, Inc. All rights reserved. Trademarks or registered trademarks are the property of their respective holders. Software and specifications subject to change without notice.
- Page 2 312H and then plug the other end of the power adapter to a wall outlet or power strip. The Power LED will turn ON to indicate proper operation. B、Insert an Ethernet cable to LAN port on the back of the DNS-312H and an available Ethernet port on the network adapter in the router/switch/hub you will use to connect to the DNS-312H.
- Page 3 The Descriptions of LEDs Local Network LED HDD-FULL Solid Light: While Solid Light: HD is completely full (100%) connected to LAN port Blinking: HD is getting full ( 95% ) Blinking: While Light off: In normal cnonditio transferring data Light off: Disconnected Power LED Solid Light: Power on Blinking: HD...
-
Page 4: Using The Setup Wizard
Using The Setup Wizard Enter the default IP After DNS-312H installation, for each PC, the following items may need to be configured: Enter the default IP After connecting the device running D-Link DNS-312H to the network and powering it on, you can start the initialization configuration by doing the following steps: Open the browser. - Page 5 Open your Web browser and Type “192.168.0.101” into the URL address box. Then press the Enter or Return key. Enter the default user name In the authentication dialogue please enter the default user “admin,” leave the password field blank, and click “OK.” Type “admin”...
- Page 6 The Setup Wizard (continued) The setup wizard will help you configure the basic settings of the system in a few steps. The settings will not take effect until you click the [Finish] button in the last page. Click the “Run Wizard” button to start. Click Run Wizard Enter system information...
- Page 7 The Setup Wizard (continued) Enter networking information Since this is the first time you configure the system, the following networking settings will be adopted by default: IP: 192.168.0.101 Subnet mask: 255.255.255.0 Default gateway:192.168.0.1 DNS server: empty You can modify the settings to fit your need. Click Next If a DHCP server is available in the same network environment and you prefer to obtain the networking settings for the system from the DHCP server, change the “Get...
- Page 8 The Setup Wizard (continued) Click Next Setup network file protocol 1. Determine the Workgroup and WINS server IP here. The Workgroup should be 0 to 14 English bytes. 2. Choose the Mac OS zone. A zone is a logical grouping of devices in an AppleTalk network.
-
Page 9: Your Setup Is Complete
Click OK Click the “OK” button in the pop-up dialogue. The following window will be displayed to indicate the DNS-312H is preparing your new settings: The page will then be directed to the summary page so you can review the settings that... - Page 10 Support echni cal Support You can find software updates and user documentation on the D-Link website. D-Link provides free technical support for customers within the United States and within Canada for the duration of the warranty period on this product.


