Table of Contents
Advertisement
Quick Links
Advertisement
Table of Contents

Related Manuals for Cuisinart CGG200 - 12000 BTU Compact Portable Gas Grill


Summary of Contents for Cuisinart CGG200 - 12000 BTU Compact Portable Gas Grill
-
Page 2: Table Of Contents
This appliance will be hot during and after use. Use insulated oven mitts or gloves for protection from hot surfaces or splatter from cooking liquids. This appliance is not intended for commercial use. The pressure regulator supplied with the Cuisinart Gas Grill must be used. -
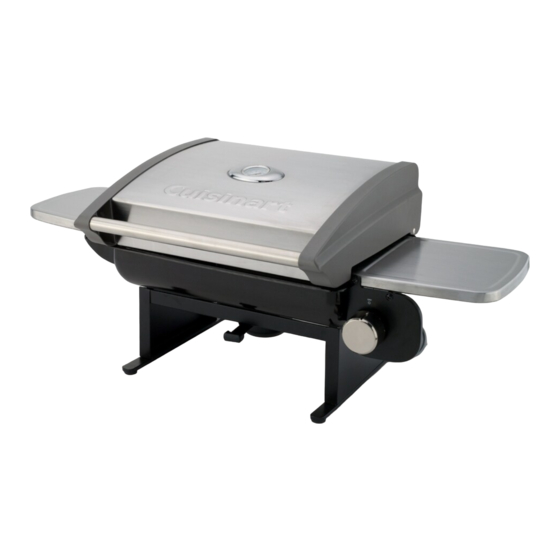
Page 3: Illustrated Parts List
2. Illustrated Parts List 3. Exploded View Lid & Firebox 1 pc Grill Leg Assembly 1 pc Cooking Grate 1 pc Drip Tray 1 pc Screw M6x12 2 pcs Black Washer M6 6 pcs Lid side panel – left Rubber Feet Control knob Thermometer’s bezel Lid panel - Front... -
Page 4: Assembly Instructions
Step 3a: 4. Assembly Instructions Attach the Grill Leg Assembly (Part B) to the bottom of the Lid & Fire Box (Part A) assembly Remove all the contents from packaging, and make sure all parts are Step 3b: present before attempting to assemble! Part numbers reference the table on page 4. Place Black Washers M6 (Part F) over two bolt posts at back and tighten two nut M56 (Part G) Step 1:... -
Page 5: Operating Your Grill
• This Cuisinart grill is equipped with a regulator having a CGA No.600 cylinder connection device for connecting to a 14.1 oz. or 16.4 oz. Only cylinders marked “PROPANE” must be used. -
Page 6: Lighting Instructions
5.5 Lighting Instructions 6. Care And Maintenance 1. Read all instructions before lighting. 6.1 Care 2. Open lid during lighting. 3. Make sure the gas control knob is in “OFF” position. Regular care of your grill will help keep it operating properly. All maintenance should be done only when the 4. - Page 7 For troubleshooting, FAQs or customer service, visit us at www.thefulhamgroup. com/CGG-200 or contact us at 1-866-994-6390 To order replacement parts or additional Cuisinart Grilling products, visit us at www.cuisinart.com or call 1-800-211-9604 Model#CGG-200...