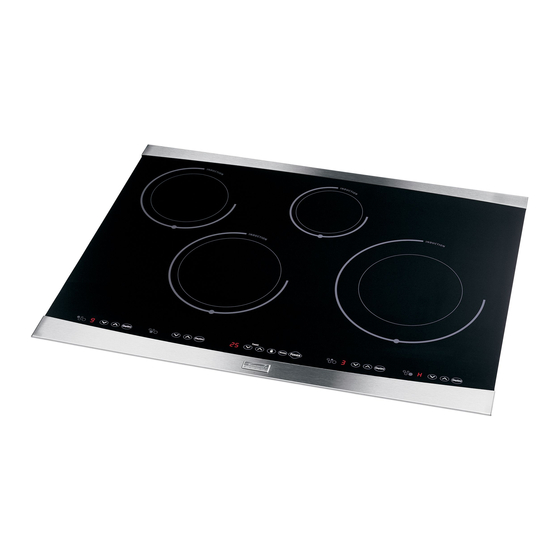
Kenmore 4280 - Elite 30 in. Electric Induction Cooktop Installation Instructions Manual
Installation instructions
Hide thumbs
Also See for 4280 - Elite 30 in. Electric Induction Cooktop:
- Use & care manual (18 pages)
Advertisement
Available languages
Available languages
Quick Links
Download this manual
See also:
Use and Care Manual
INSTALLATION
AND SERVICE MUST BE PERFORMED BY A QUAUNED
INSTALLER.
IMPORTANT:
SAVE FOR LOCAL ELECTRICAL INSPECTOR'S USE.
READ AND SAVE THESE INSTRUCTIONS
FOR FUTURE REFERENCE.
FOR YOUR SAFETY: Do not store or use gasotine or other flammabte
vapors and tiquids in
the vicinity
of this or any other appliance.
IMPORTANT INSTALLATION INFORMATION
All electric cooktops run off a single phase, three-wire or four-wire cable, 240/208 volt, 60 hertz, AC only
ele(tri(al supply with ground.
Minimum distance between cooktop and overhead cabinetry is 30" (76.2 (m).
Cooktop Dimensions
30" Min, *
(76,2 cm)
* 30" (76.2 cm) rain. for
unprotected cabinet and
24" (6! cm) rain. for cabinet
with protected bottom surface.
** Do not obstruct
these areas.
Cooktop Cutout Dimensions
D
Air exhaust* *
--I
C
Fresh air intake**
4" X 8" (I 0.2 cm x 20.3 cm)
opening to route armored (:able
Figure 1
All dimensions are stated in inches and (cm).
Allow 2" (5 cm) space below the armored cable opening to clear the electric (:able and
allow space for installation of tile junction box on the wall at the back of the cooktop.
Printed in United States
P/N 318201429 (0604) Rev.C
English - pages I-6
Espaflol - pages 7_12
Advertisement

Summary of Contents for Kenmore 4280 - Elite 30 in. Electric Induction Cooktop
- Page 1 INSTALLATION AND SERVICE MUST BE PERFORMED BY A QUAUNED INSTALLER. IMPORTANT: SAVE FOR LOCAL ELECTRICAL INSPECTOR'S USE. READ AND SAVE THESE INSTRUCTIONS FOR FUTURE REFERENCE. FOR YOUR SAFETY: Do not store or use gasotine or other flammabte vapors and tiquids in the vicinity of this or any other appliance.
- Page 2 Overhead Cabinet Should Not Exceed a Maximum Depth of 13" (33 cm) Bottom of an Unprotected 10" Surface Above "_ Nearest Combustible Wood or Metal Cabinet Countertop 18" (457 cm) 24" (61 cm) Min, when Bottom of Wood or Metal Cabinet is Protected by Not Less Than 1/8"...
-
Page 3: Important Notes To The Installer
NOTE: Wire sizes and connections must conform with Important Notes to the Installer 1. Read allinstructions contained i nthese installation the fuse size and rating of the appliance in accordance with tile National Electrical Code ANS!/NEPA No. 70- instructions before installing t hecooktop. latest edition and local codes and ordinances. - Page 4 tf cooktop is used in a new branch circuit DO NOT ground to a gas suppty pipe, installation (1995 NEC), mobile home, recreationaJ DO NOT connect to electrka! power suppJy until vehicle, or where tocal codes DO NOT permit appliance is permanendy grounded.
-
Page 5: Cooktop Installation
Cooktop installation Do not remove the nylon spacers 1. Visually inspect the cooktop for damage. Also make the edges of the cooktop. These spacers center sure all cooktop screws are tight (see Figure 5). cooktop in the space provided. The cooktop must be centered to prevent... - Page 6 Notes...
- Page 7 LA mNSTALACmON Y EL SERVmCmO DEBEN SER EFECTUADOS POR UN mNSTALADOR CALmFmCADO. mMPORTANTE: GUARDE ESTAS mNSTRUCCmONESPARA USO DEL mNSPECTOR LOCAL DE ELECTRmCmDAD. LEA Y GUARDE ESTAS mNSTRUCCmONESPARA REFERENCmA FUTURA. PARA SU SEGUR[DAD: No a[manece ni utHice gasoHna u otros vapores y [_quidas inflamab[es en ta proximidad de este o de cualquier otto artefacto_...
- Page 8 El a rrnario s uperior nodebe sobrepasar profundidad maxirna de13"(33cm) k rain. distar/da 30"(762crn) r nin_ d eespaci_-- recornendada entre el entre laparte superior decubierta borde t rasero del t orte yel ylaparte inferior deunarrnario compartirniento dernadera o metal sinprotection "_\combustible mas c ercano ! 0 sobre la parte superior de ,(254...
- Page 9 Notas importantes para el mstaiador 2, Un interruptor o un fusible clasificado en 40 amperios se Lea todas las instrucciones contenidas en este manual recomienda para esta aplicacion. antes de instalar la estufa. Retire todo el material usado en el empaque de la NOTA: El tamaflo de los cables y de las conexiones debe estufa antes de conectar el suministro el6ctrico a la de estar en (onformidad con el tamar]o del fusible y (.on la...
- Page 10 ConexiOn El6ctdca No podr& conectar a tierra [a cocina Conecte el cable blindado flexible que se extiende desde la a trav&s de[ cabIe neutral (blanco) si ta cocina se usa superficie del artefacto hasta la caja de empalmes el en una nueva insta[aci6n de rama[ de circuito (1996 retenector utilizando de tensi6n adecuada en el punto en NEC), en una casa rodante,...
- Page 11 Instaiadbn de la estufa Espaciadoresde nil6n (6) _ j-___ 1.Visualmente inspeccione la estufa para daFlos. Agujero Iocalizado Verifique ademas que todos los tornillos de la estufa debajo de la caja de quemador para fijar el esten bien ajustados (Figura 5). soporte detenedor.
- Page 12 Notas...


