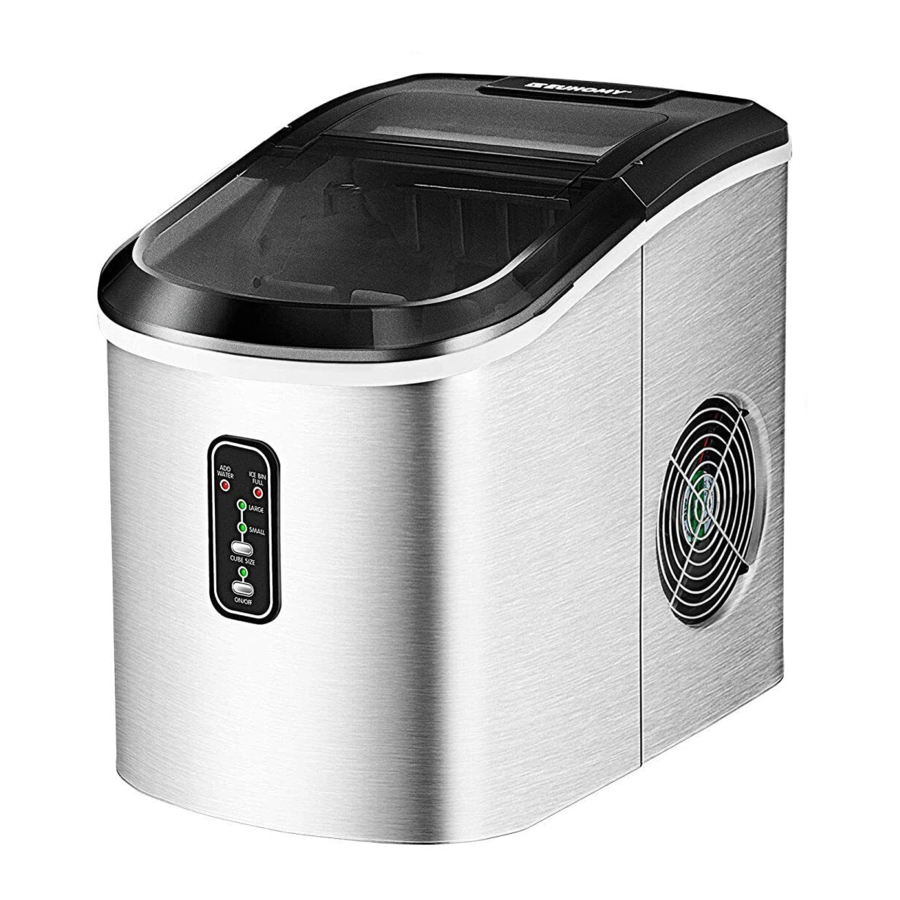
EUHOMY IM-01 Automatic Ice Maker Manual
- User manual (17 pages) ,
- Instruction manual (11 pages) ,
- Instruction manual (20 pages)
Advertisement
Q&A
- How often do I need to clean my ice maker?
Depending on your usage habits, if you use it frequently, it is recommended that you clean it at least once a week. Failure to clean the machine will cause scale accumulation, which will eventually block the pump and cause the product to fail to work. - How should I clean the machine?
It is recommended to use lemon water or weak acid vinegar for cleaning. Drain immediately after cleaning, and then clean it with pure water.
It is recommended to drain water at least once every three days. Draining can not only ensure that the hardness of the water is not too high, but also ensure that impurities can be discharged well, and it is not easy to produce scale in the water tank. - Why is my ice cube cloudy?
It means that your water quality is turbid. It is recommended to use drinking water and distilled water. If your water quality problem is serious, it is recommended that you install a water filter kit. - Can I put milk and juice into the water tank to make ice cubes?
It is recommended that you do not do that. Our research has found that the high concentration of milk and beverages can easily block the pump and reduce the life of the pump. At the same time, the protein in milk is prone to calcification, which chemically reacts with the PU water pipe inside the machine, which easily breaks it, making the product unable to continue working. - Why does my ice cube melt easily?
Because the ice maker is not a refrigerator, it does not have a heat preservation function. The high ambient temperature in summer will accelerate the melting of ice cubes. You can close the lid of the machine to keep the internal temperature. Some customers also put electric fans on the side of the machine to blow away the hot air around, thus solving the problem, you can try. However, if you are not using ice cubes for a long time, we recommend removing them from the ice basket and storing them in the refrigerator. - Why is my ice cube so thick and what should I do?
It may be that your ice making time is set too long, or it may be that the temperature of your environment is low. You can try to adjust the size of the ice cubes. - Why does the ice cube I made have a plastic smell?
The ice cube itself has no taste. If you feel there is a plastic smell, try to clean the inside of the machine with lemon water, then run a few cycles, and finally rinse with distilled water. - Why is there noise in the operation of my machine?
There is a faint sound when the machine is running. Closing the lid can reduce the noise. If the water pump makes noise during use, it is recommended to turn off the machine first, and then turn on the machine after cleaning the filter in the water tank to observe whether the noise disappears. - Why is water leaking from my machine?
It may be that the PUA tube inside the machine fell off during transportation. You can remove the back cover of the machine and connect it by yourself. If you don't know how to operate, please contact the Euhomy team. We will give you a professional video to help you solve the problem. - Why is there water flowing but not making ice?
If you make sure that the ambient temperature is not abnormal, then the refrigerant of the machine has leaked. Please provide a video or picture and send it to us, and the Euhomy team will help you.
Operation & Installation
ASSEMBLY AND PARTS

BEFORE FIRST USE
- This portable ice maker uses a fully-automatic control system, with an advanced microcomputer for easy and convenient ice making. Making ice is simple and fast. Just add water, plug into an outlet, and press the ON/OFF button. You can select one of the two ice cube sizes with the touch of a button.
- When first turning on the unit or during ice-making cycles, the compressor will stay idle for 3 minutes, while energizing.
- There are warning indicators that alert you to fill water when the reservoir is empty, and to remove ice when the storage basket is full. The icemaker also has built-in safeguards that can limit accidental damage, automatically shutting down the system when necessary.
 Note:
Note:
- The incline angle of the ice maker cabinet should not exceed 45˚ during transportation or use. Do not turn the icemaker upside down. Inverting the ice maker could cause the compressor or refrigerating system to operate incorrectly. When the ice maker is moved or transported, please allow time for the fluids in the compressor to settle. Before using the ice maker for the first time, please wait 2 hours after the unit has been leveled and positioned in its proper place.
- Please ensure the ice maker is level and on a stable table or platform to avoid malfunction.
- The machine must be placed on a dry and level surface with sufficient ventilation, far from heat sources such as ovens, heaters and corrosive gases. Leave an 8" (20 cm) clearance on all sides of the ice maker for proper ventilation.
- Do not fill the water reservoir with hot water. This may damage the ice maker. It is best to fill the water reservoir with water of room temperature or lower. Please ensure the ice maker is level and on a stable table or platform to avoid malfunction.
PREPARING YOUR ICE MAKER
- Remove the exterior and interior packaging.
- Make sure that the ice basket and ice scoop are inside. If any parts are missing, please contact customer service.
- Remove the tape holding the ice scoop and ice basket.
- Clean the tank and ice basket with diluted detergent, warm water, and a soft cloth.
- Allow one hour for the refrigerant fluid to settle, then plug the ice maker in to a grounded wall outlet.
USE YOUR ICE MAKER
Prior to using your ice maker each time, wipe out the interior with a clean, damp cloth.
- Making Ice Ensure that the drain plug underneath the front of the unit is closed and the water tube screen is in place.
- Plug the ice maker into the wall outlet and the green power indicator light.
- Open the cover and remove the ice basket.
- Fill the water reservoir. NOTE: do not fill above the max water level mark at the back of the water reservoir.
- Replace the ice basket and close the cover.
- Press the ON/OFF button and the green POWER LED will light signifying that the unit is on. To change between either the small or large ice size, press the SELECT button until the desired ice size is indicated.
If the room temperature is below 60°F (15.6°C), select the SMALL ice cube size to prevent the ice cubes from sticking together
Press and hold the SELECT button for five seconds to run 8 continuous cycles, even when the ICE FULL indicator is on.
- The ice making cycle will last approximately 8-13 minutes depending on the ice size that is selected.
The ice making cycle starts with water being pumped into the Water Tray situated below the Evaporator Fingers. Over the next 8-13 minutes ice forms on the Evaporator Fingers. Once this has completed, the Ice Tray will tilt backwards and the remaining water in the Ice Tray is drained back into the Water Reservoir. The ice cubes are then dropped from the Evaporator Fingers and pushed forward into the Ice Basket by the Ice Shovel. The Ice Tray will automatically move back into position under the Evaporator Fingers and start the next cycle. - The ICE FULL LED light will light up when the ice basket is full and the Ice Maker will stop the ice making cycle automatically. Gently remove the ice from the Ice Basket with the Ice Scoop. Once the Ice Basket has been emptied and the Cover closed, the Ice Maker will restart its ice making function automatically.
- The ADD WATER LED light will light up when there is no more water in the Water Reservoir, and the ice making cycle will stop automatically. Press the Power Button once (the Power Button will flash every 5 seconds), remove the ice basket, and add water to the Water Reservoir.
Do not fill above the MAX water level mark at the back of the Water Reservoir. Replace the ice basket, and close the Cover.
Wait 3 minutes then press the Power Button to restart the ice making function.
- When you have finished making ice, transfer the ice to a freezer.
The ice will last in the Ice Maker for up to a 18 hour period, depending on the ambiant temperature. Stop the ice making cycle by pressing the Power Button. Unplug the unit from the wall outlet. Open the Cover and allow the Ice Maker to reach room temperature and follow the directions in the Care and Cleaning section. - Direct sunlight or reflected sunlight may cause the infrared sensor to malfunction. If the unit does not stop making ice cubes even when full, move the ice maker to a darker location.
You must change the water in the tank at least every 24 hours to ensure a reasonable hygene level and avoid bad smelling ice.
Maintenance & Tips
MAINTENANCE
- Your ice maker is designed for year-round use with only minimal cleaning and maintenance. When you first receive it, wipe the outside with a mild detergent and warm water, then wipe dry with a dry cloth. Do this periodically to keep your ice maker looking new.
Note:
- To prevent damage to the finish, do not use:
Gasoline, benzine, thinner, or other similar solvents. Abrasive cleaners.
TIPS & SUGGESTIONS
- Stop the ice-making cycle by pressing the POWER button. the green LED light will go out, indicating the ice maker is off. Unplug the Ice Maker from the wall outlet and allow the unit to warm up to room temperature.
- If the Water Tray is not in the vertical position behind the Evaporator Fingers, gently push the Water Tray back so that all water drains into the Water Reservoir.
- Open the Drain Plug to drain out excess water.
- Remove the Ice Basket.
- Remove the Water Tube Screen and rinse under running water.
- Clean the Ice Maker interior with a soft cloth dampened in warm water and vinegar. Rinse with a clean, damp cloth.
- Replace the Drain Plug and the Water Tube Screen. Wash the Ice Basket and Ice Scoop in warm soapy water. Rinse and dry.
- Clean the exterior of the Ice Maker with a soft, damp cloth. Use a mild dishwashing soap if necessary.
- Do not clean the Evaporator Fingers.
- Locate your ice maker in the coolest area of the room, away from heat producing appliances or heating ducts and out of the direct sunlight.
- Make sure that the appliance is sufficiently ventilated, with adequate air circulation behind it.
Troubleshooting
euhomy@hotmail.com
| PROBLEM | POSSIBLE CAUSES | SOLUTION |
| ADD WATER indicator light turns on. |
|
|
| There is no indication on the contral panel |
|
|
| The ice cubes stick together |
|
|
|
| |
| ICE FULL and ADD WATER indicators light up simultaneously. |
|
|
| The ICE FULL indicator light is on. |
|
|
| The unit does notoperate. |
|
|
| Ice blockage. No ice is being made. |
|
|
| The ice-making cycle seems normal but no ice is produced. |
|
|
|
| |
| The ice maker won't stop making ice |
|
|
Email: ehuomy@hotmail.com
Facebook: Euhomy

 Like us

Scan me

Documents / ResourcesDownload manual
Here you can download full pdf version of manual, it may contain additional safety instructions, warranty information, FCC rules, etc.
Advertisement
Thank you! Your question has been received!


Need Assistance?
Do you have a question about the IM-01 that isn't answered in the manual? Leave your question here.