Emerson Rosemount 700XA Install
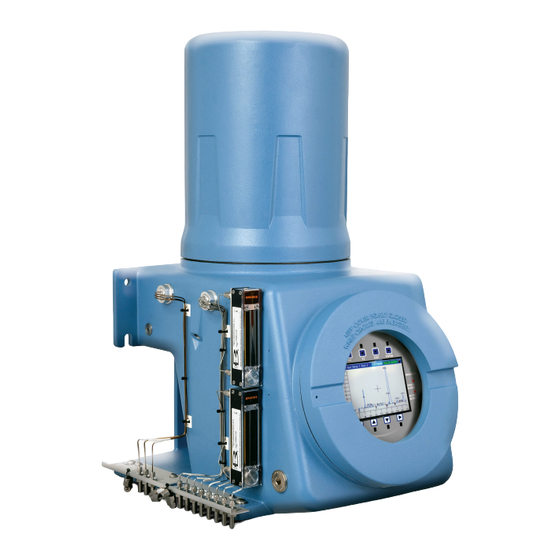
Gas chromatograph
Hide thumbs
Also See for Rosemount 700XA:
- Reference manual (294 pages) ,
- Reference manual (148 pages) ,
- Quick start manual (80 pages)
Advertisement
Quick Links
Advertisement

Related Manuals for Emerson Rosemount 700XA


Summary of Contents for Emerson Rosemount 700XA
- Page 1 Manual 7R00077, Rev A June 2022 Install power supply ™ For Rosemount 700XA Gas Chromatograph...
- Page 2 Safety information NOTICE The analyzer electronics and oven assembly, when housed inside a purged enclosure, meet the certifications and classifications identified in the Specifications section of the Product Data Sheet, which is located on the Emerson website: emerson.com. WARNING Safety compliance Failure to follow the safety instructions may cause injury to personnel.
- Page 3 NOTICE Replaceable parts Only a few parts inside the device are replaceable. Only trained service personnel should replace parts. All replacement parts must be authorized by Emerson to ensure product certification compliance. NOTICE Equipment damage If the device is heated without carrier flow, damage to the columns may occur.
- Page 4 NOTICE The device is certified by CSA and ATEX. See the certification tag on the device for specific details about its agency approvals. When the vapor regulators and flow switches are fitted, they must be suitably certified with the ratings Ex d IIC Gb T6/T4/T3 and for a minimum ambient temperature range: Ta = -20 °C to +60 °C.
- Page 5 Manual Contents 7R00077 June 2022 Contents Chapter 1 Replace AC/DC power supply..................7 Rosemount 700XA...
- Page 6 Contents Manual June 2022 7R00077 Emerson.com/Rosemount...
- Page 7 Conduit runs to the enclosure must have sealing fitting adjacent to enclosure. Figure 1-1: AC/DC power supply in lower compartment Prerequisites A Cross point #2 Phillips screwdriver is required to remove and replace the AC/DC power supply. Procedure 1. Remove power from the gas chromatograph (GC). Rosemount 700XA...
- Page 8 June 2022 7R00077 2. Unscrew and remove the front panel. Figure 1-2: Removing the front panel 3. Unscrew and remove the switch panel or LOI to allow access to the card cage. Figure 1-3: Removing the switch panel or LOI Emerson.com/Rosemount...
- Page 9 13. Using a Phillips screwdriver, remove the two screws attaching the anchor plate to the inside of the enclosure. 14. Remove the anchor plate through the front opening of the enclosure. Rosemount 700XA...
- Page 10 15. The replacement power supply is shipped with the new anchor plate attached to it with a nut. Remove this nut to separate the new power supply and anchor plate. Figure 1-5: Replacement power supply A. Anchor plate B. Nut C. Replacement power supply Emerson.com/Rosemount...
- Page 11 The orientation of the new anchor plate will clear the threaded hole as shown in Figure 1-6. Figure 1-6: Power supply anchor plate in GC enclosure 17. Maneuver the new power supply into the anchor plate, ensuring that the wires are free to be connected. Rosemount 700XA...
- Page 12 2022 Emerson. All rights reserved. Emerson Terms and Conditions of Sale are available upon request. The Emerson logo is a trademark and service mark of Emerson Electric Co. Rosemount is a mark of one of the Emerson family of companies. All other marks are the property...