Makita UH5580 Instruction Manual
Hide thumbs
Also See for UH5580:
- User manual ,
- Instruction manual (76 pages) ,
- Technical information (7 pages)

Related Manuals for Makita UH5580


Summary of Contents for Makita UH5580
- Page 1 INSTRUCTION MANUAL Hedge Trimmer UH5580 UH6580 UH7580 DOUBLE INSULATION Read before use.
-
Page 2: Specifications
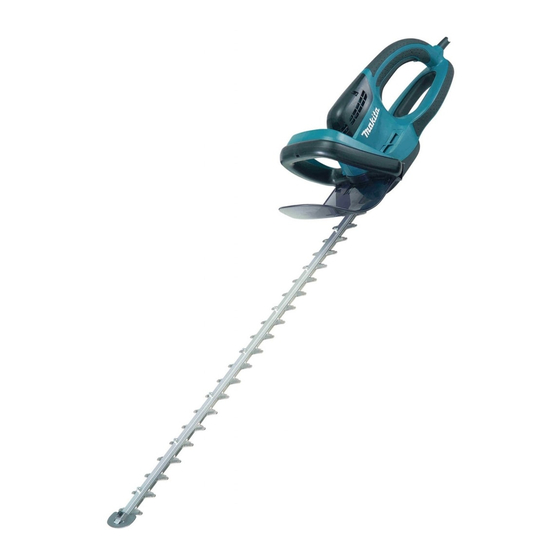
SPECIFICATIONS Model UH5580 UH6580 UH7580 Blade length 550 mm 650 mm 750 mm Strokes per minute (min 1,500 1,500 1,500 Overall length 970 mm 1,049 mm 1,157 mm Net weight 4.3 - 4.5 kg 4.3 - 4.5 kg 4.3 - 4.5 kg Safety class •... -
Page 3: General Power Tool Safety Warnings
13. Prevent unintentional starting. Ensure the General Power Tool Safety Warnings switch is in the off-position before connecting to power source and/or battery pack, picking WARNING Read all safety warnings and all up or carrying the tool. Carrying power tools with instructions. - Page 4 14. Remove plug from the mains immediately if cable HEDGE TRIMMER SAFETY is damaged or cut. WARNINGS 15. Make sure you have a secure footing before start- ing operation. Keep all parts of the body away from the cut- 16. Hold the tool firmly when using the tool. ter blade.
-
Page 5: Functional Description
Vertical cut FUNCTIONAL DESCRIPTION CAUTION: • Always be sure that the tool is switched off and unplugged before adjusting or checking function on the tool. Switch action Cut upwards with both hands pull the switch triggers B and C and move it in front of your body. Far area cut ► 1 . Switch trigger B 2. Switch trigger A 3. Switch trigger C For your safety, this tool is equipped with a triple switching system. - Page 6 Press in or pull out the cord through the opening of the holder. ► 1 . Hook complete 2. Extension cord 3. Tool's cord When engaging the extension cord, secure it to the ► 1 . Holder 2. Cord tool's cord with the hook complete. Attach the hook about 100 - 200 mm from the extension cord connector.
-
Page 7: Operation
As a basic operation, tilt the blades towards the trim- NOTE: ming direction and move it calmly and slowly at the • Do not pass the extension cord through the speed rate of 3 - 4 seconds per meter. band. •... - Page 8 To cut a hedge side evenly, it helps to cut from the bottom upwards. ► 1 . Press 2. Chip receiver 3. Nut 4. Shear blade Press the chip receiver on the shear blades so that its Trim boxwood or rhododendron from the base toward slits overlap with the nuts on the shear blades.
-
Page 9: Blade Maintenance
NOTICE: If the parts other than the shear blades such as the crank are worn out, ask Makita Authorized Service Centers for parts replacement or repairs. ► 1 . Press the levers on both sides 2. Unlock the... - Page 10 Remove the under cover. Remove two screws from the shear blades and the shear blade unit will be taken out. ► 1 . Under cover 2. Blade cover ► 1 . Screws 2. Shear blade Remove the gear housing cover. CAUTION: •...
-
Page 11: Optional Accessories
The use of any other accessories or attachments might present a risk of injury to persons. Only use accessory or attachment for its stated purpose. If you need any assistance for more details regard- ing these accessories, ask your local Makita Service Center. • Blade cover ► 1 . Crank •... - Page 12 Makita Europe N.V. Jan-Baptist Vinkstraat 2, 3070 Kortenberg, Belgium Makita Corporation 3-11-8, Sumiyoshi-cho, Anjo, Aichi 446-8502 Japan 884839H223 www.makita.com 20200107...