AEG BP5003001 User Manual
Aeg oven user manual
Hide thumbs
Also See for BP5003001:
- User manual (40 pages) ,
- User manual (32 pages) ,
- User manual (32 pages)
Table of Contents
Advertisement
Advertisement
Table of Contents

Related Manuals for AEG BP5003001


Summary of Contents for AEG BP5003001
- Page 1 EN OVEN BP5003001 USER MANUAL...
- Page 2 FOR PERFECT RESULTS Thank you for choosing this AEG product. We have created it to give you impeccable performance for many years, with innovative technologies that help make life simpler – features you might not find on ordinary appliances. Please spend a few minutes reading to get the very best from it.
-
Page 3: Table Of Contents
CONTENTS Contents 4 Safety information 7 Product description 9 Before first use 10 Daily use 12 Clock functions 13 Using the accessories 14 Additional functions 15 Helpful hints and tips 25 Care and cleaning 29 What to do if… 30 Environment concerns The following symbols are used in this user manual: Important information concerning your... -
Page 4: Safety Information
Safety information SAFETY INFORMATION Before the installation and use, read this manual carefully: • For your personal safety and the safety of your property • For the respect of the environment • For the correct operation of the appliance. Always keep these instructions with the appliance also if you move or sell it. The manufacturer is not responsible if incorrect installation or use results in damage. -
Page 5: Electrical Connection
• Before the installation, make sure that the kitchen cabinet has the recess dimensions ap- plicable. • Make sure that the appliance is installed below and adjacent safe structures. • Keep the minimum distances to the other appliances and units. •... -
Page 6: Risk Of Fire
Safety information • Always close the appliance door when you cook, even while grilling. Care and cleaning • Before maintenance, switch off the appliance and disconnect the appliance from the power supply. • Before maintenance, make sure that the appliance is cold. There is the risk of burns. There is the risk that the glass panels can break. -
Page 7: Product Description
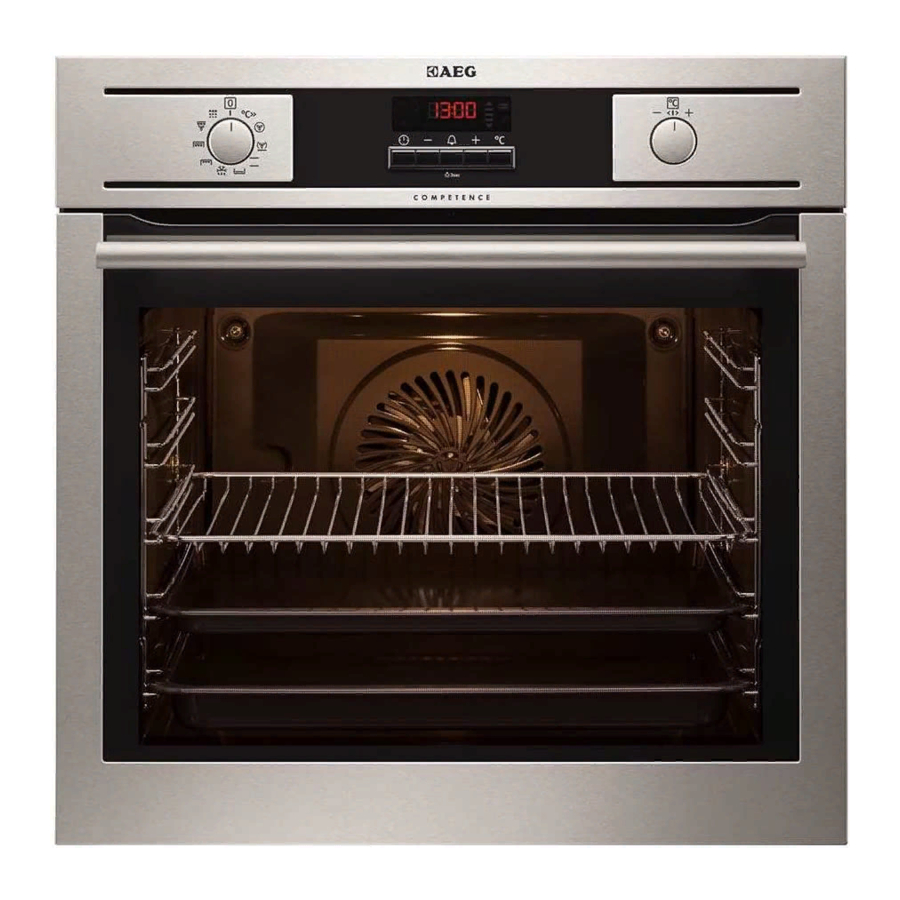
Oven lamp • The type of light bulb or halogen lamp used for this appliance is only for household ap- pliances. Do not use it for house lighting. • If it becomes necessary to replace the lamp, use one of the same power and specifically designed for household appliances only. - Page 8 Product description Control panel Control knob for oven functions Power lamp/symbol Electronic programmer Control knob for temperature Power lamp Heating element Oven lamp Rear wall heating element Bottom heat Shelf support, removable Shelf positions Accessories • Wire shelf For cookware, cake tins, roasts. •...
-
Page 9: Before First Use
• Combi pan For cake and biscuits. To bake and roast or as pan to collect fat. BEFORE FIRST USE WARNING! Refer to "Safety information" chapter. Initial Cleaning • Remove all parts from the appliance. • Clean the appliance before first use. Refer to chapter "Care and Cleaning". -
Page 10: Daily Use
Daily use DAILY USE WARNING! Refer to "Safety information" chapter. To use the appliance, press the control knob. The control knob comes out. Activating and deactivating the appliance Turn the oven functions control knob to select an oven function. Turn the temperature control knob To deactivate the appliance turn the oven functions control knob to off position ("0") . -
Page 11: Fast Heat Up Function
Oven function Pyro Cleaning Fast heat up function The fast heat up function decreases the heat up time. Set the fast heat up function. Refer to Oven function table. Turn the temperature control knob An acoustic signal sounds when the appliance is at the set temperature. The fast heat up function does not deactivate after the acoustic signal. -
Page 12: Clock Functions
Clock functions CLOCK FUNCTIONS SYMBOL FUNCTION MINUTE MINDER TIME OF DAY DURATION Press again and again to switch between the clock functions. To confirm settings of the clock functions use firmation. Setting the DURATION or END Press again and again until the display shows flashes in the display. -
Page 13: Count Up Timer
After 90% of the set time, an acoustic signal sounds. Press a button to stop the signal. When the set time ends, an acoustic signal sounds for two minutes. "00:00" and flash in the display. Press a button to stop the signal. If you set the MINUTE MINDER when the DURATION or END function operates, the symbol comes on in the display. -
Page 14: Additional Functions
Additional functions Installing the wire shelf and the deep pan to- gether Put the wire shelf on the deep pan. Push the deep pan between the guide-bars of one of the oven levels. ADDITIONAL FUNCTIONS Child Lock The Child Lock prevents an accidental operation of the appliance. Activating and deactivating the Child Lock function: Do not set an oven function. - Page 15 Residual heat indicator Display shows the residual heat indicator temperature inside oven cavity is more then 40°C. Use Temperature knob to show the oven temperature on the display. Cooling fan When the appliance operates, the cooling fan activates automatically to keep the surfaces of the appliance cool.
-
Page 16: Baking On One Level
Helpful hints and tips When you use frozen food, the trays in the oven can twist during baking. When the trays get cold again, the distortion will be gone. How to use the Baking Tables • We recommend to use the lower temperature the first time. •... - Page 17 Type of baking Oven function Bread (rye bread): First part of baking proc- Conventional ess. Cooking Second part of baking process. Cream puffs/ Conventional eclairs Cooking Swiss roll Conventional Cooking Cake with crum- True Fan Cooking ble topping (dry) Buttered almond Conventional cake/sugar cakes Cooking...
-
Page 18: Multileveled Baking
Helpful hints and tips Type of baking Pastries made with egg white, True Fan Cooking merungues Macaroons True Fan Cooking Biscuits made True Fan Cooking with yeast dough Puff pastries True Fan Cooking Rolls True Fan Cooking Rolls Small cakes True Fan Cooking (20per tray) Small cakes... -
Page 19: Tips On Baking
Type of baking Macaroons Biscuits made with yeast dough Puff pastries Rolls Small cakes (20per tray) 1) Pre-heat the oven Tips on baking Baking results The cake is not browned enough underneath. The cake sinks (becomes soggy, lumpy, streaky). The cake sinks (becomes soggy, lumpy, streaky). -
Page 20: Roasting With Turbo Grilling
Helpful hints and tips Bakes and gratins Dish Pasta bake Lasagne Vegetables au True Fan Cooking gratin Baguettes topped with melted True Fan Cooking cheese Sweet bakes Fish bakes Stuffed vegeta- bles True Fan Cooking 1) Pre-heat the oven Roasting Roasting dishes •... -
Page 21: Helpful Hints And Tips
Pork Type of meat Quantity Shoulder, neck, 1-1.5 kg ham joint Chop, spare rib 1-1.5 kg Meat loaf 750 g-1 kg Porkknuckle (pre- 750 g-1 kg cooked) Veal Type of meat Quantity Roast veal 1 kg Knuckle of 1.5-2 kg veal Lamb Type of meat... - Page 22 Helpful hints and tips Type of meat Quantity Chicken, pou- 1-1.5 kg lard Duck 1.5-2 kg Goose 3.5-5 kg Turkey 2.5-3.5 kg Turkey 4-6 kg Fish (steamed) Type of meat Quantity Whole fish 1-1.5 kg Grilling Always grill with the maximum temperature setting. CAUTION! Always grill with the oven door closed.
-
Page 23: Pizza Setting
Food to be grilled Pork fillet Sausages Fillet steaks, veal steaks Toast Toast with topping 1) Pre-heat the oven Pizza Setting Type of baking Pizza (thin crust) Pizza (with a lot of topping) Tarts Spinach flan Quiche Lorraine Swiss Flan Apple cake, covered Vegetable pie Unleavened bread... -
Page 24: Preserving
Helpful hints and tips Dish Meat, 1000 g Meat, 500 g Trout, 150 g Strawberries, 300 g Butter, 250 g Cream, 2 x 200 g Gateau, 1400 g Preserving Things to note: • Use only preserve jars of the same dimensions available on the market. •... -
Page 25: True Fan Cooking
Preserve Mixed pickels Kohlrabi, peas, aspara- 1) Leave standing in oven when switched off Drying - True Fan Cooking Cover the oven shelves with baking parchment. For best results: deactivate the appliance after half the time required. Open the appliance door and let the appliance cool down. - Page 26 Care and cleaning • Clean the appliance interior after each use. Then you can remove dirt more easily and it does not burn on. • Clean stubborn dirt with a special oven cleaner. • Clean all accessories (with a soft cloth with warm water and cleaning agent) after each use and let them dry.
-
Page 27: Oven Lamp
Removing the shelf support Pull the front of the shelf support away from the side wall. Pull the shelf support from the back of the side wall to remove it. To install the shelf support follow the proce- dure in reverse. Valid with telescopic runners: The retaining pins on the telescopic shelf runners must point to the front! - Page 28 Care and cleaning Door and glass panels To clean the door, remove it. CAUTION! Be careful when you remove the door from the appliance. The door is heavy! Removing the door Open the door as far as it goes. Fully press clamping levers (A) on the two door hinges.
-
Page 29: What To Do If
WHAT TO DO IF… WARNING! Refer to "Safety information" chapter. Problem The oven does not heat up The oven does not heat up The oven does not heat up The oven does not heat up The oven does not heat up The oven lamp does not oper- The pyrolytic cleaning does not operate (the clock display... -
Page 30: Environment Concerns
Environment concerns We recommend that you write the data here: Model (MOD.) Product number (PNC) Serial number (S.N.) ENVIRONMENT CONCERNS The symbol on the product or on its packaging indicates that this product may not be treated as household waste. Instead it should be taken to the appropriate collection point for the recycling of electrical and electronic equipment. - Page 32 892944925-H-322011...