D-Link DWL-7700AP Install Manuals
Outdoor ap/bridge / wireless a/g outdoor ap/bridge
Hide thumbs
Also See for DWL-7700AP:
- Product manual (125 pages) ,
- Manual (106 pages) ,
- User manual (84 pages)
Table of Contents
Advertisement
Quick Links
Advertisement
Table of Contents

Related Manuals for D-Link DWL-7700AP


Summary of Contents for D-Link DWL-7700AP
-
Page 2: Package Contents
Package Contents • DWL-7700AP 802.11A/G Outdoor Wireless AP/ Bridge • CD-ROM (with Product Documentation) • PoE Base Unit • Two Dipole Antennas • RF Jumper Cable • Surge Arrestor • 30m Ethernet cable • Grounding Wire • Power Cord • Power Adapter •... -
Page 3: Before You Begin
192.168.0.50 with a subnet mask of 255.255.255.0 on the wired Ethernet side. You will need to assign your computer a static IP address within the same range as the DWL-7700AP’s IP address for the purpose of configuring the DWL-7700AP. If you need assistance assigning a static IP address to your network adapter, please refer to the manual on the CD-ROM. -
Page 4: Physical Installation
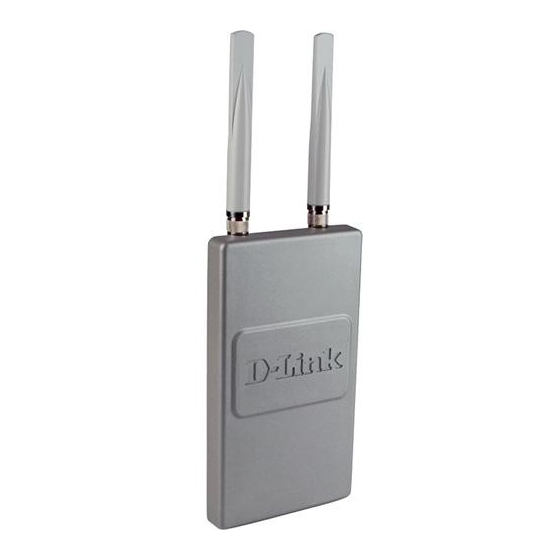
Physical Installation S t e p 1 : C o n n e c t t h e supplied Ethernet cable with the water proof enclosure to the Ethernet port on the DWL-7700AP and attach the grounding wire. - Page 5 Physical Installation (continued) Step 2: Install the two dipole a n t e n n a s t o t h e a n t e n n a connector and attach the grounding wires.
- Page 6 Physical Installation (continued)
- Page 7 Physical Installation (continued) Step 3: Install the mounting kits. You can select between two mounting options. Mounting Option A:...
- Page 8 Physical Installation (continued) A complete DWL-7700AP with Mounting Option A should look like this.
- Page 9 Physical Installation (continued) Mounting Option B: A complete DWL-7700AP with Mounting Option B should look like this.
- Page 10 Step 1: Complete the Physical Installation first. Step 2: Connect the remaining end of the supplied Ethernet cable (connected to the DWL-7700AP in Step 1 on page 4) to the P+ DATA OUT port on the PoE base unit. Step 3: Connect an Ethernet cable from a router/switch or PC to the DATA IN port on the PoE base unit.
- Page 11 Your Setup is Complete! AP Mode: Bridging Mode:...
-
Page 12: Technical Support
Technical Support Technical Support You can find software updates and user documentation on the D-Link website. D-Link provides free technical support for customers within the United States and within Canada for the duration of the warranty period on this product.