
Related Manuals for Philips SPC640NC/00


Summary of Contents for Philips SPC640NC/00
- Page 1 Register your product and get support at www.philips.com/welcome SPC640NC EN User manual...
-
Page 2: Table Of Contents
Contents 1 Your WebCam Welcome What’s in the box Functional overview 2 Getting started Install the webcam software Connect the webcam to your PC / notebook 3 Adjust webcam settings WebCam Companion Image settings menu Audio settings menu Property pages 4 Operate the webcam with video calling and chatting 6 Frequently asked questions (FAQ) -
Page 3: Your Webcam
The following sections in this manual give a step-by-step description of the installation process and explain how to use the Philips SPC640NC webcam. What’s in the box Please check that the following items are packed in the Philips SPC640NC box. -
Page 4: Functional Overview
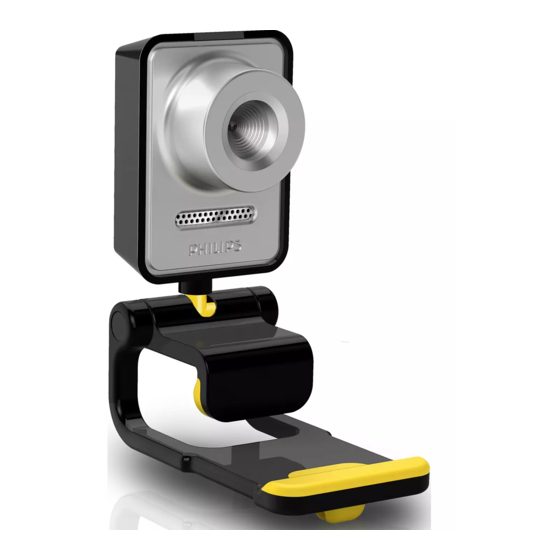
Functional overview a Snapshot button Take photos directly without the mouse. b Focus ring Adjust the focus of the image manually. c Rotating joint webcam manually. d Clamp with rubber rims panel) PC monitor or notebook screen. Fold the clamp when the webcam is placed on a desk or (large) desktop monitor. -
Page 5: Getting Started
CD-ROM at hand. If you connect the webcam without installation of the CD-ROM, you will not be able to use the features available in Philips applications. Place the installation CD-ROM onto the CD-ROM / DVD drive of your PC / notebook. - Page 6 ‘Yes’, then click ‘Finish’ to restart your PC / notebook. » The ‘Philips CamSuite’ shortcut will be visible in the Windows taskbar (bottom right of your screen). In the ‘Philips CamSuite’, you can adjust the webcam settings. See ‘Adjust webcam settings’. ‘ ’...
-
Page 7: Connect The Webcam To Your Pc / Notebook
Connect the webcam to your PC / notebook Before you connect the webcam to the PC / notebook, make sure to run the installation CD Turn on the PC / notebook. Connect the cable to the USB port of the PC / notebook. -
Page 8: Adjust Webcam Settings
You can adjust all SPC640NC webcam settings on respective property pages. However, through the Philips CamSuite application, you can easily access a number of the most used settings (properties). When you activate the instant messaging or VoIP service (Skype, Windows Live Messenger, Yahoo! Messenger, etc.),... -
Page 9: Audio Settings Menu
To close the control panel for the selected item, click . To return to the Philips CamSuite control panel, click Digital zoom With this function, you can get a closer view of an object. Press to open the [Digital Zoom] control panel. -
Page 10: Property Pages
On the [Properties] pages, you can adjust all available SPC640NC webcam settings (properties). Note For easy access to the most used webcam settings (Image, Audio), open the Philips CamSuite control panel and make settings as described in the previous chapters. Click the button in the Philips CamSuite control panel to open the [Properties] pages. -
Page 11: Video Settings
[Full automatic control] This full automatic control mode provides a very easy way to get the best out of your Philips SPC640NC webcam. Or you can choose to have maximum manual control over the webcam settings by switching the full automatic control mode off. - Page 12 (for instance when you are sitting in front of a bright light). [Mirror] horizontally. You can use this feature when you want to use the Philips SPC640NC and monitor as a mirror, or to take pictures of mirrored images.
-
Page 13: Audio Settings
You can now adjust the audio volume setting: [Noise Reduction] For an explanation of the feature and information on how to activate it via the Philips CamSuite control panel, see ‘Adjust webcam settings -Audio settings menu - Noise reduction’. Volume slider This slider provides manual control over the microphone. -
Page 14: Operate The Webcam With Video Calling And Chatting
4 Operate the webcam with video calling and chatting The Philips SPC640NC webcam works with instant messenging and VoIP (Voice over Internet Protocol) applications such as Skype, Windows Live Messenger, Yahoo! Messenger and AOL Instant Messenger. After installation of an application, make the... -
Page 15: Specifications
5 Technical specifications Sensor VGA CMOS Real video resolution (Max.) 640 x 480 Real still image resolution (Max.) 640 x 480 Interpolated still image resolution (Max.) 1280 x 960 Frames per second 30 fps (maximum) F-number Lens view angle 55 degrees Interfacing USB 2.0, UVC compliant... -
Page 16: Frequently Asked Questions (Faq)
(FAQ) How can I adjust image quality? The default settings of the Philips SPC640NC webcam usually offer the best possible image quality. It might be possible that you are not quality. In this case, follow the steps below to adjust image quality according to you own personal preferences. - Page 17 Click [Ok] to save your settings. Note the corresponding function available in the WebCam Companion. The microphone of my Philips SPC640NC webcam or headset does not work (properly). What should I do? For Windows XP (SP2): Click the Windows ‘Start’ button (bottom left of your screen).
- Page 18 You cannot use the webcam in more than one application at the same time. Close the application. How can I restore my Philips webcam to the default factory settings? Double click on the Philips CamSuite icon in the Windows taskbar (bottom right of your screen) to open the Philips CamSuite control panel.
-
Page 19: Service And Support
Philips. Brands and product names are trademarks or registered trademarks of their respective companies. Disclaimer Philips makes no warranty of any kind with regard to this material, including, but not limited to, the implied warranties of purpose. Philips assumes no responsibility for any error that may appear in this document. -
Page 20: Fcc Compliance
FCC compliance This device complies with Part 15 of the FCC Rules. Operation is subject to the following two conditions: a this device may not cause harmful interference, and b this device must accept any interference received, including interference that may cause undesired operation. -
Page 21: System Requirements
System requirements ® ® Microsoft Windows Windows 7; ® Intel Pentium IV, 850Mhz or equivalent; 512 MB RAM (for XP) or 1 GB RAM (for Windows Vista and Windows 7) with 200 MB free hard disk space; One free USB port (USB 2.0) and CD-ROM or DVD drive. - Page 22 © 2009 Koninklijke Philips Electronics N.V. All rights reserved. SPC640NC_00_UM_V1.0...