
Related Manuals for Yamaha NS-P20


Summary of Contents for Yamaha NS-P20
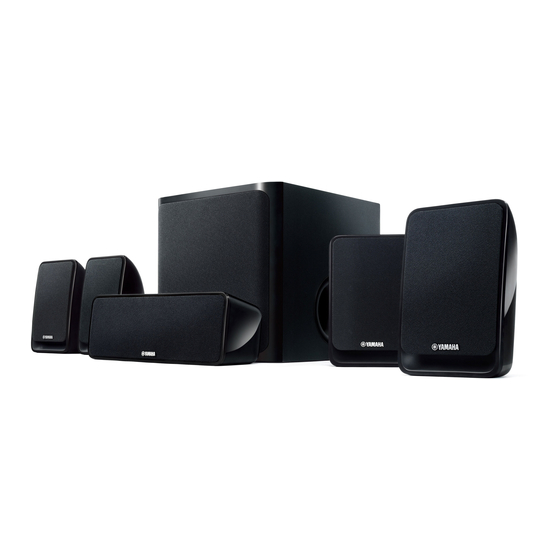
- Page 1 NS-P20 (NS-B20 + NS-C20 + NS-SW20) SPEAKER PACKAGE OWNER'S MANUAL MANUAL DE INSTRUCCIONES...
- Page 2 Precautions Please read the following operating precautions before use. Yamaha will not be held responsible for any damage and/or injury caused by not following the cautions below. 1. To assure the finest performance, please read this 1. Do not operate this unit upside down. It may overheat, manual carefully.
- Page 3 Precautions • VOLTAGE SELECTOR (For China, Korea, Asia and General models) The voltage selector switch on the rear panel of this unit must be set to your local main voltage BE- FORE plugging this unit into the AC main supply. Voltages are 110-120/220-240 V AC, 50/60 Hz.
-
Page 4: Table Of Contents
Contents Package contents..........1 Connecting the speakers ........3 Connection diagram..........3 Installing the speakers........1 Connecting the power cables ......4 Installing the front, center, and surround Using the Subwoofer ......... 4 speakers ............2 Installing the subwoofer........2 Setting the subwoofer volume ......4 Wall-mounting the speakers........2 Troubleshooting .......... -
Page 5: Installing The Speakers
Installing the speakers Installing the front, center, Wall-mounting the speakers and surround speakers You can mount the speakers on the wall as follows. Front speakers: Place the two front speakers on the Install screws into a solid wall or wall support left and right sides of the TV facing directly forward. -
Page 6: Connecting The Speakers
Connecting the speakers Caution: Make sure the power cables for the subwoofer and your other AV components are disconnected from the AC wall outlets before making any connections. Connection diagram Surround speakers Right Left Center speaker SPEAKERS FRONT SURROUND CENTER Amplifier ANTENNA (BD/DVD) -
Page 7: Connecting The Power Cables
In your AV receiver’s speaker size settings, specify Insert the bare wire. small (or “S”) for all of the NS-P20 speakers. Release the tab so that it closes securely on the If you’re connecting the subwoofer to a Yamaha DSP bare wire, not the insulation. -
Page 8: Troubleshooting
If this product doesn’t work as expected, look for a possible cause below. If the issue you are experiencing is not listed, or you cannot resolve it after reading through these instructions, disconnect the power cable and contact an authorized Yamaha dealer or service center. ■ Front, surround speakers (NS-B20) and center speaker (NS-C20) -
Page 9: Specifications
Specifications ■ Front, surround speakers (NS-B20) and ■ Subwoofer (NS-SW20) center speaker (NS-C20) Type ......Advanced Yamaha Active Servo Technology Driver ..........16 cm (6-1/2") cone woofer Type...........Full range acoustic suspension non magnetic shielding type non magnetic shielding type Amp output power....50 W (100 Hz, 5 Ω, 10% T.H.D) Driver ...........7 cm (2-3/4") cone type... - Page 10 Precauciones Lea las siguientes precauciones de funcionamiento antes de iniciar el uso del aparato. Yamaha no se responsabilizará de cualquier daño o lesión causada por no seguir las precauciones que aparecen a continuación. 1. Para asegurar el mejor rendimiento posible, lea con 4.
-
Page 11: Contenido Del Paquete
Contenido Contenido del paquete........1 Conectar los altavoces........3 Diagrama de conexión .........3 Instalar los altavoces ..........1 Conectar los cables de alimentación ....4 Instalar los altavoces frontales, central, y Utilizar el subwoofer.......... 4 surround ............2 Instalar el subwoofer..........2 Ajustar el volumen del subwoofer.......4 Instalar los altavoces en la pared......2 Solucionar problemas ........ -
Page 12: Instalar Los Altavoces
Instalar los altavoces Instalar los altavoces frontales, Instalar los altavoces en la pared central, y surround Puede instalar los altavoces en una pared de la manera siguiente. Altavoces frontales: Sitúe los dos altavoces frontales en los lados derecho e izquierdo del televisor Fije los tornillos a una pared firme o en un totalmente hacia delante. -
Page 13: Conectar Los Altavoces
Conectar los altavoces Precaución: Antes de realizar las conexiones, compruebe que los cables de alimentación para el subwoofer y los otros componentes AV no estén conectados a las tomas de CA. Diagrama de conexión Altavoces Surround Derecho Izquierdo Altavoz central SPEAKERS FRONT SURROUND... -
Page 14: Conectar Los Cables De Alimentación
Si conecta el subwoofer a un amplificador DSP de Yamaha o a un receptor AV, conéctelo a su Compruebe que la conexión sea segura SUBWOOFER o a la salida LOW PASS. -
Page 15: Solucionar Problemas
Yamaha autorizado. ■ Altavoces frontales, surround (NS-B20), y central (NS-C20) -
Page 16: Especificaciones
Especificaciones ■ Altavoces frontales, surround (NS-B20), y ■ Subwoofer (NS-SW20) central (NS-C20) Tipo ......Advanced Yamaha Active Servo Technology Driver ..........Woofer con cono de 16 cm Tipo......Suspensión acústica de gama completa tipo blindado no magnéticamente tipo blindado no magnéticamente Driver ............. Tipo cónico 7 cm Amplificador de potencia de salida ........