Advertisement
Quick Links
Advertisement

Related Manuals for Whirlpool AKR912CIXM


Summary of Contents for Whirlpool AKR912CIXM
- Page 1 INSTRUCTION MANUAL T- Box Hood AKR912CIXM...
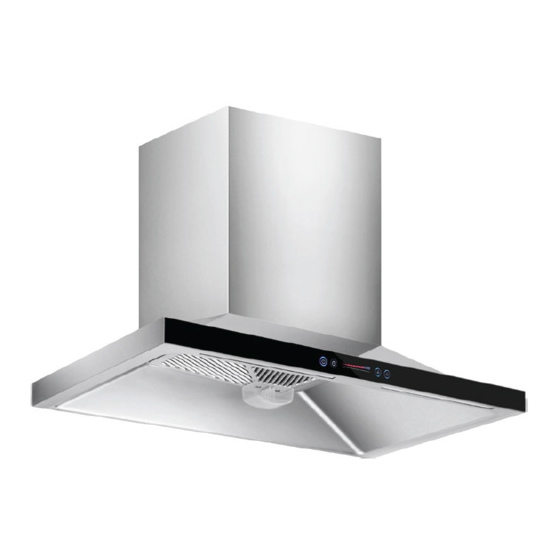
- Page 2 CONTENTS RECOMMENDATIONS AND SUGGESTIONS CHARACTERISTICS INSTALLATION & USE MAINTENANCE Product Specification & Technical Parameters AKR912CIXM Model 220-240V Rated Voltage ~ Rated Power Frequency 50Hz Light Power 2x1.5W...
- Page 3 recirculation mode. You can find the charcoal filter in the carton box. * Only a qualified and trained service technician can undertake the work of installation and servicing. * This appliance can not use extend cord. * Check that the mains voltage corresponds to the one indicated on the rating plate fixed inside the hood.
- Page 4 overheated oil can burst into flame. * The hood should not be used by children or person not instructed on its correct usage. MAINTENANCE * Proper maintenance of the Range Hood will assure proper performance of the unit. * Disconnect the hood from the main supply before carrying out any maintenance work.
- Page 5 supervision or instruction concerning use of the appliance by a person responsible for their safety. Children should be supervised to ensure that they do not play with the appliance. * There shall be adequate ventilation of the room when the range hood is used at the same time as appliances burning gas or other fuels.
- Page 7 COMPONENTS Components 1pcs Grease filter 1pcs Charcoal filter 1pcs Hood body steel bolt Cross self-drill bolt Exhaust Exterior chimney Inner chimney Cross discal thread bolt Fixing frame Cross discal bolt-big head Flat rubber band Plastic distensible sleeve Documentations Instruction Manual INSTALLATION &...
- Page 8 the wall units. 3. When the appliance has been adjusted, fix the hood using the screws A. For the various installations use screws and screw anchors suited to the type of wall (e.g. reinforced concrete, plasterboard, etc.). If the screws and screw anchors are provided with the product, kindly check the screws are suitable for the type of wall in which the hood is to be fixed.
- Page 9 φ 1. Attach an adequate length of 150mm round duct into the recessed area of the air outlet adapter. 2. The duct has to be secured using two screws from two sides of the air outlet adapter. Make sure the duct is fixed well on. DESCRIPTION/CONNECTIONS Ducted mode air exhaust system The hood draws the cooking fumes saturated with fumes and odor through...
- Page 10 6. Install a roof/wall cap. Connect round metal ductwork to cap and work back towards hood location. Use duct tape to seal the joints between ductwork sections. Electrical Connection * Electrical wiring must be done by a qualified person(s) in accordance with all applicable codes and standards.
- Page 11 When activate key A, the light will go on, key C will be flashing from max to min. Then key C will automatic switch off. Press key E, the light will switch on and the symbol is automatic set for minimum speed.
- Page 12 Always switch off the electrical supply before carrying out any operation on the appliance. Only a qualified and trained service technician can undertake the work of blubs replacement and servicing. CAUTION: 1. The surface and the cover of the lamp may be hot. TAKE CARE while replacing.
- Page 13 to remain in contact with aluminum finish for extended periods. Many of these compounds contain chemicals that may be harmful. Rinse with water after exposure and wipe dry with a clean cloth. * Painted surfaces should be cleaned with warm water and mild detergent only.