JVC MX-GC5 Instructions Manual
Compact component system
Hide thumbs
Also See for MX-GC5:
- Service manual (69 pages) ,
- Instructions manual (30 pages) ,
- Instructions manual (30 pages)
Table of Contents
Advertisement
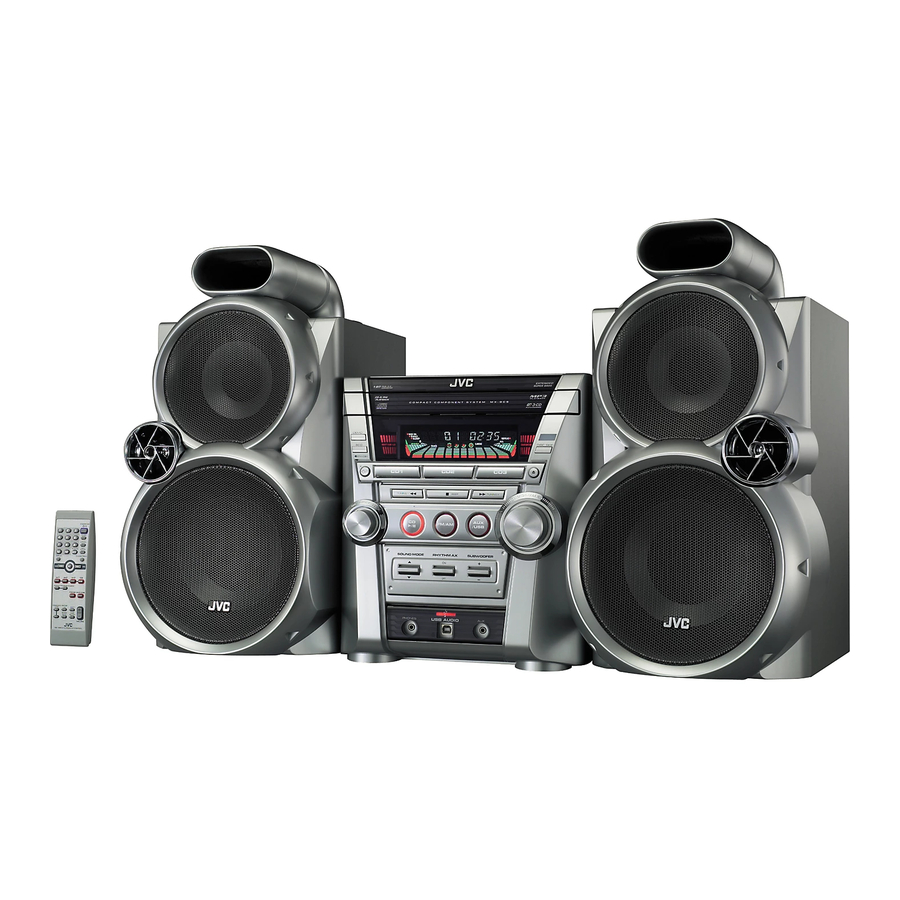
COMPACT COMPONENT SYSTEM
MX-GC5
SP-MXGC5
—Consists of CA-MXGC5 and SP-MXGC5
CA-MXGC5
INSTRUCTIONS
SP-MXGC5
For Customer Use:
Enter below the Model No. and Serial
No. which are located either on the rear,
bottom or side of the cabinet. Retain this
information for future reference.
Model No.
Serial No.
LVT1344-001A
[J]
Advertisement
Table of Contents

Related Manuals for JVC MX-GC5


Summary of Contents for JVC MX-GC5
- Page 1 COMPACT COMPONENT SYSTEM MX-GC5 —Consists of CA-MXGC5 and SP-MXGC5 SP-MXGC5 INSTRUCTIONS CA-MXGC5 SP-MXGC5 For Customer Use: Enter below the Model No. and Serial No. which are located either on the rear, bottom or side of the cabinet. Retain this information for future reference.
- Page 2 Consult the dealer or an experienced radio/TV technician for help. CAUTION Changes or modifications not approved by JVC could void the user’s authority to operate the equipment. For the main unit: Declaration of Conformity...
-
Page 3: Important For Laser Products
IMPORTANT FOR LASER PRODUCTS 1. CLASS 1 LASER PRODUCT 2. CAUTION: Do not open the top cover. There are no user serviceable parts inside the unit; leave all servicing to qualified service personnel. 3. CAUTION: Visible and invisible laser radiation when open and interlock failed or defeated. Avoid direct exposure to beam. 4. - Page 4 Introduction We would like to thank you for purchasing one of our JVC products. Before operating this unit, read this manual carefully and thoroughly to obtain the best possible performance from your unit, and retain this manual About This Manual This manual is organized as follows: •...
-
Page 5: Table Of Contents
Contents Location of the Buttons and Controls ... 3 Getting Started ... 6 Common Operations ... 10 Listening to the Radio ... 13 Playing Back CDs ... 14 Using the Timers ... 20 Troubleshooting ... 22 Maintenance ... 23 Specifications ... 24 Unpacking ... -
Page 6: Location Of The Buttons And Controls
Location of the Buttons and Controls Become familiar with the buttons and controls on your unit. Front Panel... - Page 7 Display Window See pages in the parentheses for details. Front Panel 1 Display window 2 RHYTHM AX lamp (11) 3 DEMO button (8) 4 ECO button (8) 5 STANDBY lamp (10) (standby/on) button (10) 7 • 7 (stop) button (15, 19) •...
- Page 8 Remote Control When using the remote control, point it at the remote sensor on the front panel. Remote Control 1 Number buttons (13, 17, 18) 2 DISPLAY button (10) 3 4/1 (reverse search/fast reverse) button (10, 13, 16 – 18, 20, 21) 4 Disc tray selecting buttons (10, 14 –...
-
Page 9: Getting Started
Getting Started Unpacking After unpacking, check to be sure that you have all the following items. The number in the parentheses indicates the quantity of each piece supplied. • FM antenna (1) • AM loop antenna (1) • Remote control (1) •... -
Page 10: Connecting Speakers
AM antenna Make sure to connect the wire correctly: The white end to AM EXT, the black end to GND. 1, 2 ANTENNA AM EXT LOOP FM coaxial (75 ) Vinyl-covered wire (not supplied) Press and hold the clamp of the AM terminal on the rear of the unit. -
Page 11: Connecting Other Equipment
Connecting Other Equipment You can connect audio equipment—used only as a playback device. • DO NOT connect any equipment while the power is on. • DO NOT plug in any equipment until all connections are complete. To connect audio equipment Stereo mini plug cord (not supplied) Audio equipment To audio output... -
Page 12: Connecting A Computer
Connecting a Computer This unit is equipped with a USB AUDIO terminal on the front panel. You can connect your PC to this terminal and enjoy sound reproduced through your PC. When you connect your PC for the first time, follow the procedure below. -
Page 13: Common Operations
Common Operations Turning On or Off the Power To turn on the unit, press STANDBY/ON on the unit) so that the STANDBY lamp goes off. To turn off the unit (on standby), press STANDBY/ON on the unit) again so that the STANDBY lamp lights up. A little power is always consumed even while the unit is on standby. -
Page 14: Adjusting The Volume
Adjusting the Volume You can adjust the volume level only while the unit is turned Press VOLUME + to increase the volume or press VOLUME – to decrease it. • The volume level can be adjusted in 33 steps (VOL MIN, VOL 1 — VOL 31, and VOL MAX). -
Page 15: Selecting The Sound Modes
Selecting the Sound Modes You can select one of the 6 preset sound modes (3 surround modes and 3 SEA—Sound Effect Amplifier—modes). On the remote control: Press SOUND MODE repeatedly until the sound mode you want appears on the display. •... -
Page 16: Listening To The Radio
Listening to the Radio Tuning in to a Station—Auto Search Press FM/AM. The unit automatically turns on and tunes in to the previously tuned station (either FM or AM). • Each time you press the button, the band alternates between FM and AM. Start searching for stations. -
Page 17: Playing Back Cds
Playing Back CDs This unit has been designed to playback the following CDs: ReWritable Recordable • Audio CD • CD-R (CD-Recordable) • CD-RW (CD-ReWritable) • MP3 disc (MP3 files recorded on a CD-R or CD-RW)* When playing a CD-R or CD-RW •... - Page 18 For MP3 disc: • When the MP3 playback mode is the TRACK mode (See also page 17.) Current track name scrolls. When the track includes the ID3v1/1.1 tags, “Title,” “Artist,” and “Album” will scroll after the track name. • “TITLE” appears before the content of “Title” scrolls, “ARTIST”...
-
Page 19: Basic Cd Operations
Basic CD Operations While playing a disc, you can do the following operations. To exchange CDs during playback of another Press 0 on the unit. The carrousel comes out. If you change discs during play, the current play will not stop until all discs you have changed are played. To close the carrousel, press 0 again. -
Page 20: Changing The Mp3 Playback Mode
To go to another track directly using the number buttons Ex.: For track number 5, press 5. For track number 15, press +10, then 5. For track number 20, press +10, then 10. For track number 32, press +10, +10, +10, then 2. For track number 123, press +10 twelve times, then 3. -
Page 21: Programming The Playing Order Of The Tracks-Program Play
Programming the Playing Order of the Tracks —Program Play You can arrange the order in which the tracks play before you start playing. You can program up to 32 tracks. Program play is not available to MP3 discs on this unit There may be a malfunction in case that you try to do such playback. -
Page 22: Playing At Random-Random Play
Playing at Random—Random Play The tracks of the selected CD will play at random. • To use Random play, you have to cancel Program play. On the remote control ONLY: Load a CD. Press one of the disc number buttons (CD1, CD2, or CD3) for the disc you want to play, then press 7. -
Page 23: Using The Timers
Using the Timers There are two timers available—Daily Timer and Sleep Timer. Before using the timers, you need to set the clock built in the unit. (See “Setting the Clock” on page 10.) Using Daily Timer With Daily Timer, you can wake to your favorite music or radio program. -
Page 24: Using Sleep Timer
Press ¢/¡ or 4/1 to select the preset station number or disc tray number, then SET/RESUME. • Select “P- - -” or “DISC -” for the last selected stration or disc tray number. The unit enters volume setting mode. Press ¢/¡ or 4/1 to set the volume level. -
Page 25: Troubleshooting
Troubleshooting If you are having a problem with your unit, check this list for a possible solution before calling for service. If you cannot solve the problem from the hints given here, or the unit has been physically damaged, call a qualified person, such as your dealer, for service. -
Page 26: Maintenance
Maintenance To get the best performance of the unit, keep your discs, tapes, and mechanism clean. Cleaning the unit • Stains on the unit Should be wiped off with a soft cloth. If the unit is heavily stained, wipe it with a cloth soaked in water-diluted neutral detergent and wrung well, then wipe clean with a dry cloth. -
Page 27: Specifications
Specifications Amplifier section—CA-MXGC5 Output Power SUBWOOFERS MAIN SPEAKERS : 70 W per channel, min. RMS, driven into Audio input sensitivity/Impedance (at 1 kHz, measured at MAIN SPEAKERS) Speakers/Impedance: Tuner FM tuning range AM tuning range CD player CD Capacity Dynamic range Signal-to-noise ratio : 85 dB Dimensions (approx.) : 270 mm x 305 mm x 490 mm (W/H/D) Mass (approx.) - Page 30 VICTOR COMPANY OF JAPAN, LIMITED 0205MWMMDWBET © 2005 Victor Company of Japan, Limited...