Bosch Nexxt premium Operating, Care And Installation Instructions Manual
Dryer
Hide thumbs
Also See for Nexxt premium:

Related Manuals for Bosch Nexxt premium


Summary of Contents for Bosch Nexxt premium
- Page 1 Dryer - Sèche linge - Secador Nexxt Premium en Operating, Care and Installation Instructions Notice d'utilisation, de maintenance et d'installation es Operación, cuidado e instrucciones para la instalación...
-
Page 2: Table Of Contents
..............STATEMENT OF WARRANTIES BOSCH CLOTHES DRYERS . -
Page 3: Definitions
Congratulations on having selected Each dryer which leaves our factory a Bosch clothes dryer, the choice of has undergone a thorough Definitions performance test and is in full those that demand exceptional performance from their clothes dryer. working condition. If you have any... -
Page 4: Important Safety Instructions
1. Read all instructions before washing, which may smoke or unless recommended by the using the dryer. Bosch dryers catch fire by itself. fabric manufacturer. are provided with Operating, 17. Do not place items exposed to Care and Installation 10. -
Page 5: Grounding Instructions
GROUNDING 27. Do not operate this dryer until WARNING you are sure that the dryer INSTRUCTIONS has been installed according Improper connection of the This appliance must be grounded. to the INSTALLATION equipment grounding conductor In the event of malfunction or INSTRUCTIONS and that can result in a risk of electric breakdown, grounding will reduce... -
Page 6: Installation Instructions
INSTALLATION INSTRUCTIONS Introduction Information Before installing concerning waste the dryer Read these installation instructions disposal completely and carefully. They will Unpacking the appliance save you time and effort and help to Disposal of the packaging WARNING ensure optimum dryer performance. Be sure to observe all listed DANGER warnings and cautions. - Page 7 Installation location Important information concerning minimum distances: WARNING Depending on the location of the exhaust air connection, an Do not install the dryer: additional minimum distance of - outdoors 5½ inch (14 cm) must be provided on this side for - in an environment with dripping pipes/brackets (see page 37).
-
Page 8: Electrical Connection
Your dryer comes with a power Cord must have closed loop or supply cord, CSA listed in Canada. upturned end wire terminating The Bosch dryer requires a 4 wire connectors. receptacle. Do not make a sharp bend or crimp wiring/conductor at con 4. -
Page 9: Exhaust Air Connection
(red and black) to and grounded in accordance with the 2 terminals labeled L and The Bosch dryers are intended to all local regulations and ordinances. the remaining power cord be vented outdoors. To prevent... - Page 10 DO NOT assemble the ductwork More than two 90 turns are not with screws or fasteners that recommended. For best extend into the duct. They will serve performance, separate all turns by as an accumulation point for lint. at least 4 ft. of straight duct, Joints should be secured with duct including distance between last turn tape.
-
Page 11: Accessories
Accessories Bottom exhaust kit The parts required for the exhaust air system can be obtained from customer service or your local dealer. Please follow the installation instructions supplied by the appropriate manufacturer! Side exhaust kit part no.WTZ1270 Note: The maximum permitted number of 90°... -
Page 12: Installation Step By Step
Installation Check list before step by step using the dryer 1. Unpack the dryer. 1. Check that steps 1 9 have been implemented properly. 2. Remove all objects from the drum. 2. Ensure that the dryer is connected to the power supply. 3. -
Page 13: Operating Instructions
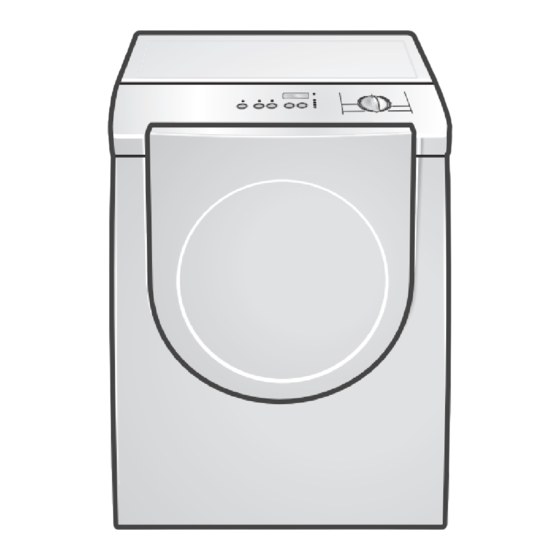
OPERATING INSTRUCTIONS Your new dryer Open the door...(red marking) ..and close the door. Lint filter... -
Page 14: Panel
Panel Start/Stop button Buttons for Options (in addition to the Starts, interrupts and ends the drying program if required). See page 20. process. Delicates Press for temperature sensitive textiles (e.g. acrylic fibers). The temperature of the drying process is reduced, the drying time is extended correspondingly. -
Page 15: Summary Of Instructions
Selecting a program Using the dryer rack Summary of instructions WARNING Before using your dryer read and follow all installation and operating instructions. Change the settings of additional options Preparing the dryer Check the lint filter. The filter should be cleaned before and after every drying process. -
Page 16: Safety Information
Tips on saving energy Do not use a dryer which is visibly DANGER! To save energy, money and time, damaged. If in doubt, contact your Bosch recommends the following: dealer. Always follow the IMPORTANT Drain the laundry thoroughly! SAFETY INSTRUCTIONS... -
Page 17: Before Using The Dryer For The First Time
Before using Temporary Laundry the dryer for disconnection Identification the first time of the dryer of fabrics Observe the treatment symbols on Before you use the dryer for the first Operate your dryer only when you the textile labels. They provide time: are at home. -
Page 18: Program Selection
Mix programs Time programs Program selection For optimum drying results your dryer offers several program groups and additional options. Select the required drying program from the program table according to the examples (see page 21). There are mix programs (Very Dry, Time programs run at specific Regular Dry) for mixed loads temperatures... -
Page 19: Additional Options
Additional options These settings can now be Degree of dryness changed with the Select" button. The residual moisture can be Press the button to jump to the next Before setting additional individually reduced in 3 steps. possible setting. options, choose a program with program selector! 1, 2, 3: programs are lengthened Pressing the Menu"... -
Page 20: Options
Options Indicator of program sequence The dryer uses an electronic scanning system for all programs except the time programs and the special Wool Care" program. A moisture sensor continuously checks the moisture in the laundry. Drying ends automatically as soon as the selected degree of dryness has been reached. -
Page 21: Program Selection Table
Program selection table Automatic programs For Cottons and coloreds made of cotton or linen. Regular/Cottons" Press Delicates" button for temperature sensitive textiles. For laundry, Bed linen and table linen, towels which is to be ironed Damp dry Bed linen and table linen, towels, T shirts, sports shirts, overalls T shirts, sports shirts, dresses, trousers, overalls, underwear Terry towels, kitchen towels, hand towels, bed linen, underwear, cotton which is not to be ironed... -
Page 22: Operation
If you have chosen a time program don't forget to select Operation a time. Otherwise the Start/Stop" indicator light will Using the dryer not flash and the dryer will not start. If the door has not been closed properly, the dryer will not start. 4. -
Page 23: Using The Dryer Rack
Using the dryer rack Use the dryer rack to dry washable woolen textiles (e.g. sweaters) and shoes. The dryer rack remains stationary while the drum rotates. Damp wool should not be moved, as it has a tendency to matt. Drying shoes without a rack could damage the drum. - Page 24 10. Rotate program selector to 15. Re insert the lint filter. 3. Close the door. Wool Care". Drying shoes on the dryer rack: 11. Select the required drying time 1. Prepare shoes. with the Select" button. q Clean shoes to prevent the Select the drying time from the drum from becoming soiled.
-
Page 25: Cleaning And Care
Cleaning the moisture sensor Cleaning and Occasionally the moisture sensor care has to be cleaned because a fine layer of transparent buildup is deposited on the sensors. Cleaning the dryer DANGER! 3. Remove the lint filter. RISK OF EXPLOSION! Never use solvents or highly flammable liquids for cleaning. -
Page 26: Change The Light Bulb
Changing the light Loosen the screw of the cover and open the cover. bulb Turn bulb counterclockwise. The dryer light turns on inside the Replace the bulb with a new drum when you open the door. appliance bulb only (obtainable through customer service). -
Page 27: Service And Repair
SERVICE and REPAIR If you are having a problem with Please be sure to include, if writing, CAUTION your Bosch dryer and are not or have available, if calling, the pleased with the service you have following information: CAUTION - Label all wires prior... -
Page 28: Statement Of Warranties Bosch Clothes Dryers
2 Year Limited Warranty on Motor Bosch will repair or replace, free of charge, any motor or component part From Date of Installation* of the motor that proves defective under conditions of normal home use during the second through fifth year from the date of original installation, labor charges excluded.