Table of Contents
Advertisement
Advertisement
Table of Contents

Related Manuals for Electrolux EFA90245X


Summary of Contents for Electrolux EFA90245X
- Page 1 USER MANUAL EFA90245X...
- Page 2 We were thinking of you when we made this product...
- Page 3 If you require guidance in the use of the appliance or require further information on Electrolux Products, please contact our Customer Services Department. For general enquiries con- cerning your Electrolux appliance or for further information, visit our website at http://www.electrolux.co.uk...
-
Page 4: Important Safety Information
Refer to your local Electrolux Service Force Centre. Always insist on genuine • If the room where the hood is to be used contains spare parts. -
Page 5: Your Appliance
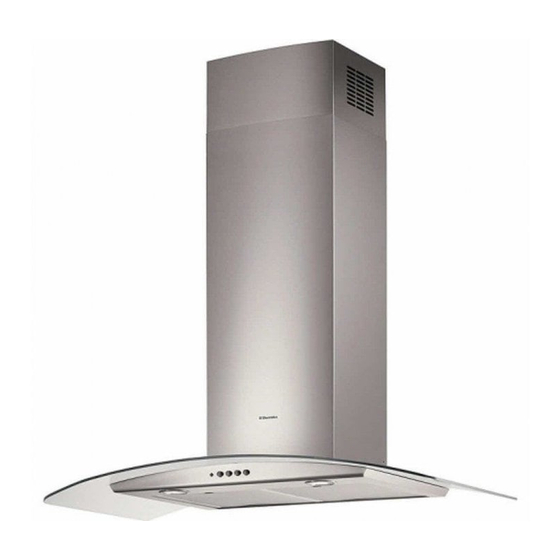
YOUR APPLIANCE ���� ���� ����� ����� OPERATING INSTRUCTIONS This cooker hood is designed to extract unpleasant odours from the kitchen, it will not extract steam. Cooker Hood Controls The cooker hood functions are controlled by four push button switches located centrally in the control �... - Page 6 To Operate Select the required fan speed and light if required. Recirculation In the recirculation mode the contaminated air enters the cooker hood through the grease filters. The air is cleaned by passing through the charcoal filters before being passed back into the kitchen through the grilles in either side of the chimney stack.
-
Page 7: Maintenance And Cleaning
MAINTENANCE AND CLEANING Before carrying out any maintenance or cleaning isolate the cooker hood from the mains supply. The cooker hood must be kept clean, as a build up of grease or fat can be a fire hazard. External Cleaning Wipe the cooker hood frequently with warm soapy water using a mild detergent. - Page 8 Position the new charcoal filter in the position marked and while holding the filter replace the fixing hooks as illustrated. This appliance can be a possible fire hazard if the grease and charcoal filters are not cleaned and replaced as recommended.
-
Page 9: Something Not Working
If you require an engineer or spare parts contact your For general assistance with your appliance or for further local Service Force Centre by telephoning: information on Electrolux products please contact our Customer Services Department. 08705 929929 Customer Services Department... - Page 10 GUARANTEE CONDITIONS We Electrolux, undertake that if within 12 months of the date of the purchase this Electrolux built-in appliance or any part thereof is proved to be defective by reason only of faulty workmanship or materials, the company will, at our option repair or replace the same FREE OF ANY CHARGE for labour, materials or carriage on condition that: •...
-
Page 11: Installation Instructions
INSTALLATION INSTRUCTIONS It is dangerous to alter the specifications or attempt to modify this product in any way. Technical Information DIMENSIONS HEIGHT OF CANOPY: 70 mm HEIGHT OF CHIMNEY: (UPPER SECTION) 415 mm (LOWER SECTION) 700 mm WIDTH OF CANOPY : 898 mm DEPTH OF CANOPY: 650 mm... -
Page 12: Installing The Cooker Hood
INSTALLING THE COOKER HOOD Please ensure that when the appliance is installed it is easily accessible to an engineer in the event of a breakdown. All installations must comply with the local authorities requirements for the discharge of exhaust air. Incorrect installation may affect the safety of this cooker hood. -
Page 13: Fixing The Frame
INSTALLING THE COOKER HOOD The clereance height between the inferior part of the cooker hood and the hob must be 650 mm ( some models can be fitted at a lower height from the hob, please refer to the installation paragraph). Drilling the Ceiling/Support Shelf •... - Page 14 INSTALLING THE COOKER HOOD Before tightening the screws completely it is possible to adjust the frame by turning it. Make sure that the screws do not come out of their seats in the slotted holes. • The frame mountings must be secure to with- stand the weight of the hood and any stresses caused by the occasional side thrust applied to the device.
-
Page 15: Ducting Connection
INSTALLING THE COOKER HOOD Ducting Connection Connect the ducting chosen to: The diameter of the ducting spigot on the top of the hood body item 1 is Ø150mm (6”). ����� ����� When using Ø120mm ducting it will be necessary to install the ducting adapter item 9 to the the �... -
Page 16: Fitting The Chimney
INSTALLING THE COOKER HOOD Chimney Stack The chimney consists of two sections. The lower chimney measures 700mm and the upper chimney (with the recirculation grilles on either side) measures 415mm. The overall installed measurement is min. 830 - max 1100mm. ���... -
Page 17: Electrical Connection
Electrical Connection • Connect the Hood to the Mains power supply, inserting a two-pole Switch with a contact aperture of at least 3 mm. • Remove the Metal grease filters (see par. on “Mainte- nance”) and make sure that the power supply Cable is properly inserted in the Suction fan socket. -
Page 18: Service And Spare Parts
Service Force Centre covering your post code area. 5. The purchase date Customer Care Department For general enquiries concerning your Electrolux appliance or for further information on Electrolux products, please contact our Customer Care Department by letter or telephone at the address below Customer Services Department... - Page 20 436005298_01 - 110125...