Canon FAXPHONE L75 Setup Sheet
Laser fax - printer
Hide thumbs
Also See for FAXPHONE L75:
- User manual (201 pages) ,
- Service manual (183 pages) ,
- Software user's manual (66 pages)
Advertisement
Quick Links
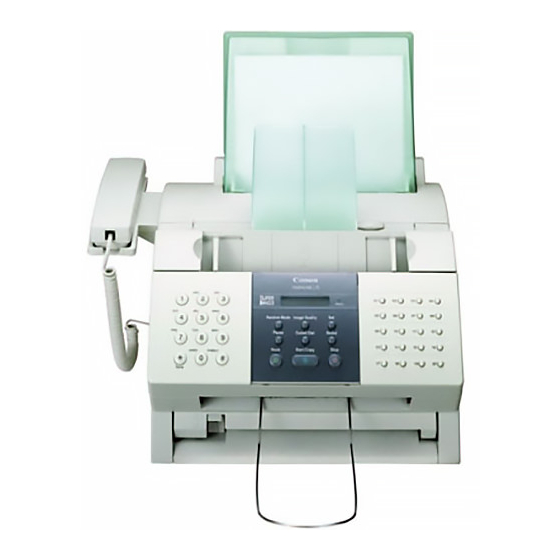
Thank you for purchasing the Canon FAXPHONE L75.
To get your machine ready for use, please follow the instructions in this Set-Up Sheet before referring to any
other documentation.
Unpack the machine and its components.
Check that you have the following:
G
Main unit
G
Multi-purpose
tray
G
Handset
NOTE
• You need a USB cable (less than 16.4ft./5m) to connect your machine to a computer.
• To lift the machine, hold it firmly and level as illustrated.
Set-Up Sheet
Set-Up Sheet
G
FX3 cartridge
G
Multi-purpose tray
cover
G
G
Handset cradle
G
Support trays (2)
G
G
G
G
G
Screws with
G
plugs (2)
G
Document support
Paper loading warning label
Power cord
Telephone line cord
Documentation
(Set-Up Sheet, Basic Guide,
Warranty, Registration card)
FAXPHONE L75 software CD-
ROM
Destination labels
Advertisement

Related Manuals for Canon FAXPHONE L75


Summary of Contents for Canon FAXPHONE L75
- Page 1 Set-Up Sheet Set-Up Sheet Thank you for purchasing the Canon FAXPHONE L75. To get your machine ready for use, please follow the instructions in this Set-Up Sheet before referring to any other documentation. Unpack the machine and its components. Check that you have the following:...
-
Page 2: Assemble The Machine
Remove the shipping materials from the machine. 1 Place the machine on a flat surface. 2 Remove all shipping tapes from the exterior of the machine. 3 Gently open the operation panel 1 (it only opens partially) and remove the pro- tective sheet 2 from the ADF. -
Page 3: Load Paper
Load paper. 1 Insert a stack of paper into the multi-purpose tray 1 (print side facing you and top edge first), then adjust the paper guides A to the width of the paper 2. 2 Attach the multi-purpose tray cover to prevent dust accumulating inside the machine. -
Page 4: Connect The Power Cord
Connect the handset and telephone line cord. Handset Connect external devices as follows: Place the handset in the cradle. = Telephone line jack Connect the cord to the jack. = External device jack = Handset jack • Telephone or answering machine Telephone or answering machine Telephone... - Page 5 Install the FX3 cartridge. 1 Lift the latch and open the front cover. 2 Remove the cartridge from its protective bag. 3 Gently rock the cartridge from side to side a few times to distribute the toner evenly inside it. •...
-
Page 6: Fax Only Mode
Set the fax receive mode. Alarm Receive Mode Image Quality Pause Coded Dial Redial Hook Start/Copy Stop Press Receive Mode until the mode you want appears: Fax/Tel Mode You can select from the following: Fax/Tel Mode: When the handset or the extension telephone is connected to the machine, the machine auto- matically switches between faxes and voice calls. - Page 7 Install the Printer Driver. (Windows 98/Me/2000/XP) IMPORTANT • DO NOT connect the USB cable before installing the software. NOTE • When installing the software in Windows XP or Windows 2000, log onto the system as a member of the Administrator group. •...
- Page 8 7 When the setup is finished, if prompted, Part no.HT3-2124-000 V 1.1 restart Windows. © 2002 Canon Inc. Canon is a registered trademark of Canon Inc. All other products and brand names are registered trademarks or trademarks of their respective owners. Specifications subject to change without notice.