Table of Contents
Advertisement
Quick Links
Advertisement
Table of Contents

Related Manuals for LG ERICSSON ipLDK-60


Summary of Contents for LG ERICSSON ipLDK-60
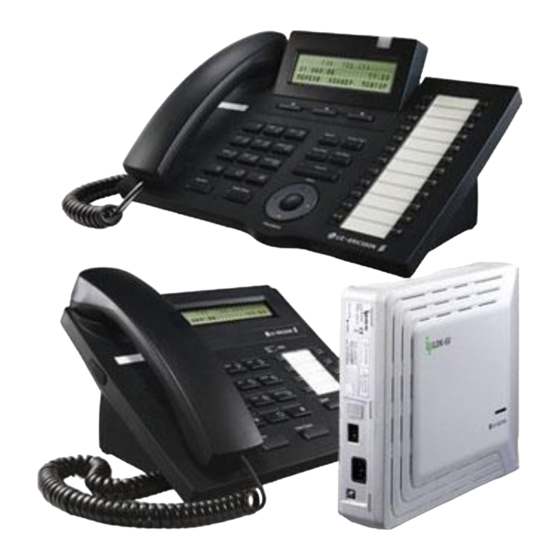
- Page 1 ipLDK-60 User Guide...
-
Page 2: Table Of Contents
Contents Transferring Calls ..........................3 Parking Calls ............................3 Placing Calls On Hold ..........................3 Intercom Signal Mode .......................... 4 Calling Other Stations ........................... 4 Forwarding Calls ........................... 5 To Call Forward a set internally ........................ 5 To Call Forward a telephone set externally (Off-Net) ................5 To Call Forward phone lines externally (Off-Net) .................. -
Page 3: Transferring Calls
1. Transferring Calls To transfer a call simply press the [Trans/Pgm] button while on a live call. Then, either enter the extension number of the user you are transferring to, or press a pre-programmed DSS key for that user’s extension. Hang the phone up to complete the transfer. -
Page 4: Intercom Signal Mode
4. Intercom Signal Mode Users can control the signaling mode used for incoming internal calls. Intercom calls will signal the user and are answered in one of three modes: H (Handsfree) The station receives a tone burst followed by the voice of the calling party over the speaker and the user can reply hands free. -
Page 5: Forwarding Calls
6. Forwarding Calls You can forward calls internally or externally (Off-Net). Internally, calls can be forwarded to another station, a hunt group or to the user’s mailbox. Externally, calls can be forwarded to Speed Dial bin numbers or user dialed numbers. To Call Forward a set internally ... -
Page 6: To Call Forward Phone Lines Externally (Off-Net)
To Call Forward phone lines externally (Off-Net) To activate: From the attendant telephone Lift the handset or press the [Speaker] button Press the [Dnd/Fwd] button Dial Off-Net Call Forward code, 7 Dial ‘9’ Enter the Speed Dial bin number. To deactivate: ... -
Page 7: Setting Time And Date
8. Setting Time and Date 1. Press the [TRANS/PGM] button. 2. Dial 041 (Change Date / Time Code) 3. Enter the date as MMDDYY (MM: month, DD: Day, YY: year) 4. Press the [HOLD/SAVE] 5. Enter the time in 24 hour format (4:30 PM = 1630) 6. - Page 8 active until the Attendant deletes the room. There are nine (9) Conference Rooms available and each can support up to 15 participants. NOTE: Each room is assigned its own station number from 571 to 579. ie. Conference Room number 1 is assigned station number 571. To activate a Conference Room 1.
-
Page 9: Programming Buttons
Programming Flexible Buttons Flexible buttons are the user programmable buttons located in the right hand area of your phone and arranged in columns. Button inquiry 1. Press the [TRANS/PGM] button. 2. Press any Flexible button to be identified. To assign a Feature button on the phone set 1. -
Page 10: Paging
Paging How the user is able to make pages is dependent on how the CTW Technician set-up the system. For instance, if no external paging equipment is present (Amp, speakers, etc) then external paging will not operate. Also, any of the paging options can be programmed to a DSS key by a CTW Technician. -
Page 11: Changing Ringing Modes (Day, Night Or Auto Modes)
Changing Ringing Modes (Day, Night or Auto Modes) Ringing Modes are used to control auto attendant greetings and ringing on sets From the main set press [Dnd/Fwd] Select a ring mode from 1 to 6 and then [Hold/Save] 1-Day - used during regular business hours 2-Night... -
Page 12: Programming Speed Dial (Personal And System)
Programming Speed Dial (Personal and System) Press [Trans/Pgm] and then [Speed] Enter the bin # (001- 100) for Personal Speed Dial numbers or (2000-2499) for System Speed Dial numbers. System Speed Dial numbers can only be programmed at the Administration Set. ... -
Page 13: Voice Mailbox Setup
Press Hold/Save Voice Mailbox Setup While in your Mailbox, press * to return to the previous menu. Operations of your Voice Mail are quite intuitive and include visual and voice prompts for your ease of use. Record your name in the company directory This system has a Company Directory feature. -
Page 14: Voice Mailbox Usage
Voice Mailbox Usage While in your Mailbox, press * to return to the previous menu. Operations of your Voice Mail are quite intuitive and include visual and voice prompts for your ease of use. Access your voice mailbox Press the [Call Back] button. If required, enter your Voice Mail password followed by the ‘#’... -
Page 15: Feature Code Table
Feature Code Table Call Park 601~608 Hunt Group 620~629 Internal Page Zones 501~510 Internal Page – All Zones 5 4 3 External Page Zone 1 5 4 5 All Call Page (Internal & External) 5 4 9 Do Not Disturb (DND) 5 5 3 Call Forward 5 5 4...