Table of Contents
Advertisement
Available languages
Available languages
Quick Links
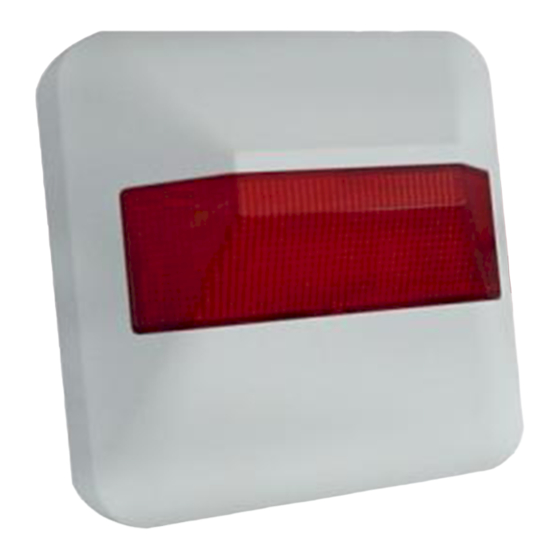
FAA-420-RI
F.01U.522.590
Installationsanleitung
de
Melderparallelanzeige
Installation Guide
en
Remote Indicator
Guía de instalación
es
Piloto indicador remoto
Notice d´installation
fr
Indicateur à distance
Guida di installazione
it
Indicatore remoto
Installatiehandleiding
nl
Nevenindicator
Guia de Instalação
pt
Indicador Remoto
Advertisement
Table of Contents

Summary of Contents for Bosch FAA-420-RI
- Page 1 FAA-420-RI F.01U.522.590 Installationsanleitung Melderparallelanzeige Installation Guide Remote Indicator Guía de instalación Piloto indicador remoto Notice d´installation Indicateur à distance Guida di installazione Indicatore remoto Installatiehandleiding Nevenindicator Guia de Instalação Indicador Remoto...
- Page 3 FAA-420-RI Installationsanleitung Installation Guide Guía de instalación Notice d´installation Guida di installazione Installatiehandleiding Guia de Instalação Bosch Sicherheitssysteme GmbH F.01U.025.792 | 2.0 | 2009.11...
- Page 4 FAA-420-RI 80 mm 80 mm 57 mm b1/+V FAA-420-RI Bosch Sicherheitssysteme GmbH F.01U.025.792 | 2.0 | 2009.11...
-
Page 5: Installation
Entriegeln den Schnapphaken (siehe Bild 1 a, Pos. C) mit einem flachen Gegenstand (z. B. Schraubendreher) eindrücken und die Haube vorsichtig abheben. Die FAA-420-RI direkt an Decke oder Wand montieren. Dazu die Grundplatte mit zwei (siehe Bild 2, Pos. E) oder vier (Pos. F) Schrauben auf einem ebenen, trockenen Untergrund festschrauben. -
Page 6: Technical Data
(see Figure 1 a, pos. C) with a flat object (e.g. screwdriver), press in and lift the cap carefully. Mount the FAA-420-RI directly on the ceiling or wall. Secure the base plate on an even, dry foundation with two (see Figure 2, pos. E) or with four (pos. -
Page 7: Instalación
(por ejemplo, un destornillador) y eleve la carcasa con cuidado. Monte el dispositivo FAA-420-RI directamente en el techo o en la pared. Fije la placa de base en una superficie plana y seca con dos (vea Figura 2, pos. -
Page 8: Spécification Techniques
(voir Figure 1 a, pos. C) à l'aide d'un outil plat (un tournevis p. ex.), puis soulever le cache avec précaution. Monter le FAA-420-RI directement au plafond ou au mur. Fixer le socle sur une surface plane et sèche au moyen de deux (voir Figure 2, pos. E) ou quatre (pos. -
Page 9: Installazione
(ad es. un cacciavite), spingerlo verso l'interno e sollevare il cappuccio con cautela. Montare il FAA-420-RI direttamente al soffitto o alla parete. Fissare la piastra di base su una superficie piana e asciutta con due (vedi Figura 2, pos. E) o quattro (pos. F) viti. -
Page 10: Technische Specificaties
(bijv. een schroevendraaier) naar binnen te drukken en til de kap voorzichtig op. De FAA-420-RI wordt direct aan het plafond of de wand gemonteerd. Bevestig de voetplaat op een egale, droge ondergrond met twee (zien Afbeelding 2, pos. E) of vier (pos. F) schroeven.


