
Related Manuals for Pioneer GM-D8701


Summary of Contents for Pioneer GM-D8701
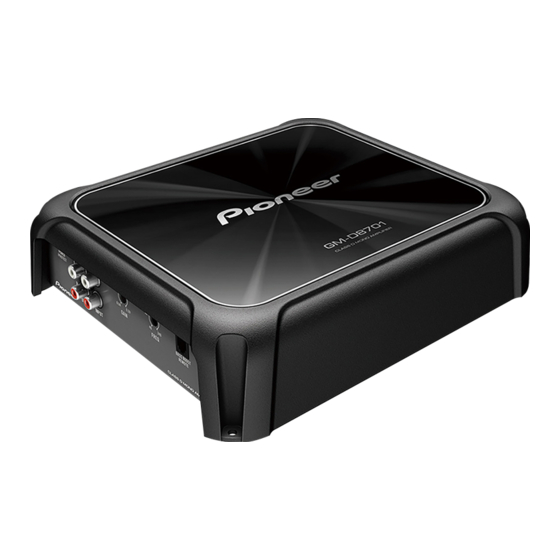
- Page 1 Owner’s Manual Mode d’emploi CLASS D MONO AMPLIFIER AMPLIFICATEUR MONO DE CLASSE D GM-D8701 GM-DX871 GM-D9701 GM-DX971 English Français...
-
Page 2: After-Sales Service For Pioneer Products
Before you start Thank you for purchasing this PIONEER FEDERAL COMMUNICATIONS product COMMISSION SUPPLIER’S DECLARATION Thank you for purchasing this PIONEER If you experience problems OF CONFORMITY To ensure proper use, please read through this product Product Name: Class D Mono Amplifier manual before using this product. -
Page 3: Before You Start
Before you start Learn about product updates (such as to the RCA input of this product, output is mixed firmware updates) for your product. because this product is a mono amplifier. Register your product to receive notices BE SURE TO OBSERVE THE FOLLOWING for the ground wire loosens or falls out, it Before connecting/ about product updates and to safeguard... - Page 4 Always disconnect the negative terminal of too high. plifier; 1: a subwoofer with a 300 W (GM-D8701 the battery beforehand to avoid the risk of elec- If a DC voltage is applied to the speaker and GM-DX871) / 500 W (GM-D9701 and GM- tric shock or short circuit during installation.
-
Page 5: Setting The Unit
Front side (standard output of 500 mV), set to the NORMAL position. For use with an RCA equipped Pioneer car stereo, with maxi- mum output of 4 V or more, adjust level to match that of the car stereo output. - Page 6 In such cases, please contact the nearest If the signal waveform is distorted due to high authorized Pioneer Service Station. output, even if the amplifier gain is raised, the output power will change only slightly.
-
Page 7: Connecting The Units
+ term- h Fuse 40 A × 2 (GM-D8701 and GM-DX871) / inal of the battery is 30 cm (12 in.). 40 A × 3 (GM-D9701 and GM-DX971) -
Page 8: Connecting The Speakers
Connecting the units Never wire the speaker negative cable directly When connecting to one speaker to ground. Never band together multiple speaker s nega- tive cables. If the system remote control wire of the ampli- fier is connected to the power terminal via the ignition switch (12 V DC), the amplifier will re- main on with the ignition whether the car stereo is on or off, which may exhaust battery... -
Page 9: Connections When Using The Speaker Input Wire
Connecting the units Connections when using Solderless terminal the speaker input wire connections Connect the car stereo speaker output wires Since the wire will become loose over time, to the amplifier using the supplied speaker it must be periodically inspected and tigh- input wire with RCA pin cord. - Page 10 The maximum length of the wire between the fuse and the positive + terminal of the battery is 30 cm (12 in.). 3 Fuse 100 A (GM-D8701 and GM-DX871) / 150 A (GM-D9701 and GM-DX971) (sold se- parately) Each amplifier must be separately fused at 100 A (GM-D8701 and GM-DX871) / 150 A (GM-D9701 and GM-DX971).
-
Page 11: Installation
Connecting the units Installation Connecting the speaker output Before installing the amplifier terminals WARNING Use wire cutters or a utility knife to To ensure proper installation, use the supplied strip the end of the speaker wires to ex- parts in the manner specified. If any parts pose about 10 mm (3/8 in.) of wire and other than those supplied are used, they may then twist the wire. -
Page 12: Attaching The Bass Boost Remote Control
Insert the supplied tapping screws (4 mm × 4 Hole-to-hole distance: 229.5 mm (9-1/32 in.) 18 mm (5/32 in. × 3/4 in.)) into the screw holes (GM-D8701 and GM-DX871) / 279.5 mm and push on the screws with a screwdriver so (11 in.) (GM-D9701 and GM-DX971) they make an imprint where the installation 5 Hole-to-hole distance: 191.5 mm... -
Page 13: Additional Information
Power output ......300 W RMS × 1 Channel (at 14.4 V, 4 W, 20 Hz to 240 Hz and ≦ 1 % THD+N) GM-D8701 and GM-DX871 500 W RMS × 1 Channel (at Power source ......14.4 V DC (10.8 V to 15.1 V 14.4 V, 2 W, 100 Hz and ≦... - Page 14 Additional information Speaker ......16 V / 12 kW CEA2006 Specifications Power output ......500 W RMS × 1 Channel (at 14.4 V, 4 W, 20 Hz to 240 Hz and ≦ 1 % THD+N) 800 W RMS × 1 Channel (at 14.4 V, 2 W, 100 Hz and ≦...
- Page 15 TEL: 65-6378-7888 PIONEER ELECTRONICS AUSTRALIA PTY. LTD. 5 Arco Lane, Heatherton, Victoria, 3202 Australia TEL: (03) 9586-6300 PIONEER ELECTRONICS DE MÉXICO S.A. DE C.V. Blvd.Manuel Ávila Camacho 138, 10 piso Col.Lomas de Chapultepec, México, D.F. 11000 TEL: 52-55-9178-4270 FAX: 52-55-5202-3714 先鋒股份有限公司...