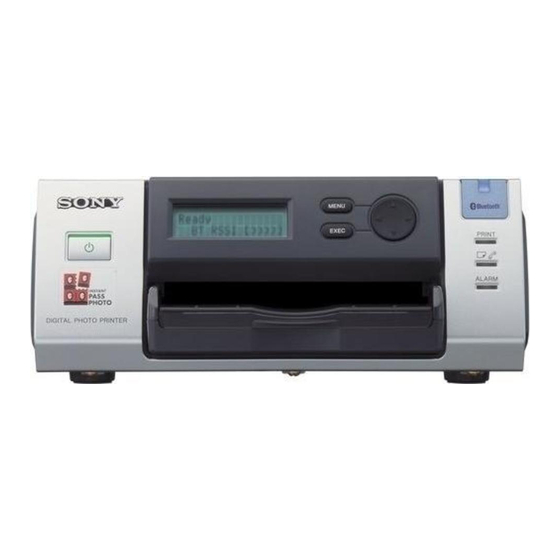
Sony UP-DX100 Installation Manual
Printer driver
Hide thumbs
Also See for UP-DX100:
- Operating instructions manual (72 pages) ,
- Operating instructions manual (75 pages) ,
- Operating instructions manual (24 pages)
Table of Contents
Advertisement
Quick Links
Advertisement
Table of Contents

Summary of Contents for Sony UP-DX100
- Page 1 Printer Driver Installation Guide This guide describes installation and use of the Windows XP printer driver. Before Using this Software Before using the printer driver, be sure to read the “ReadMe” file located on the CD-ROM. UP-DX100 © 2003 Sony Corporation...
-
Page 2: Table Of Contents
Microsoft and Windows are registered trademarks of Table of Contents Microsoft Corporation. Other company names and product names mentioned in this guide are also trademarks and registered Confirming the Operating Environment ..... 3 trademarks. Explanations in this Guide ........3 Before Installing the Printer Driver .... -
Page 3: Confirming The Operating Environment
Panel]. On the left side of the window, under [Control Panel], click [Switch to Classic View]. Note If you connect the UP-DX100 to your computer when the printer is on, make sure that the operation of your computer is not suspended or that it is not on stand-by. -
Page 4: Before Installing The Printer Driver
Open the [Driver Signing Options] dialog box as Before Installing the follows: On the [Start] menu, click [Control Panel]. Printer Driver Double-click [System]. The [System Properties] dialog box opens. Click the [Hardware] tab. Click the [Driver Signing] button. About Version Upgrades If you are upgrading a printer driver, remove the All the explanations in this guide assume that the setting previous printer driver before beginning the installation. -
Page 5: Installing The Printer Driver
Installing the Printer (Advanced)], and then click the [Next] button. Driver The screen changes as follows. Connect the UP-DX100 to your computer. Turn on the UP-DX100. Turn on the computer and log on as the system administrator. The [Found New Hardware Wizard] dialog box opens. -
Page 6: Removing The Printer Driver
Open the [Printers and Faxes] folder in [Control Panel], right-click the UP-DX100 printer driver icon, and click [Delete] on the shortcut menu. Repeat this operation for all the UP-DX100 icons in the window. Select [Server Properties] from the [File] menu of the [Printers and Faxes] folder. -
Page 7: Using The Printer Driver
Orientation important settings. Select [Portrait] or [Landscape] for the print orientation. Double-click [Printers and Faxes] in [Control Panel], right-click [Sony UP-DX100], and then click [Printing Copies Preferences]. Select the number of copies to print (1 to 9). Scaling Select the rate of enlargement or reduction (10% to 400%). - Page 8 Color Balance From the [Color Adjust] list, select [Color Balance]. Adjust the color balance by dragging the sliders left or right or entering numbers in the input boxes. Lightness From the [Color Adjust] list, select [Lightness]. Adjust the lightness by dragging the sliders left or right or entering numbers in the input boxes.


