
Related Manuals for Siemens ILE-37


Summary of Contents for Siemens ILE-37
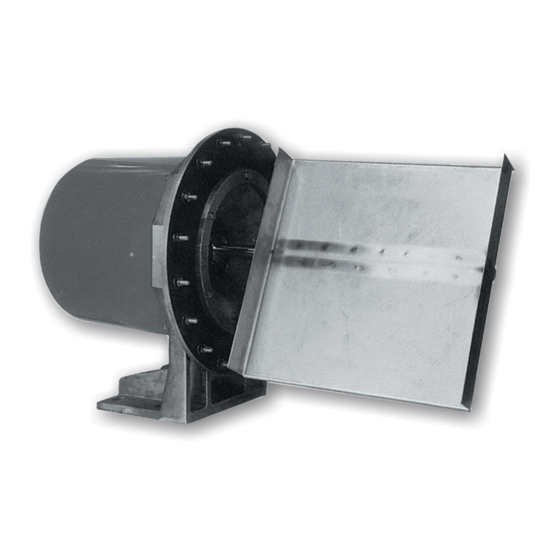
- Page 1 Introduction Overview Planning/configuring Siemens ILE-37 Sensing Head Diaphragm Replacement Application examples 09/2020 AG050425...
- Page 2 Note the following: WARNING Siemens products may only be used for the applications described in the catalog and in the relevant technical documentation. If products and components from other manufacturers are used, these must be recommended or approved by Siemens. Proper transport, storage, installation, assembly, commissioning, operation and maintenance are required to ensure that the products operate safely and without any problems.
-
Page 3: Table Of Contents
Table of contents Introduction ............................4 Objective ..........................4 Equipment ........................... 4 Disclaimer..........................4 Overview ..............................5 Planning/configuring ..........................6 Part One: Remove Diaphragm ....................6 Part Two: Replace Diaphragm ..................... 12 Siemens ILE-37 Sensing Head Diaphragm Replacement Application examples, 09/2020, AG050425... -
Page 4: Introduction
Introduction Objective The objective of this application guide is to help the user become familiar with the steps required to replace the diaphragm on a Siemens ILE-37 sensing head. Equipment Equipment Description MLFB/A5E Number Siemens ILE-37 7MH7110-..Replacement diaphragm 1 ¾" or 45 mm wrench, or adjustable wrench... -
Page 5: Overview
Overview To replace the diaphragm on a Siemens ILE-37, please follow the directions below. For an ILE-37 that does not have an LVDT conditioner card, skip Part One: Step Four and Part Two: Step Three Siemens ILE-37 Sensing Head Diaphragm Replacement... -
Page 6: Planning/Configuring
1. Use 6 mm hex screwdriver or Allen key to loosen the four bolts connecting the fiberglass cover to the main body. 2. Remove the four bolts and washers. 3. Remove fiberglass cover. Siemens ILE-37 Sensing Head Diaphragm Replacement Application examples, 09/2020, AG050425... - Page 7 2. Use 5 mm hex screwdriver or Allen key to loosen the set screw. 3. Remove the sensing plate by twisting shaft back and forth, while pulling outward. Note Do not use hammer or excessive force! Siemens ILE-37 Sensing Head Diaphragm Replacement Application examples, 09/2020, AG050425...
- Page 8 Step Three: Remove Bushing Lock Nuts 1. Use 1 ¾" or 45 mm wrench, or adjustable wrench to remove the two bushing lock nuts, one at a time. 2. Remove protective plastic ring. Siemens ILE-37 Sensing Head Diaphragm Replacement Application examples, 09/2020, AG050425...
- Page 9 1. Use 2.5 mm hex screwdriver or Allen key to remove the two screws, using your free hand to steady the LVDT conditioner card. 2. Remove two nylon washers and two metal spacers. 3. Remove LVDT conditioner card and place on a dry, secure surface. Siemens ILE-37 Sensing Head Diaphragm Replacement Application examples, 09/2020, AG050425...
- Page 10 1. Use 5 mm Allen key to remove the four screws connecting the inner diaphragm ring to the ILE-37 body. 2. Separate the inner diaphragm ring from the ILE-37 body. Siemens ILE-37 Sensing Head Diaphragm Replacement Application examples, 09/2020, AG050425...
- Page 11 Planning/configuring 3.1 Part One: Remove Diaphragm Step Six: Remove Diaphragm 1. Gently pinch the diaphragm on sensing head side. 2. Pull the diaphragm outward to remove. Siemens ILE-37 Sensing Head Diaphragm Replacement Application examples, 09/2020, AG050425...
-
Page 12: Part Two: Replace Diaphragm
1. Place the new diaphragm around the sensing head shaft socket and push through to the opposite side. 2. Adjust the position of the new diaphragm, so that it is flat against the ILE-37 body. 3. Line up the holes of the new diaphragm with the holes on the ILE-37 body. - Page 13 1. Line up the holes of the inner diaphragm ring with the holes of diaphragm and the holes on the ILE-37 body. 2. Replace the four screws that connect the inner diaphragm ring to the ILE-37 body. 3. Use 5 mm Allen Key to firmly tighten the four screws.
- Page 14 1. Replace protective plastic ring on sensing plate side. 2. Replace the first bushing lock nut. 3. Hand tighten the first bushing lock nut, until it is snug against the protective ring. Siemens ILE-37 Sensing Head Diaphragm Replacement Application examples, 09/2020, AG050425...
- Page 15 2. Push inward and twist sensing plate until it cannot move further. 3. Line up channel at end of sensing plate shaft with roll pin and push shaft into place. Siemens ILE-37 Sensing Head Diaphragm Replacement Application examples, 09/2020, AG050425...
- Page 16 5. Use 10 mm wrench to tighten the nut holding the set screw in place. Step Six: Replace Fiberglass Cover 1. Replace the fiberglass cover. 2. Line up the holes of the fiberglass cover with the holes in the main body. Siemens ILE-37 Sensing Head Diaphragm Replacement Application examples, 09/2020, AG050425...
- Page 17 3.2 Part Two: Replace Diaphragm 3. Replace the four screws and washers that attach the fiberglass cover to the unit. 4. Use 6 mm hex screwdriver or Allen key to tighten the four screws. Siemens ILE-37 Sensing Head Diaphragm Replacement Application examples, 09/2020, AG050425...