Table of Contents
Advertisement
Quick Links
Advertisement
Table of Contents

Related Manuals for Siemens LR 7CBS2 Series


Summary of Contents for Siemens LR 7CBS2 Series
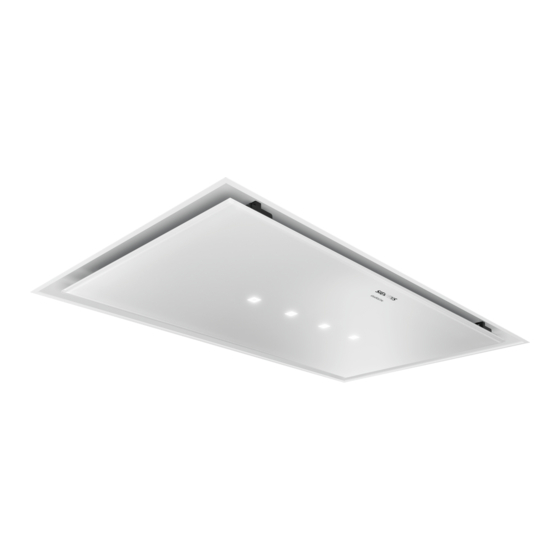
- Page 1 Ceiling-mounted ventilation system LR.7CBS2., LR97CBS25B, LR.9CQS2., LR.9CQS25B User manual and assembly instructions Register your product on My Siemens and discover exclusive services and offers. siemens-home.bsh-group.com/welcome The future moving in. Siemens Home Appliances...
-
Page 2: Table Of Contents
en Safety The appliance can only be used safely if it is Table of contents correctly installed according to the safety in- structions. The installer is responsible for en- Safety ................ 2 suring that the appliance works perfectly at its Preventing material damage ........ - Page 3 Safety en installed and discharge the exhaust gases ▶ Never work with naked flames close to into the open through an exhaust gas sys- the appliance (e.g. flambéing). tem (e.g. a chimney). With the extractor ▶ Do not install the appliance near a hood switched on, air is extracted from solid fuel heating appliance (e.g.
-
Page 4: Preventing Material Damage
en Preventing material damage ¡ Items placed on the appliance may fall WARNING ‒ Risk of electric shock! off. ¡ If the appliance or the power cord is dam- ▶ Do not place any objects on the appli- aged, this is dangerous. ance. ▶... -
Page 5: Environmental Protection And Saving Energy
Environmental protection and saving energy en ATTENTION! Adjust the fan speed to the amount of steam pro- ¡ Condensate may cause corrosion damage. duced during cooking. To prevent condensation from building up, switch ▶ The lower the fan speed, the less energy is con- on the appliance during cooking. -
Page 6: Familiarising Yourself With Your Appliance
en Familiarising yourself with your appliance Intensive mode 1 Familiarising yourself with your Intensive mode 2 appliance Automatic mode /fan run-on time/interval vent- ilation Familiarise yourself with the parts of your appliance. Home Connect Controls Infrared receiver Use the remote control to set all of the functions of Depending on the appliance specifications your appliance. - Page 7 Basic operation en Press to switch the appliance off. Intermittent ventilation ▶ a The appliance switches off. Any functions currently With interval ventilation, the ventilation system switches in progress are cancelled. on and off in the selected setting for the selected time. Selecting a fan setting Note: This function is only available via a mobile device with the Home Connect app.
-
Page 8: Hob-Based Hood Control
en Hob-based hood control Or wait approx. 10 seconds until the setting is Resetting the saturation indicator saved automatically. After cleaning the grease filter or after changing the a A signal tone sounds as soon as the selected set- odour filter, the saturation indicator can be reset. ting is saved. -
Page 9: Home Connect
Home Connect en Requirements Home Connect ¡ Wi-Fi on the router is activated. ¡ The appliance receives signals from the WLAN home This appliance is network-capable. Connecting your ap- network (Wi-Fi) at its installation location. pliance to a mobile device lets you control its functions ¡... -
Page 10: Cleaning And Servicing
Directive 2014/53/EU. LED display. A detailed RED Declaration of Conformity can be found a An audible signal sounds. online at www.siemens-home.bsh-group.com among the additional documents on the product page for your Remote diagnostics appliance. Customer Service can use Remote Diagnostics to ac- cess your appliance if you contact them, have your ap- pliance connected to the Home Connect server and if... - Page 11 Cleaning and servicing en ATTENTION! Removing the grease filter Unsuitable cleaning products may damage the sur- faces of the appliance. WARNING ‒ Risk of injury! Do not use harsh or abrasive detergents. ▶ ¡ The filter cover may swing out. Do not use cleaning products with a high alcohol ▶...
- Page 12 en Cleaning and servicing ATTENTION! Falling grease filters may damage the WARNING ‒ Risk of fire! hob below. Fatty deposits in the grease filters may catch fire. Grip below the grease filter with one hand. ▶ Clean the grease filters regularly. ▶ Open the locks on the grease filters. Requirement: The grease filters have been removed.
-
Page 13: Troubleshooting
Troubleshooting en Remove the empty batteries. Close the cover. Dispose of the empty batteries in an environmentally friendly manner. Troubleshooting You can rectify minor faults on your appliance yourself. Read the troubleshooting information before contacting after-sales service. This will avoid unnecessary costs. WARNING ‒ Risk of injury! Improper repairs are dangerous. -
Page 14: Customer Service
en Customer Service Fault Cause troubleshooting LED 1 flashes in the LED display. The grease filters are saturated. → "Cleaning grease filters in the dish- ▶ washer", Page 12 → "Cleaning grease filters manually", ▶ Page 12 LED 2 flashes in the LED display. The odour filters are saturated. Change the odour filter. -
Page 15: Installation Instructions
Installation instructions en Safety clearances This appliance is labelled in accord- ance with European Directive Comply with the safety clearances for the appliance. 2012/19/EU concerning used elec- trical and electronic appliances (waste electrical and electronic equip- ment - WEEE). The guideline determines the frame- work for the return and recycling of used appliances as applicable throughout the EU. - Page 16 en Installation instructions Do not install the appliance near a heat-produ- ▶ WARNING ‒ Risk of poisoning! cing appliance for solid fuel (e.g. wood or coal) Risk of poisoning from flue gases being drawn back in. unless a closed, non-removable cover is avail- Room-air-dependent heat-producing appliances (e.g.
- Page 17 Installation instructions en ¡ Improper repairs are dangerous. Instructions for the electrical Repairs to the appliance should only be carried ▶ connection out by trained specialist staff. Only use genuine spare parts when repairing the ▶ In order to be able to safely connect the appliance to appliance.
- Page 18 en Installation instructions Drill the hole depth in accordance with the length of Installing the appliance the screws. Install the appliance with a fixing material which is WARNING ‒ Risk of injury! ¡ Components inside the appliance may have sharp sufficiently stable and has been adjusted accord- ingly for both the structural conditions and the edges.
- Page 19 Installation instructions en Turn the fan box into the correct position according Connecting the appliance to the installation situation. Press together the cable duct at the sides and re- move it. Push the fan box to the side and connect the appli- ance to the power supply.
- Page 20 en Installation instructions Connect the cable. Mount the filter cover on the designated screws and push it backwards/forwards depending on the key hole opening into the narrow section. Press together the cable duct at the sides and at- tach. Tighten the fastening screws on the hinges. Fitting the filter cover Check whether the appliance frame is lying flush.
- Page 21 Installation instructions en Note: The metal cover has sharp edges. Protect the ¡ Components inside the appliance may have sharp filter cover against scratches. edges. Appliance variant A: Wear protective gloves. ▶ ¡ Risk of injury when opening and closing the hinges. Keep your hands away from the hinges.
- Page 22 en Installation instructions Undo the opposite screws to loosen the fan box. T 20 Push the fan box to the side and release the pipe- work. Push the fan box to the other side and pull out the mains plug. Screw the fan box firmly back in place. Loosen the mounting brackets.
- Page 24 BSH Hausgeräte GmbH Carl-Wery-Straße 34 81739 München GERMANY www.siemens-home.bsh-group.com Manufactured by BSH Hausgeräte GmbH under Trademark License of Siemens AG *9001487341* 9001487341 (000210)