
Related Manuals for Toro 22167TE

Summary of Contents for Toro 22167TE
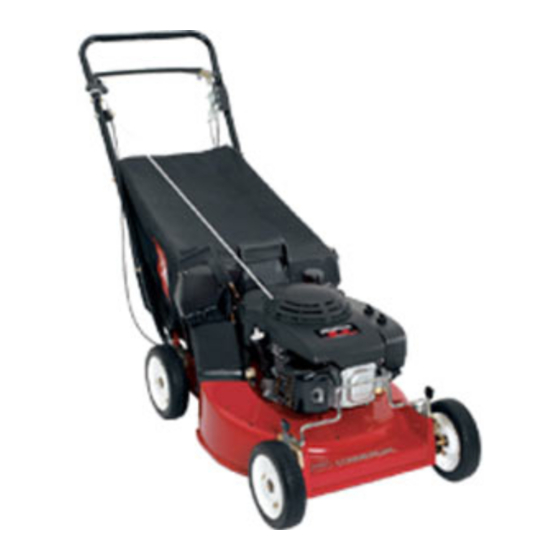
- Page 1 Form No. 3352-485 ProLine 53cm Heavy-Duty Recycler / Rear-Bagging Walk Power Lawn Mower Model No. 22167TE—250000001 and Up Operator’s Manual Original Instructions (EN)
-
Page 2: Table Of Contents
Filling the Crankcase with Oil ....Dealer or Toro Customer Service and have the model and Filling the Fuel Tank with Gasoline .. -
Page 3: Safety
• Keep children out of the mowing area and under the watchful care of a responsible adult. • Be alert and turn the lawn mower off if children enter Toro designed and tested this lawn mower to offer the area. reasonably safe service; however, failure to comply with the following instructions may result in personal •... - Page 4 – If you must drain the fuel from the fuel tank, do it • Never pick up or carry a lawn mower while the engine outdoors. is running. • Replace faulty mufflers. • Stop the engine and disconnect the spark-plug wire: •...
-
Page 5: Sound Pressure
• If you must drain the fuel from the fuel tank, do it outdoors. • To ensure the best performance and safety, purchase only genuine Toro replacement parts and accessories. • Maintain or replace safety and instruction decals when necessary. -
Page 6: Safety And Instruction Decals
Safety and Instruction Decals Safety decals and instructions are easily visible to the operator and are located near any area of potential danger. Replace any decal that is damaged or lost. 93-6664 1. Read the Operator’s Manual for information on greasing the 93-6654 traction drive every 25 operating hours and greasing the 1. -
Page 7: Assembly
98-2048 1. Choke 6. Set the throttle lever to the 7. Release the bail to 9. Move the bail to the handle to Choke position, pull the cord disengage the cutting blade. engage the traction drive. 2. Fast to start the engine, then 8. -
Page 8: Installing The Handle
Installing the Handle Installing the Starter Rope 1. Mount the handle to the outside of the lawn mower Pull the starter rope through the rope guide on the handle housing (using the bottom hole) with two 5/16–18 x (Fig. 3). 1-1/4 in. -
Page 9: Before Starting
3. Push the plug all the way in until the spring clip on the To add oil: bottom of the plug clicks into place, locking the plug 1. Move the lawn mower to a level surface. securely into the discharge tunnel (Fig. 5). 2. -
Page 10: Reviewing The Maintenance Schedule
1. Clean around the fuel tank cap (Fig. 7). Danger In certain conditions, gasoline is extremely flammable and highly explosive. A fire or explosion from gasoline can burn you and others and can damage property. • Fill the fuel tank outdoors, in an open area, and when the engine is cold. -
Page 11: Operation
Operation 3. Move the throttle control to the Choke position (Fig. 8). Note: Do not use the choke when the engine is warm. Note: Determine the left and right sides of the machine from the normal operating position. 4. Hold the control bar to the handle (Fig. 8). Each time before you mow, ensure that the self-propel 5. -
Page 12: Using The Discharge Tunnel Plug
Adjusting the Cutting Height 3. Squeeze the control bar against the handle to the Run/Drive position (Fig. 11). Each wheel is adjusted individually with a wheel height adjustment lever. Cutting heights are 3/4 inch (1.9 cm), 1-1/4 inches (3.2 cm), 1-3/4 inches (4.4 cm), 2-1/4 inches (5.7 cm), 2-3/4 inches (7.0 cm), and 3-1/4 inches (8.3 cm). -
Page 13: Using The Grass Bag
(Fig. 13). Check the grass bag frequently. If it is damaged, install a new Toro replacement bag. Cut the grass until the bag is full. Important Do not overfill the bag. -
Page 14: Operating Tips
If the finished lawn appearance is unsatisfactory, try one or more of the following: • Replace the blade when necessary with an original Toro replacement blade. • Sharpen the blade. • Mow only dry grass or leaves. Wet grass and leaves •... -
Page 15: Maintenance
Maintenance Note: Determine the left and right sides of the machine from the normal operating position. Recommended Maintenance Schedule Maintenance Service Maintenance Procedure Interval • Check the engine oil level. Refer to Checking the Engine Oil Level on page 16. •... -
Page 16: Checking The Engine Oil Level
Caution If you leave the wire on the spark plug, someone could accidently start the engine and seriously injure you or other bystanders. Disconnect the wire from the spark plug before you do any maintenance. Set the wire aside so that it does not accidently contact the spark plug. -
Page 17: Cleaning The Discharge Tunnel And Plug
Servicing the Air Cleaner Warning Inspect the air cleaner elements after every time you use the lawn mower. Tipping the lawn mower may cause the fuel to leak from the carburetor or the fuel tank. Clean the cover, base, and foam and paper elements after Gasoline is extremely flammable, highly explosive, every 25 operating hours. -
Page 18: Maintaining The Blade
8. Clean the foam element in warm, soapy water or in a the blade, check the blade before using the lawn mower. If nonflammable solvent. you notice a slot or wear (Figs. 19B and 19C), replace the blade; refer to Removing the Blade on page 18. Note: Do not use gasoline to clean the foam element because it could create a risk of fire or explosion. -
Page 19: Cleaning Under The Belt Cover
2. Wipe the grease fittings with a clean rag (Fig. 23). end drops. Installing the Blade 1. Install a sharp, balanced Toro blade, the accelerator, the lock washer, and the blade bolt. The sail of the blade must point toward the top of the lawn mower housing for proper installation. -
Page 20: Adjusting The Self-Propel Drive
Adjusting the Self-propel Drive Warning If the lawn mower does not self-propel or has a tendency to creep forward when the control bar is more than 1-1/2 Oil may be hot after engine has been run, and inches (3.8 cm) from the handle, adjust the wheel drive contact with hot oil can cause severe personal control knob on the rear of the gear box (Fig. -
Page 21: Lubricating The Gear Case
5. Set the gap on the plug to 0.030 in. (0.76 mm) 3. Check the adjustment of the cable by moving the (Fig. 26). control bar toward the handle until you remove the slack in the cable. The gap between the brake lever and the handle must be between 3/16 and 1/4 in. -
Page 22: Storage
4. Separate the wheel halves from the tire by removing Warning four bolts and four locknuts (Fig. 29). Note: If you remove the bearings from the bearing/hub Gasoline can vaporize if you store it over long assembly, remove them by pressing on the bearing spacer periods of time and explode if it comes into (Fig. -
Page 23: Removing The Lawn Mower From Storage
Maintenance on page 15. Troubleshooting Toro designed and built your lawn mower for trouble-free operation. Check the following components and items carefully, and refer to Maintenance on page 15 for more information. If a problem continues, contact an Authorized Service Dealer. - Page 24 Problem Possible Causes Corrective Action Engine runs rough 1. The wire is not connected to 1. Connect the wire to the spark the spark plug. plug. 2. The spark plug is pitted, fouled, 2. Check the spark plug and or the gap is incorrect. adjust the gap if necessary.