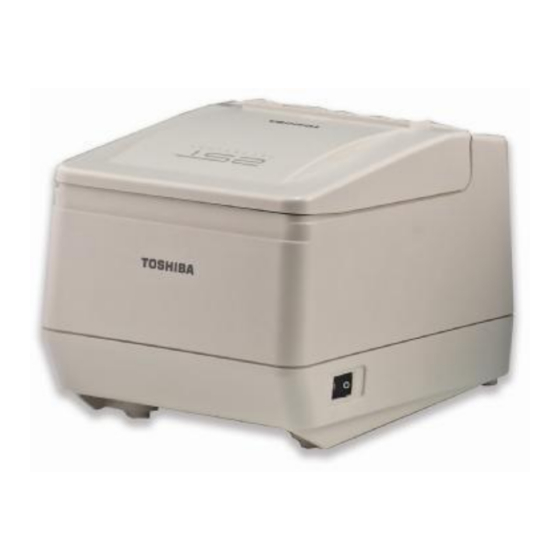
Summary of Contents for Toshiba TRST-A1 Series
- Page 1 One Blue Hill Plaza, 16 Floor, PO Box 1546 Pearl River, NY 10965 1-800-PC-AMERICA, 1-800-722-6374 (Voice) 845-920-0800 (Fax) 845-920-0880 Toshiba TRST-A1x Series Printer Installation P a g e...
-
Page 2: Hardware Install
Hardware install 1. Connect the supplied USB “Y” printer cable to the powered (24V) USB port and route the cable through the cable restraint bars. 2. Ensure the printer power switch is turned off. 3. Connect the power end of the USB “Y” printer cable to the power connector on the printer. - Page 3 Loading Paper in the TRST-A1x Printer When you use this printer for the first time or when the receipt paper has been used up, load a receipt roll in, following the procedures listed below while the printer power is set to ON. A thermal printer prints thermal receipt paper by applying heat to the paper to react with the chemicals on the paper surface.
-
Page 4: Printer Configuration
Printer Configuration 1. Turn the printer off. 2. Turn the printer over and the back of the printer is facing up. You will see the number 12 at the bottom right hand corner. 3. In that space below the number there is two dip switches. - Page 5 7. Short click the feed button to Set the USB interface type to Printer class then press and hold it down validate selection, you will hear beeps to confirm. 8. Printer class should show highlighted on the receipt. Perform a Long Click (Yes) to Save new parameters. The Main Menu will be printed again short click the feed button to exit and then press and hold it down to confirm.
- Page 6 Installing Microsoft POS for .NET The installer for Microsoft POS for .NET can be downloaded at: http://download2.pcamerica.com/drivers/POS_for_.Net.exe 1. Run the installer and select Install. 2. Enter a User Name and Organization and select Next. 3. Select Accept. P a g e...
- Page 7 4. Select Typical and then Next. 5. Select Install. 6. Select Finish. P a g e...
- Page 8 TRST-A1x OPOS Driver Installation The installer for TRST-A1x can be downloaded at: http://download2.pcamerica.com/drivers/Toshiba_OPOS_Drivers.zip 1. Select Next. 2. Select Development $ Execute under setup type. 3. Select the interface type for the TRST-A1X. 4. Select Next. P a g e...
- Page 9 5. Select Next to install to the default location. 6. Select Install. 7. After the installation has completed select Finish. P a g e...
- Page 10 Toshiba OPOS CheckHealth 1. Open the OPOS CheckHealth by going to Start then All Programs then OPOS CheckHealth 2. Once the application is open Select the + to open the hive for the POSPrinter. 3. Highlight the printer you are using under POSPrinter and select Enter on your keyboard.
- Page 11 Configuration in CRE RPE Now you’re ready to set up your printer in RPE/CRE. 1. Start the RPE/CRE program. 2. Select the Options/Manager and enter your password (where applicable). 3. Select [4] Setup | [L] Friendly Printer Setup and re-enter your password if necessary. 4.
- Page 12 Cash Drawer Configuration 1. Select the Manager or Options button. 2. Enter the administrator password (default: admin) where applicable. 3. Select Setup then, Setup Screen. 4. Select the Hardware tab. 5. Select Page1. 6. Under Cash Drawer select the radio button that says Open Default Drawer. 7.
- Page 13 Printing Barcodes on Receipts 1. Select the Manager or Options button. 2. Enter the administrator password (default: admin) where applicable. 3. Select Setup then, Setup Screen. 4. Select the Receipt tab. 5. Check Print Bar Code On “On-Hold” Receipts. 6. Check Print Bar Code On “Complete” Receipts. 7.


