Table of Contents
Advertisement
Quick Links
Advertisement
Table of Contents

Related Manuals for Acer AV10A


Summary of Contents for Acer AV10A
- Page 1 User Manual...
- Page 2 Preface Thanks for purchasing our pocket projector and hope you enjoy our device. In order to use this device quickly and easily, please read the user manual carefully. Follow all safety instructions for ensuring proper operation at your device. The manufacturer accepts no liability if these instructions are not followed. All contents in this user manual are subjects to change without notice.Ifthe actual using method of this manual is not consistent with the product, please turn our customer service for help.
-
Page 3: Features And Function
3.1. Specification Warnings DMD FEATURES Display Technology: DLP(0.2"DMD) Main Chip: MStar MSD6A358 2.1. Safty Warning Native Resolution: 854*480P(decoding 1080P) Light Source & Lifespan: 20,000 ~30,000 hours ·Do not place the device on soft surfaces such as tablecloths or carpets and do not cover the Offset: 100% HDMI: Support HDMI input ventilation slits. -
Page 4: Standard Accessories
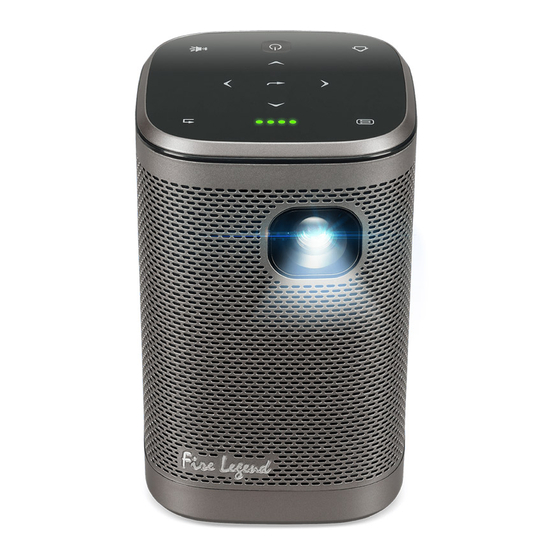
3.2. Standard Accessories 3.3. Overview Contact your dealer immediately if any items are missing, appear damaged, or if the unit does not work. It is recommended that you keep the original packing material in case you ever need to return the Meun equipment for warranty service. -
Page 5: Remote Control
3.4 Remote Control 1. To use the remote, you need to point it at the IR Sensor on the projector. 14 Focus Dial 2. If you want to turn on the projector with the remote 15 Audio Out control, you must connect the projector to the power supply. -
Page 6: Getting Start
4.2. Connect WiFi Getting Start 2.1. Start “Connectivity” on the UI, and then 4.2.2. Turn it “ON”--Select the WiFi name. 4.1. Turn On Input password and click “connect”. enable “Wi-Fi” as below: Switch on the power button for 3~5 seconds. Or you also can press the power button on the remote control when AC power adapter is connected. -
Page 7: Mirroring Setup
4.4. Copy/Cut data 4.5. Mirroring Setup 4.5.1. Screencasting with an iOS Device 4.4.2. Find where is your target file and then click 4.4.1. Start “File Manage”, or start “FileBrowser” , the “check” key to select your target files. Connect your device to the same Wi-Fi network as the projector. located in My Apps. -
Page 8: Playing From A Video Source (Hdmi)
4.5.3.Screencasting with an Android Device 4.5.2. Screencasting with a MacOS Device 1) Connect your device to the same Wi-Fi network as the projector. 1) Connect your device to the same Wi-Fi network as the projector. 2) Launch the wireless casting function on your device. 2) Open the status menu at the top of the screen and then click the Screen Mirroring button. - Page 9 4.7. Playing from a Video Source (Type-C / DisplayPort) Others To project a video from a device connected to the Type-C (DisplayPort) port: 1) Connect the device to the projector. 5.1. If you want to experience more advanced interaction function, connect the projector with the wireless mouse, keyboard or other external devices.
- Page 10 FCC/ISEDC Statement FAQs This device complies with part 15 of the FCC Rules. Operation is subject to the following two conditions: (1) This device may not cause harmful interference, and (2) this device must accept any interference received, including interference that 6.1.