
Related Manuals for Yamaha DV-C6760


Summary of Contents for Yamaha DV-C6760
- Page 1 DVD / SA-CD CHANGER LECTEUR DE DVD / SA-CD CHANGEUR DV-C6760 OWNER’S MANUAL MODE D’EMPLOI...
-
Page 2: Important Safety Instructions
IMPORTANT SAFETY INSTRUCTIONS CAUTION RISK OF ELECTRIC SHOCK DO NOT OPEN CAUTION: TO REDUCE THE RISK OF ELECTRIC SHOCK, DO NOT REMOVE COVER (OR BACK). NO USER-SERVICEABLE PARTS INSIDE. REFER SERVICING TO QUALIFIED SERVICE PERSONNEL. • Explanation of Graphical Symbols The lightning flash with arrowhead symbol, within an equilateral triangle, is intended to alert you to the presence of uninsulated “dangerous... - Page 3 If these corrective measures do not produce satisfactory results, please contact the local retailer authorized to distribute this type of product. If you can not locate the appropriate retailer, please contact Yamaha Electronics Corp., 6660 Orangethorpe Ave. Buena Park, CA90622.
- Page 4 YAMAHA will not be held responsible for any damage resulting from use of this unit with a voltage other than as specified.
-
Page 5: Table Of Contents
Introduction Region Codes ... 2 Supplied accessories... 2 Notes about discs... 2 Cleaning discs ... 2 Patent information... 2 Functional Overview Front Panel... 3 Rear Panel ... 4 Remote Control ... 5 Preparation General Notes on connections... 6 Digital Connections ... 6 Analog Connections... -
Page 6: Introduction
Introduction Thank you for purchasing this unit. This Owner’s Manual explains the basic operation of this unit. Region Codes DVD discs must be labeled for ALL regions, Region 1 (U.S.A model) or Region 4 (Australia model) in order to play on this Player. -
Page 7: Functional Overview
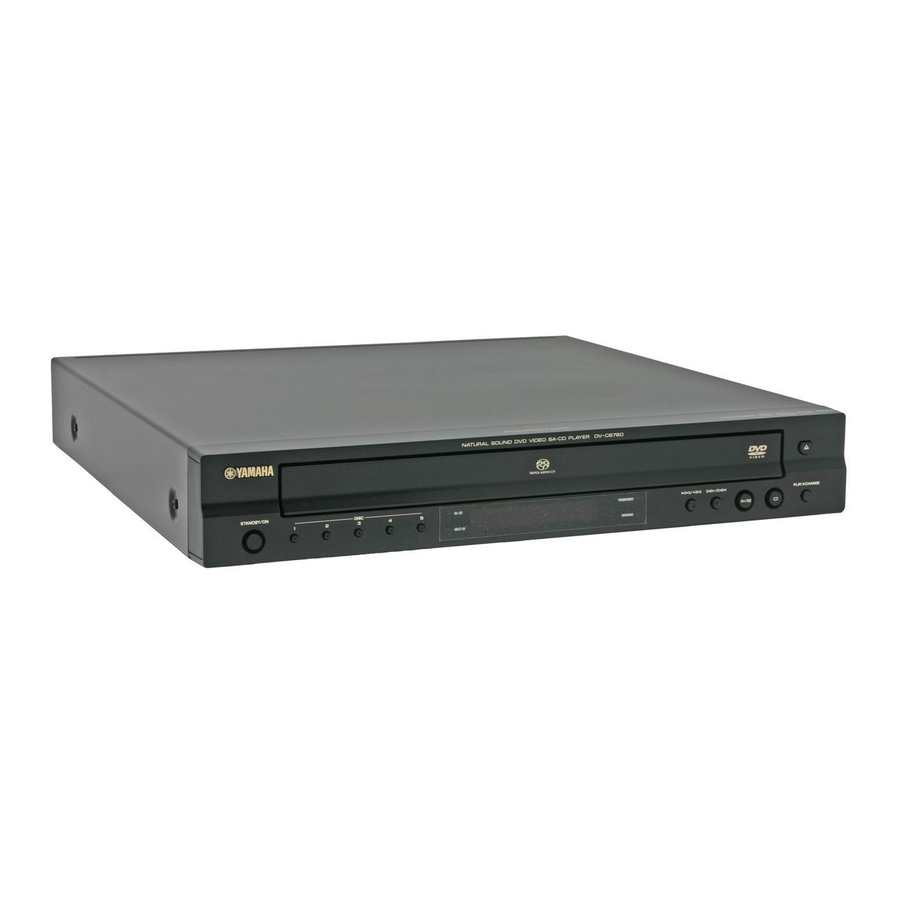
Front Panel STANDBY/ON – turns on this unit or sets it to the standby mode Disc tray – load up to 5 discs on the disc tray DISPLAY – shows the current status of the player LEDs – LED lights up when the corresponding feature is set to ON DISC (1, 2, 3, 4, 5)/LEDs –... -
Page 8: Rear Panel
Functional Overview Rear Panel COMPONENT video outputs – connect to an AV receiver with Y P inputs AUDIO OUT - 6CH DISCRETE – connect to 6CH INPUT inputs of your AV receiver AUDIO OUT - MIXED 2CH – connect to AUDIO inputs of your AV receiver or stereo system VIDEO OUT - VIDEO –... -
Page 9: Remote Control
Remote Control DISC SKIP – select another disc PAGE – not used with this model DIMMER – select 3 different brightnesses for the display SOUND MODE – selects the required sound mode: Stereo, Virtual Surround or Multi-channel / change SA-CD playback area TOP MENU/RETURN –... -
Page 10: Preparation
Preparation General Notes on connections Never make or change connections with the power switched on. • Depending on the equipment you wish to connect, there are various ways you could connect this unit. Possible connections are shown in the following drawings. -
Page 11: Mixed 2Ch Jacks
MIXED 2CH jacks Use audio/video cable supplied with this player to connect the L (left) and R (right) jacks to corresponding input jacks of your audio equipment such as Stereo amplifier. You can connect a subwoofer to the SUBWOOFER jack. Stereo amplifier 1 CD/DVD... -
Page 12: Getting Started
Getting Started Step1: Inserting batteries into the Remote Control 1 Open the battery compartment. 2 Insert two batteries type R06 or AA, following the indications (+ –) inside the compartment. 3 Close the cover. Using the remote control Point the remote control at the sensor, within approximately 6 m (20 feet) of the unit. -
Page 13: Setting Language Preference
4 Press 34 to highlight one of the options below: Select this if the connected TV is PAL system. It will change the video signal of a NTSC disc and output in PAL format. NTSC Select this if the connected TV is NTSC system. -
Page 14: Setting The Audio, Subtitle And Disc Menu Language
Getting Started Setting the Audio, Subtitle and Disc menu language PREFERENCE PAGE AUDIO ENGLISH SUBTITLE CHINESE(SIMP) DISC MENU FRENCH PARENTAL SPANISH PORTUGUESE MP3/JPEG NAV POLISH PASSWORD ITALIAN DEFAULT TURKISH 1 Press STOP 9 twice, then press SETUP. 2 Press 2 repeatedly to select {PREFERENCE PAGE}. - Page 15 {FRONT SPEAKER, CENTER SPEAKER, SURROUND SP} OFF (only for CENTER and SURROUND) When no speaker is connected. LARGE When connected speakers can produce low frequency signals below 120 Hz. SMALL When connected speakers cannot produce low frequency signals below 120 Hz. {SUBWOOFER} When a subwoofer is connected.
-
Page 16: Disc Operations
Disc Operations IMPORTANT! – If the inhibit icon ( on the TV screen when a button is pressed, it means the function is not available on the current disc or at the current time. – Depending on the DVD or VIDEO CD, some operations may be different or restricted. -
Page 17: Selecting Various Repeat/Shuffle Functions
Selecting various repeat/shuffle functions Repeat Repeat chapter/title/disc (DVD) Each time you press REPEAT, the front display changes as follows; CHAPTER REPEAT OFF ALL DISC CHAPTER*: repeat the current chapter TITLE: repeat the current title DISC*: repeat the entire disc ALL DISC: repeat all discs loaded on the tray REPEAT OFF: exit repeat mode * This feature may not be available with some... -
Page 18: Operations For Video Playback (Dvd/Vcd/Svcd)
Disc Operations Operations for video playback (DVD/VCD/SVCD) Using the Disc Menu Depending on the disc, a menu may appear on the TV screen once you load in the disc. To select a playback feature or item • Use 1 234 or numeric keypad (0-9) on the remote, then press ENTER/OK to start playback. -
Page 19: Special Dvd Features
Time Search (DVD/VCD) 1 Press 34 to select {TT TIME} or {CH TIME} (DVD) or {TRACK TIME} or {DISC TIME} (VCD). ➜ {TT TIME} refers to the total time of the current title, and the {CH TIME} refers to the total time of the current chapter. 2 Press ENTER/OK. -
Page 20: Special Vcd & Svcd Features
Disc Operations Special VCD & SVCD Features Playback Control (PBC) For VCD with Playback Control (PBC) feature (version 2.0 only) • Press MENU to toggle between ‘PBC ON’ and ‘PBC OFF’. ➜ If you select ‘PBC ON’, the disc menu (if available) will appear on the TV. -
Page 21: Sa-Cd (Super Audio Cd)
SA-CD (Super Audio CD) The SA-CD standard is based on Direct Stream Digital (DSD) technology. This new direct-stream digital format comprises a 1-bit system that has a digital sampling frequency that is 64 times higher than that of conventional audio CD. There are three types of SA-CD discs: single-layer, dual-layer and hybrid discs. -
Page 22: Audio Cd
Disc Operations Audio CD Playing a disc 1 Load a disc. ➜ Playback starts automatically. ➜ The TV screen will display the number of tracks for selection and current playing status. 2 Playback will stop at the end of the disc. 3 To stop playback, press STOP 9. -
Page 23: Zoom Picture
3 Use 1 234 to highlight one of the picture and press ENTER/OK to start playback Move the cursor to highlight bottom of the page to start playback from the first picture on the current page. 4 Press MENU to return to Picture CD menu. -
Page 24: Setup Menu
Setup Menu The setup is carried out via the TV, enabling you to customize the DVD Player to suit your particular requirements. General Setup menu 1 Press SETUP. 2 Press 1 2 to select ‘General Setup’ icon. 3 Press ENTER/OK to confirm. GENERAL SETUP PAGE DISC LOCK PROGRAM... -
Page 25: Osd Language
Program: Disc You can play the disc in the order you want by programming the discs to be played. Up to 5 discs can be stored. 1 In ‘GENERAL SETUP PAGE’, press 34 to highlight {PROGRAM}, then press 2 to select {FDS}. -
Page 26: Divx ® Vod Registration Code
Setup Menu ® DivX VOD registration code Yamaha provide you with the DivX (Video On Demand) registration code that allows you to rent and purchase videos ® using the DivX VOD service. For more information, visit at www.divx.com/vod. 1 In ‘GENERAL SETUP PAGE’, press 34 to highlight {DIVX(R) VOD CODE}, then press 2. -
Page 27: Setting The Digital Output
Setting the Digital output The options included in Digital Audio are: ‘Digital Output’ and ‘LPCM Output’. 1 In ‘AUDIO SETUP PAGE’, press 34 to highlight {DIGITAL AUDIO}, then press 2. 2 Press the 34 to highlight an option. 3 Enter its submenu by pressing 2. 4 Move the cursor by pressing the 34 to highlight the selected item. -
Page 28: Night Mode
Setup Menu Night Mode In this mode, the high volume outputs are softened and low volume outputs are brought upward to an audible level. It is useful for watching your favorite action movie without disturbing others at night. 1 In ‘AUDIO SETUP PAGE’, press 34 to highlight {NIGHT MODE}, then press 2. -
Page 29: Progressive
MODEL 525P AND 625P DVD PLAYER, PLEASE CONTACT OUR CUSTOMER SERVICE CENTER. This unit is compatible with the complete line of YAMAHA products, including the projectors DPX- 1100, LPX-510 and the plasma monitor PDM- 4210. TIPS: To return to the previous menu, press 1. -
Page 30: Selecting The Black Level (U.s.a. Model Only)
Setup Menu TINT Increase the value will darken the picture or vice versa. Choose zero (0) for average setting. COLOR Increase the value will enhance the color in your picture or vice versa. Choose zero (0) to balance the color. 5 Press 1 2 to adjust the setting that best suit your personal preference. -
Page 31: Restricting Playback By Parental Control
Restricting playback by Parental Control Some DVDs may have a parental level assigned to the complete disc or to certain scenes on the disc. This feature lets you set a playback limitation level. The rating levels are from 1 to 8 and are country dependent. -
Page 32: Changing The Password
Setup Menu Changing the Password The same password is used for both Parental Control and Disc Lock. Enter your six-digit password when prompted on the screen. The default password is 000 000. 1 In ‘PREFERENCE PAGE’, press 34 to highlight {PASSWORD}, then press 2 to select {CHANGE}. -
Page 33: Language Code
These pages can be used to select other languages.This does not affect the options in “AUDIO”, “SUBTITLE” or “DISC MENU”. Abkhazian Afar Afrikaans Albanian Amharic Arabic Armenian Assamese Avestan Aymara Azerbaijani Bashkir Basque Belarusian Bengali Bihari Bislama Bokmål, Norwegian Bosnian Breton Bulgarian Burmese... - Page 34 Language Code These pages can be used to select other languages.This does not affect the options in “AUDIO”, “SUBTITLE” or “DISC MENU”. Maori Marathi Marshallese Moldavian Mongolian Nauru Navaho, Navajo Navajo; Navaho Ndebele, North Ndebele, South Ndonga Nepali Northern Sami North Ndebele Norwegian Norwegian Bokmål;...
-
Page 35: Troubleshooting
YAMAHA dealer or service center. Problem No power... - Page 36 Troubleshooting Problem The player does not respond to the Remote Control Buttons do not work Player does not respond to some operating commands during playback. DVD Player cannot read CDs/ DVDs Menu items cannot be selected Unable to play DivX movies No sound during DivX movies playback Solution...
-
Page 37: Glossary
Analog: Sound that has not been turned into num- bers. Analog sound varies, while digital sound has spe- cific numerical values. These jacks send audio through two channels, the left and right. Aspect ratio: The ratio of vertical and horizontal sizes of a displayed image. -
Page 38: Specifications
Specifications PLAYBACK SYSTEM DVD-Video SA-CD multichannel and SA-CD stereo Video CD & SVCD PICTURE CD CD-R, CD-RW DVD+R, DVD+RW DVD-R, DVD-RW VIDEO PERFORMANCE Video (CVBS) Output 1 Vpp into 75 ohm S-Video output Y: 1 Vpp into 75 ohm C: 0.3 Vpp into 75 ohm Component video output Y: 1 Vpp into 75 ohm Pb/Cb Pr/Cr: 0.7 Vpp into... - Page 39 YAMAHA ELECTRONICS (UK) LTD. YAMAHA HOUSE, 200 RICKMANSWORTH ROAD WATFORD, HERTS WD18 7GQ, ENGLAND YAMAHA SCANDINAVIA A.B. J A WETTERGRENS GATA 1, BOX 30053, 400 43 VÄSTRA FRÖLUNDA, SWEDEN YAMAHA MUSIC AUSTRALIA PTY, LTD. 17-33 MARKET ST., SOUTH MELBOURNE, 3205 VIC., AUSTRALIA...