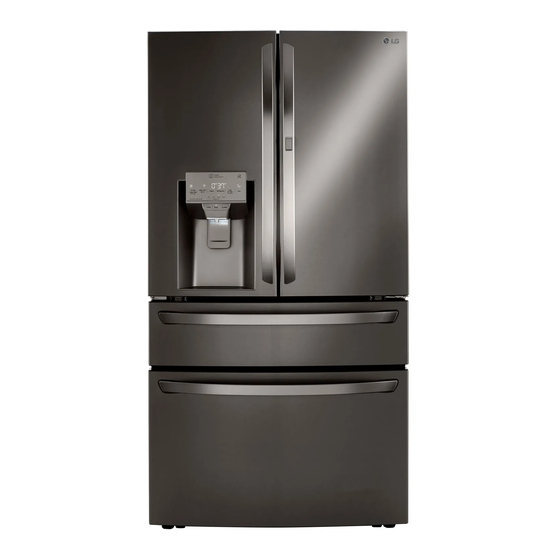
LG LRMDS3006 Series Manual
Hide thumbs
Also See for LRMDS3006 Series:
- Owner's manual (212 pages) ,
- Service manual (134 pages) ,
- Owner's manual (68 pages)
Table of Contents
Advertisement
us_main.book.book Page 11 Friday, February 7, 2020 11:44 AM
INSTALLATION
Before Installing
Installation Overview
Please read the following installation instructions first after purchasing this product or transporting it to
another location.
Unpacking the Refrigerator
a
Choosing the Proper Location
b
Disassembling/Assembling
c
Connecting the Water Line
d
Leveling and Door Alignment
e
WARNING
• Connect to potable water supply only.
INSTALLATION
11
Advertisement
Table of Contents

Summary of Contents for LG LRMDS3006 Series
- Page 1 us_main.book.book Page 11 Friday, February 7, 2020 11:44 AM INSTALLATION INSTALLATION Before Installing Installation Overview Please read the following installation instructions first after purchasing this product or transporting it to another location. Unpacking the Refrigerator Choosing the Proper Location Disassembling/Assembling Connecting the Water Line Leveling and Door Alignment WARNING...
-
Page 2: Choosing The Proper Location
us_main.book.book Page 12 Friday, February 7, 2020 11:44 AM 12 INSTALLATION Choosing the Proper Unpacking the Refrigerator Location WARNING • Use two or more people to move and install the Water refrigerator. Failure to do so can result in back injury or other injury. -
Page 3: Dimensions And Clearances
us_main.book.book Page 13 Friday, February 7, 2020 11:44 AM INSTALLATION Dimensions and Clearances • Check the dimensions of the appliance and the installation path to ensure there is sufficient room to move the refrigerator through doors or narrow openings. • If an opening is too narrow to fit the refrigerator through, remove the refrigerator doors. See Removing/ Assembling the Doors and Drawers in this manual. -
Page 4: Removing/Assembling Handles
us_main.book.book Page 14 Friday, February 7, 2020 11:44 AM 14 INSTALLATION Removing/Assembling fasteners and tightening the set screws with a 3/32 in. Allen wrench. Handles When moving the refrigerator through a narrow opening, removing the doors is preferred. The appearance of the handles may vary from what is shown. -
Page 5: Removing The Hinge Cover
us_main.book.book Page 15 Friday, February 7, 2020 11:44 AM INSTALLATION Removing/Assembling Doors and Drawers If the entrance door is too narrow for the refrigerator to pass through, remove the refrigerator doors and move the refrigerator sideways through the doorway. WARNING NOTE •... -
Page 6: Removing The Right Refrigerator Door
us_main.book.book Page 16 Friday, February 7, 2020 11:44 AM 16 INSTALLATION Lift the door from the middle hinge pin and remove the door. CAUTION • Place the door, inside facing up, on a nonscratching surface. Lift the door from the middle hinge pin and remove the door. -
Page 7: Assembling The Left Refrigerator Door
us_main.book.book Page 17 Friday, February 7, 2020 11:44 AM INSTALLATION Connect all the wire harnesses and the Connect all the wire harnesses and the ground screw ground wire. Push the water supply lines into the hole on NOTE the top case and pull them through the •... -
Page 8: Removing The Freezer Drawer
us_main.book.book Page 18 Friday, February 7, 2020 11:44 AM 18 INSTALLATION NOTE • Gently press the collet and insert the tube until only one line shows on the tube. Removing the Freezer Drawer Removing the Full Convert Drawer WARNING Pull the drawer open to full extension. •... -
Page 9: Assembling The Freezer Drawer
us_main.book.book Page 19 Friday, February 7, 2020 11:44 AM INSTALLATION Assembling the Freezer Drawer Remove the Durabase basket from the rails. Remove the screws from the rails at both Pull out both rails simultaneously, until they ends. are fully extended. Grasp the drawer on each side and hook the Grip both sides of the drawer and pull it up to drawer supports into the rail tabs located on... -
Page 10: Connecting The Water Line
us_main.book.book Page 20 Friday, February 7, 2020 11:44 AM 20 INSTALLATION Connecting the Water Line Before Beginning This water line installation is not covered by the refrigerator warranty. Follow these instructions carefully to minimize the risk of expensive water damage. If necessary, call a qualified plumber to correct water hammer before installing the water supply line to the refrigerator. -
Page 11: Supplies Needed
us_main.book.book Page 21 Friday, February 7, 2020 11:44 AM INSTALLATION • If the water pressure remains low, call a a saddle-type valve complies with your local licensed, qualified plumber. plumbing codes. • All installations must be in accordance with local plumbing code requirements. - Page 12 us_main.book.book Page 22 Friday, February 7, 2020 11:44 AM 22 INSTALLATION NOTE • The hookup line cannot be white, plastic tubing. Licensed plumbers must use only copper tubing (NDA tubing #49595 or #49599) or Cross Link Polyethylene (PEX) tubing. Pipe Clamp Inlet End Clamp Screw Fasten the shutoff valve.
-
Page 13: Leveling And Door Alignment
us_main.book.book Page 23 Friday, February 7, 2020 11:44 AM INSTALLATION Outlet Valve CAUTION Ferrule (sleeve) • Check to see if leaks occur at the water line connections. Flush out the tubing. • Turn the main water supply on and flush out the tubing until the water is clear. -
Page 14: Turning On The Power
us_main.book.book Page 24 Friday, February 7, 2020 11:44 AM 24 INSTALLATION Door Alignment (Door-in-Door Model) Left Refrigerator Door The left refrigerator door has an adjustable nut, located on the bottom hinge, to raise and lower the door for proper alignment. If the space between the doors is uneven, follow the instructions below to align the left door: Use the wrench (included with the owner's...


