Epson TM-T88IV Step By Step Manual For Installing
Receipt restick printer in windows using an ethernet connection
Hide thumbs
Also See for TM-T88IV:
- Technical reference manual (104 pages) ,
- User manual (60 pages) ,
- Technical note (8 pages)
Advertisement
Quick Links
Download this manual
See also:
User Manual
th
One Blue Hill Plaza, 16
Floor, PO Box 1546
Pearl River, NY 10965
1-800-PC-AMERICA, 1-800-722-6374
(Voice) 845-920-0800 (Fax) 845-920-0880
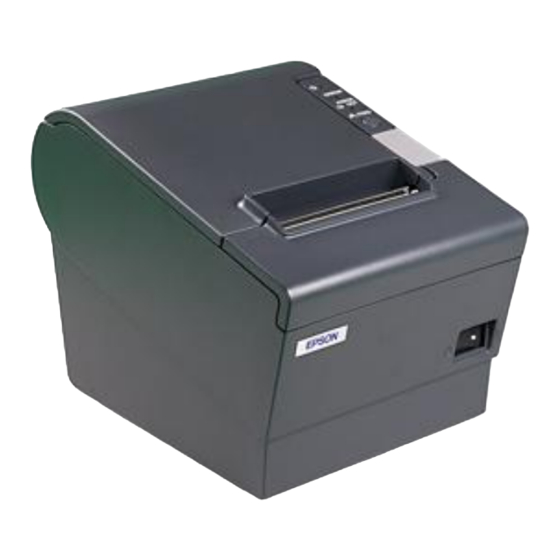
Installing the EPSON TM-T88IV
Receipt Restick Printer in Windows
using an Ethernet Connection
This is a step by step guide for installing the Epson TM-T88IV Receipt Restick Printer in
a Windows 32 or 64 bit environment and configuration for use with CRE/RPE.
1 |
P a g e
Advertisement

Related Manuals for Epson TM-T88IV


Summary of Contents for Epson TM-T88IV
-
Page 1: Using An Ethernet Connection
Receipt Restick Printer in Windows using an Ethernet Connection This is a step by step guide for installing the Epson TM-T88IV Receipt Restick Printer in a Windows 32 or 64 bit environment and configuration for use with CRE/RPE. P a g e... - Page 2 Using a CAT-5 network cable (RJ45 connector) through a router or switch this option requires the purchase of a router or switch and network cable. Before you begin, make sure your EPSON TM- T88IV printer is plugged in and properly connected to your router/switch via network cable and that the paper roll is properly seated.
- Page 3 Configuring the Ethernet properties for the Epson printer Please download the Epson utility from the following link: http://download2.pcamerica.com/drivers/Epson_Utility_for_Ethernet_Printers.zip 1. Locate the zip file you downloaded “Epson_Utility_for_Ethernet_Printers.zip” and extract its contents to a convenient location. Right click on the extracted file “Wcfg300a.exe” and select Run as administrator (XP users, simply double-click on the extracted file).
- Page 4 3. Select Next. 4. Select Next. 5. Select Install. P a g e...
- Page 5 6. Select Finish. Select Start, point to Programs, point to EPSON TMNet WinConfig, then select TMNet WinConfig Ver3.00 to start the configuration utility. 1. Select Ethernet. 2. Select the printer detected by the application that you want to assign an IP address to.
- Page 6 Select the TCP/IP tab. Select Manual for IP Address Setting. Select Set using PING. Assign the IP address, the Subnet mask, and the Default gateway. Ask your administrator for the IP address and the Default gateway to be set.( In our example we are using an IP Address of 172.25.2.49, Subnet Mask of 255.255.252.0, and Default Gateway of 172.25.0.1.) Select OK.
- Page 7 Note: If the printer is not detected you can access the firmware of the printer by opening your internet browser and entering the following default address: http://192.168.192.168 Before you begin, make sure your EPSON printer is plugged in, and that the receipt paper roll is properly seated. P a g e...
- Page 8 Make sure the printer is turned off for the driver installation. Before you begin please download and extract the installation files from: http://download2.pcamerica.com/drivers/8/Manufacturer/Epson/APD_454aE.zip Locate the zip file you downloaded “APD_454aE.zip” and extract its contents to a convenient location. Right click on the extracted file “APD_454aE a.exe”...
- Page 9 Select Minimum (Recommended), then hit Next. Select Add. Under the Select driver dropdown, locate and select EPSON TM-T88IV ReStick. The Printer name should auto fill EPSON TM-T88IV ReStick. Under Port type, locate and select Create an Ethernet port. Hit Next.
- Page 10 Enter the IP address configured in step 4 of page 6. (In our example, we assigned the printer an IP address of 172.25.2.49.) Select Next. Select Next. Select Next. 10 | P a g e...
- Page 11 Hit Finish. 11 | P a g e...
- Page 12 At the Windows Desktop, you’re ready to set up the properties for your printer. You can now turn the printer on. Select Start, Control Panel, then View devices and printers. Right-click on the printer that was just installed and select Printing preferences. 12 | P a g e...
- Page 13 1. Select the Document Settings tab. 2. Select PaperSource: <Document[NoFeed,NoCut]>. 3. Select Document[NoFeed,NoCut]. 4. Select Apply, then OK. 13 | P a g e...
- Page 14 Setup and re-enter your password if necessary. 3. Select/Highlight Receipt under Select Friendly Printer. 4. Select/Highlight Epson TM-T88IV ReStick under Select Local Windows Printer. 5. Under the Printer Type dropdown, select Epson Thermal Receipt Printer. 6. Make sure Cut receipt at this station is checked.