Advertisement
Quick Links
INSTALLATION INSTRUCTIONS
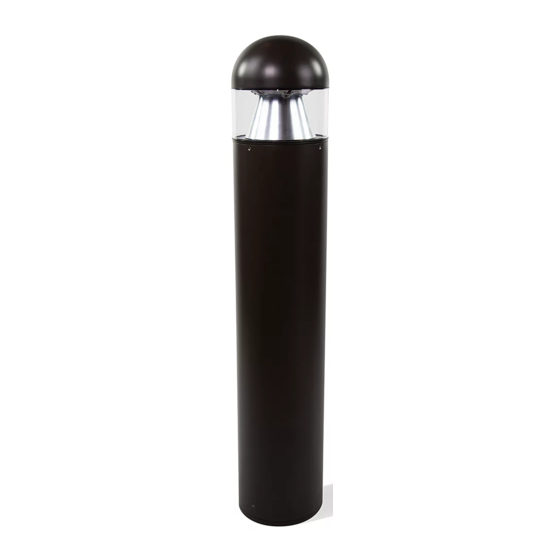
BL25 BOLLARD SERIES
ELECTRICAL SHOCK HAZARD
WARNING
Disconnect the electrical supply power at the service panel (fuse or circuit breaker box).
Failure to do so could result in serious injury or death. Only qualified electricians should install
this fixture and the installation MUST conform with the National Electrical Code and all
applicable local codes and ordinances. Ensure that only proper tools, materials, and
equipment are used during installation.
SAFETY
Proper grounding is required to ensure personal safety.
Do not use this equipment for anything other than its intended purpose.
Servicing this equipment should be performed by qualified service personnel.
Installer must assure installation including integrity of anchor bolts, foundation
and tightening of anchor nuts.
Make sure all four set screws supplied to attach bollard to the base plate are
installed and completely tight.
Installer must assure that all gaskets provided to seal the optical
section of the bollard are in place and not damaged during assembly.
The gaskets keep out insects and keep moisture from entering and
collecting on the lens.
Save these instructions
ANCHOR BOLT INSTALLATION
CAUTION: Install according to all applicable local codes.
Install three (3) Anchor J-Bolts in concrete foundation (by
others) using the template provided. Bolla rd Base may also
be used as the template. Bolt threads should protrude at least
3" from concrete.
BOLLARD INSTALLATION
To allow for base plate leveling, before inserting base plate,
place one nut followed by a washer onto each Anchor J-Bolt.
Place Base Plate over anchor J-bolts and leveling nuts.
Loosely tighten flat washers and nuts onto J-bolts.
Level base plate by adjusting the leveling nuts under the base
plate.Then tighten the upper nuts on top of the base plate.
Secure wires above ground level.
Make appropriate wiring connections as per instructions below.
Place fixture over the base plate.
Secure bollard onto the base plate by progressively tightening
the four set screws at the bottom of the column.
If required, retighten the four set screws that assembles the
bollard head to shaft and secure appropriately.
FIXTURE IS SUITABLE FOR WET LOCATIONS
READ, UNDERSTAND, and FOLLOW
these instructions before installing
equipment.
(4) Set Screws
Wiring
Conduit
(By Others)
200 Franklin Square Drive,
Somerset, NJ 08873, USA
, and
equipment.
6"[152.4mm]
Base Plate
Markham ON, Canada L6C 2S3
ø8" [ø203.2 mm]
(3) Sets of Locking
Washers & Nuts
Base plate
(3) Anchor J-Bolts
3"[76.2mm]
(3) Sets of Leveling
Washers & Nuts
Concrete
Foundation
Wiring Conduit
(By Others)
(3) Sets of Locking
Washers & Nuts
(3) Sets of
Leveling Washers
Concrete
Foundation
(3) Anchor J-Bolts
1
Advertisement

Summary of Contents for Philips BL25 Series
- Page 1 INSTALLATION INSTRUCTIONS 200 Franklin Square Drive, Markham ON, Canada L6C 2S3 BL25 BOLLARD SERIES Somerset, NJ 08873, USA READ, UNDERSTAND, and FOLLOW ø8" [ø203.2 mm] , and ELECTRICAL SHOCK HAZARD these instructions before installing equipment. equipment. WARNING Disconnect the electrical supply power at the service panel (fuse or circuit breaker box). Failure to do so could result in serious injury or death.
- Page 2 INSTALLATION INSTRUCTIONS 200 Franklin Square Drive, Markham ON, Canada L6C 2S3 BL25 BOLLARD SERIES Somerset, NJ 08873, USA ELECTRICAL WIRING Make wiring connections (as stated below) and secure above the ground. Check that the line voltage is correct. Connect fixture GROUND (green) wire to power supply GROUND (green) wire. Connect fixture WHITE wire to power supply (-) NEUTRAL COMMON wire.


