Table of Contents
Advertisement
Advertisement
Table of Contents

Related Manuals for Bosch HCP36E52UC


Summary of Contents for Bosch HCP36E52UC
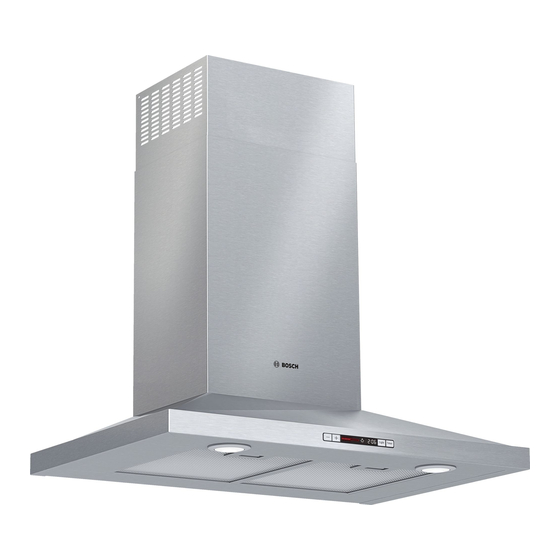
- Page 1 Hood Installation Manual Models: HCP36E52UC, HCP30E52UC, HCP34E52UC...
-
Page 2: Table Of Contents
NOTICE: This indicates that damage to the appliance or property may occur as a result of non-compliance with this advisory. Note: This alerts you to important information and/or tips. This Bosch appliance is made by BSH Home Appliances Corporation 1901 Main Street, Suite 600 Irvine, CA 92614... -
Page 3: General Notes
IMPORTANT SAFETY INSTRUCTIONS READ AND SAVE THESE INSTRUCTIONS General Notes WARNING Hidden surfaces may have sharp edges. Use caution when WARNING reaching behind or under appliance. Use this unit only in the manner intended by the manufac- Fire Safety turer. If you have questions, contact the manufacturer. WARNING WARNING •... - Page 4 IMPORTANT SAFETY INSTRUCTIONS READ AND SAVE THESE INSTRUCTIONS WARNING WARNING Be sure the entire appliance (including the grease filters RISK OF FIRE and light bulbs, if applicable) has cooled and grease Hot oil and fat catch fire fast. Never leave hot oil and fat has solidified before attempting to clean any part of the unsupervised.
-
Page 5: Electrical Connection
General Notes Fan operation Ventilation line Note: The manufacturer is not responsible for the operation Note: Ventilation may not exit through an already or complaints associate with the pipe section. operational smoke or exhaust chimney, nor a duct used • The device achieves its optimum performance by for ventilating furnace installation areas. -
Page 6: Before You Begin
Before you begin Appliance Dimensions Tools and Parts Needed " • Measuring tape " (200 mm) (273 mm) • Pencil • Phillips screwdriver (Posidrive) #2 • Drill with the following bits: ⁄ ” (7.9 mm) and ⁄ ” " (9.5 mm) (335 mm) •... -
Page 7: Safety Clearances
Safety clearances Fan operation Note: Ventilation may not exit through an already operational smoke or exhaust chimney, nor a duct used WARNING for ventilating furnace installation areas. RISK OF FIRE • If the ventilation is intended to pass through smoke Grease deposits in the grease filter can catch fire. -
Page 8: Ventilator Performance Calculation
Round to 3¼" x 10" 3¼" x 10", Roof jack and shutter 3¼" x 10" to round NOTE: These commonly used installation parts can be purchased at a local hardware store. Bosch does not manufacture all these parts. Page 8... -
Page 9: Installation Procedure
Installation Procedure Preparing the installation The ducting from this fan to the outside of the building has a strong effect on the air flow, noise and energy use of the 1. Mark a vertical center line on the wall from the ceiling fan. -
Page 10: Mounting The Extractor Hood On The Wall
Mounting the extractor hood on the wall Mounting the back-pressure flap Using 4 screws (4x8 mm), attach the back-pressure flap WARNING to the extractor hood. RISK OF INJURY The appliance is heavy. To move the appliance, 2 people are required. Use only suitable tools and equipment. 1. -
Page 11: Connect Electrical Supply
Connect Electrical Supply 2. Measure the distance (x) between the bottom edge of the housing for the recirculation module and the bottom edge of the back-pressure flap. WARNING RISK OF ELECTRIC SHOCK Before wiring the appliance, interrupt the main electrical circuit at the electrical control cabinet. -
Page 12: Attaching Flue Duct
Attaching flue duct 7. Fasten the lower part of the flue duct using two screws. Hidden surfaces may have sharp edges. Use caution when reaching behind or under appliance. 1. Remove the protective foil from both flue ducts. 2. Push one flue duct into the other. Notes •...