Table of Contents
Advertisement
Advertisement
Table of Contents

Related Manuals for Electrolux ERC925DSD


Summary of Contents for Electrolux ERC925DSD
- Page 1 ERC925DSD Canopy rangehood User manual...
-
Page 2: Table Of Contents
Dear customer, Important instructions ______________________________ 3 Before using your appliance _____________________ 3 Thank you for purchasing an Electrolux rangehood. You’ve chosen a product that brings with it decades Information on disposal for users ________________ 3 of professional experience and innovation. Ingenious Important safety instructions ____________________ 3 and stylish, it has been designed with you in mind. -
Page 3: Important Instructions
Electrolux manufacturer’s warranty provided with your product. WARNING Products must be used, installed and operated in The wire connection has to be done by specialized accordance with this manual. - Page 4 IMPORTANT INSTRUCTIONS (CONTINUED) • Connect the plug to a socket complying with current • Adjust the flame intensity to direct it onto the bottom regulations, located in an accessible place. of the pan only, making sure that it does not engulf the sides.
-
Page 5: Care & Cleaning
CARE AND CLEANING • Grease filters must be cleaned every 2 months of operation, or more frequently for particularly heavy usage, and can be washed in a dishwasher. • Clean the hood using a damp cloth and a neutral liquid detergent. •... -
Page 6: Description
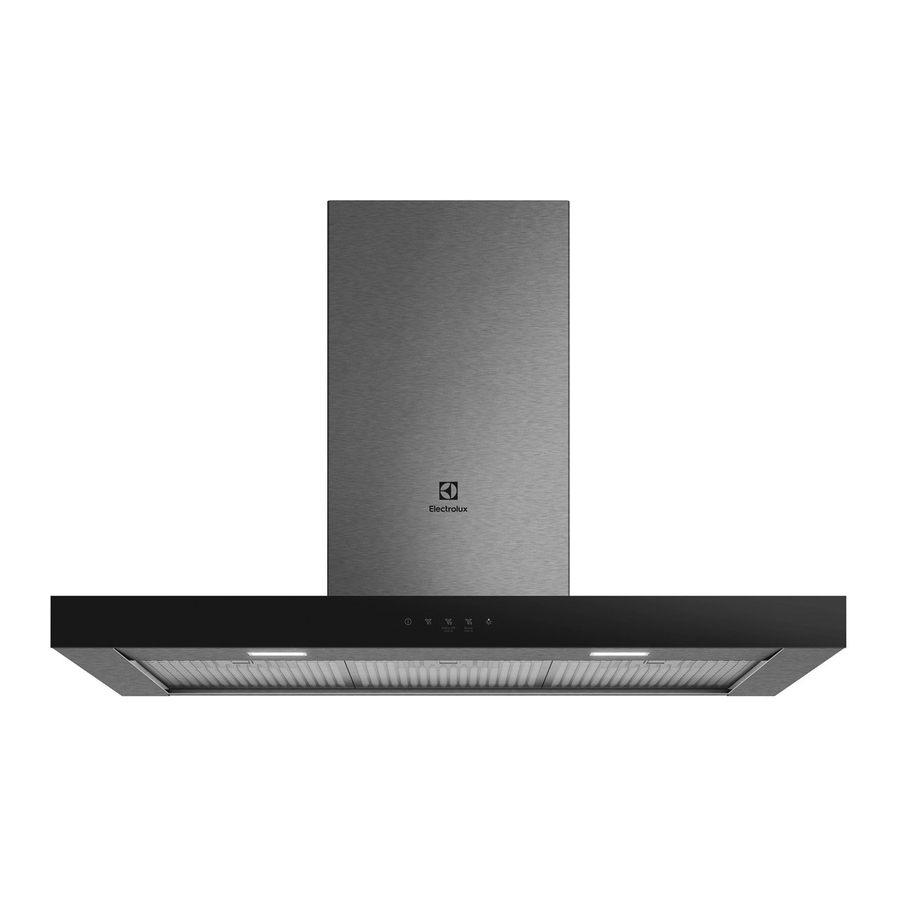
DESCRIPTION Upper chimney Lower chimney Hood body LED Lighting Grease filter Control panel CONTROL PANEL button function A = Off Turns off the motor. Turns the motor on at speed 1. Press and hold the button for approximately 2 seconds, with all the loads turned off (Motor+Lights), to turn B = Speed the Activated Charcoal Filter alarm on. -
Page 7: General Hints
GENERAL HINTS Switch ON the hood at minimum speed when you start cooking and kept it running for few minutes after cooking is finished. • Increase the speed only in case of large amount of smoke and vapour and use boost speed(s) only in extreme situations. -
Page 8: Care & Cleaning
Dry in the oven at a Max temperature of 70ºC for 2 hours or dry at room temperature, standing the filter in a vertical position to facilitate drainage. NOTE: Replacement carbon filters are available from Replacing the lamps Electrolux spare parts. For replacement, please contact an Authorised Service Center. -
Page 9: Troubleshooting
TROUBLE SHOOTING If there is a fault, first try to find a solution to the problem yourself. If you cannot find a solution to the problem yourself, contact an authorized service center. problem possible cause solution The appliance is not correctly installed Follow the Installation instruction Appliance not stable enclosed to the appliance. -
Page 10: Technical Data
TECHNICAL DATA unit value Product Type Wall mounted hood Width Dimensions Depth Height min/max 800/1250 Airflow max (Exhaust mode) Noise min/max 50/70 (sound power level) Total Power Type Rectangular LED Lamps info Number & Power 2x 2W Socket Installation minimum height - gas hob... -
Page 11: Installation
INSTALLATION The hood has been designed to be installed and used either as a “Exhausted mode”, or as a “Recirculation mode”. Exhausted mode Cooking steam is sucked and channelled outside the house through a discharge duct (not supplied), fitted to the hood steam outlet. Ensure that the discharge duct is correctly fitted to the air outlet, unit using an appropriate connection system. - Page 12 INSTALLATION (CONTINUED) IMPORTANT Min. 870mm Max. 1150mm Min. 930mm Max. 1210mm Min. 740mm Max. 1030mm Min. 800mm Max. 1090mm...
- Page 14 INSTALLATION (CONTINUED) Min. 600mm Min. 600mm Min. 650mm Min. 650mm...
- Page 15 Min. Min. 600mm 650mm...
- Page 16 INSTALLATION (CONTINUED)
- Page 17 IMPORTANT...
- Page 18 INSTALLATION (CONTINUED) IMPORTANT...
- Page 20 INSTALLATION (CONTINUED) IMPORTANT...
-
Page 21: Recirculated
RECIRCULATED INSTALLATION For Ducted installation go to page 33 IMPORTANT... - Page 22 INSTALLATION (CONTINUED) min. 930mm max. 1210mm...
- Page 24 INSTALLATION (CONTINUED)
- Page 25 M = 1x...
- Page 26 INSTALLATION (CONTINUED) Ø150 X cm X cm...
- Page 28 INSTALLATION (CONTINUED)
- Page 30 INSTALLATION (CONTINUED)
- Page 32 INSTALLATION (CONTINUED)
-
Page 33: Ducted
DUCTED INSTALLATION... - Page 34 INSTALLATION (CONTINUED) min. 800mm max. 1090mm...
- Page 36 INSTALLATION (CONTINUED)
- Page 38 INSTALLATION (CONTINUED) Ø 120/125 mm Ø 150 mm...
- Page 40 INSTALLATION (CONTINUED)
- Page 42 electrolux.com.au...
-
Page 43: Warranty
Guarantee Act does not apply. warranty. 11. C onfidentiality: You accept that if you make a warranty claim, Electrolux 7. Exclusions: You may not make a claim under this warranty unless the and its agents including ASC may exchange information in relation to you defect claimed is due to faulty or defective parts or workmanship. - Page 44 0800 436 245 fax: 0800 225 088 email: customercare@electrolux.co.nz web: electrolux.co.nz To add a touch of professional inspiration to your home, visit electrolux.com.au or electrolux.co.nz electrolux.com.au or electrolux.co.nz © 2018 Electrolux Home Products Pty Ltd. ABN 51 004 762 341 EMAN_ERC925DSD_RH_Oct18...