Advertisement
Quick Links
Installation Instructions
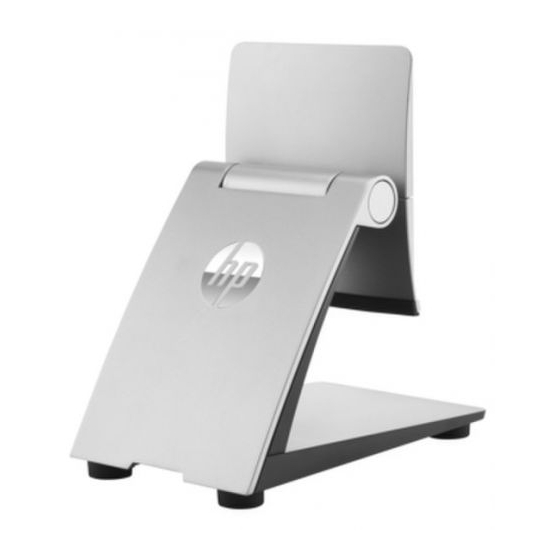
HP RP9 Compact
Stand
© Copyright 2016 HP Development Company, L.P.
The information contained herein is subject to change without
notice.
Printed in
Second Edition: February 2016
First Edition: February 2016
*844016-002*
844016-002
Before you begin
1.
Save all files and shut down the computer properly
through the operating system, and then turn off any
external devices.
2.
Disconnect the power cord from the AC outlet, and
disconnect all cables from the rear of the computer.
WARNING! To avoid the risk of serious injury or
damage to the system, ensure that the power cord
is unplugged from the AC outlet at the wall before
installing this product. Failure to do so may expose
you to the risk of electric shock.
NOTE: For regulatory and safety notices, refer to
the Product Notices included with your product.
Product support
For the online access to technical support information,
self-solve tools, online assistance, community forums or
IT experts, broad multivendor knowledge base,
monitoring and diagnostic tools, go to
www.hp.com/support.
NOTE: If you need help preparing your computer model
for this installation, refer to the documentation provided
with the computer, or go to www.hp.com/support to
locate the manual for your model.
Removing the VESA plate
You may need to remove the VESA plate from the rear of the
RP9 before installing the stand. Remove the four screws
securing the VESA plate, and then remove the plate.
Installing the VESA cover
1.
Select the VESA cover for your RP9 model size.
15.6" RP9 model
18.5" RP9 model
2.
Angle the top section of the VESA cover toward the top
side of the stand's hinge 1, and then press the section
down onto the mounting bracket 2. Angle the bottom
section of the VESA cover toward the bottom side of the
stand's hinge 3, and then press the section down onto the
mounting bracket 4.
Installing the stand
1.
Lay the RP9 face down on a flat surface covered by a soft
clean cloth.
2.
Slide the tabs on the top of the stand mount into the slots
on the display head 1, and then rotate the bottom of the
stand mount down onto the display head so that it snaps
into place 2.
Routing cables
1.
Connect the cables to the appropriate rear connectors.
2.
Remove the cable routing cover from the neck of the
stand 1.
3.
Route the cables from the connectors on the rear panel
down the neck of the stand, and then through the hole in
the center of the base 2 and out the underside of the
base.
4.
Replace the cable routing cover on the neck of the stand
to cover the cables 3.
Advertisement

Related Manuals for HP RP9 Compact Stand


Summary of Contents for HP RP9 Compact Stand
-
Page 1: Routing Cables
HP RP9 Compact Lay the RP9 face down on a flat surface covered by a soft with the computer, or go to www.hp.com/support to clean cloth. Stand locate the manual for your model. -
Page 2: Documentation Feedback
Fasten the stand to a countertop using the appropriate clean cloth. fastening devices (not provided by HP) for your surface. Push up the release latch on the rear of the display head 1, tilt the stand back 2, and then lift the stand from the display head 3.