
Summary of Contents for Roll-n-Lock 110
- Page 1 NSTALLATION UIDE TANDARD PRODUCT CODES: 100, 105, 110, 111, 112, 113, 115, 120, 130, 140, 145, 146, 150, 200, 210, 240, 250, 255, 260, 300, 305, 405, 406, 407 , 408, 425, 426, 435, 447 , 500, 505, 510, 800, 805, 810, 820, 825, 826 &...
- Page 2 NSTALLATION UIDE OOLS EEDED OMPONENTS NCLUDED 3/8" Drill 1/2" Drill Bit P2 Tip Hinged Lid #2 Philips Screwdriver Track(s) x 2 Clamp(s) x 6-8 Pull Strap Housing Cargo Shield Tailgate Drain Extrusion Tube(s) x 2 STOP! F YOU HAVE A PLASTIC DROP IN BEDLINER SURE TO FOLLOW...
- Page 3 1: B EDLINER ODIFICATION Note: If the truck is 5" Typical equipped with a plastic under-the-rail drop-in bedliner, some bed liner alteration will be necessary. If no bedliner is present, proceed to Step 2. The dotted lines in Diagram 1 depict the more common under-the-rail liner modifi...
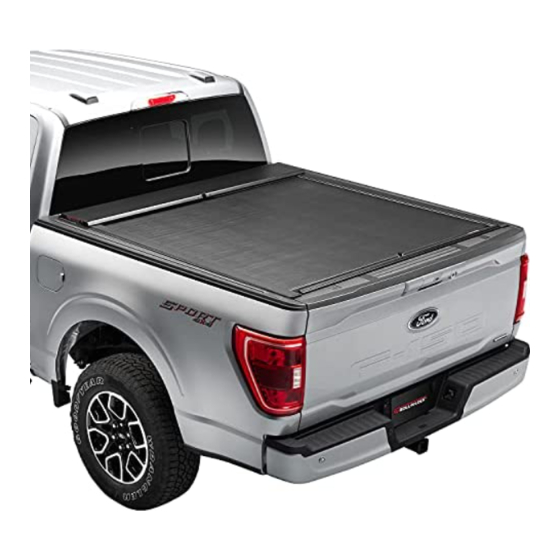
- Page 4 2: I NSTALL THE OUSING If desired, install the Stake-Pocket Hole Covers where necessary (Photo 3). Place the Housing Assembly onto the bedrails (Photo 4). This is best accomplished with two people. Center it between the bedrails and leave about ½" of space between the bulkhead and the back of the Housing.
- Page 5 3: I NSTALL THE RACKS CONTINUED Attach Track Track the back Clamps very Housing Housing loosely to Stem Stem the Tracks to be sure that the Tracks do not fall off of the bed Diagram 9 Photo 10 rail while proceeding (Photo 10).
- Page 6 5: O RIENTING THE RACKS TO THE AILGATE Move to the front of the bed, lift up slightly on the Housing and shift each side back toward the tailgate (Photo 14) so that the Track End- Caps contact the inside surface of the tailgate. Make sure the Track End Cap Metal Blocks contact the Tailgate Extrusion End Caps (Diagram 15).
- Page 7 6: I & D NSTALL ARGO HIELD RAIN UBES To open the Cover pull back slightly on the Handle to relieve spring tension from the Latch Mechanisms and turn the Lock Lever Photo 19 Photo 20 clockwise to the 10 o’clock (unlatched) position.
- Page 8 8: O PENING AND LOSING DJUSTING INGED To Open: Grasp the Latch Pin Knobs, pull out and turn Back knobs 90° to hold Pin in the unlock position. Grasp the Lid and lift. Rest the Lid against Knob the back of the cab to hold open for service or cleaning (Diagram 23).