Advertisement
Quick Links
INSTALLATION INSTRUCTIONS
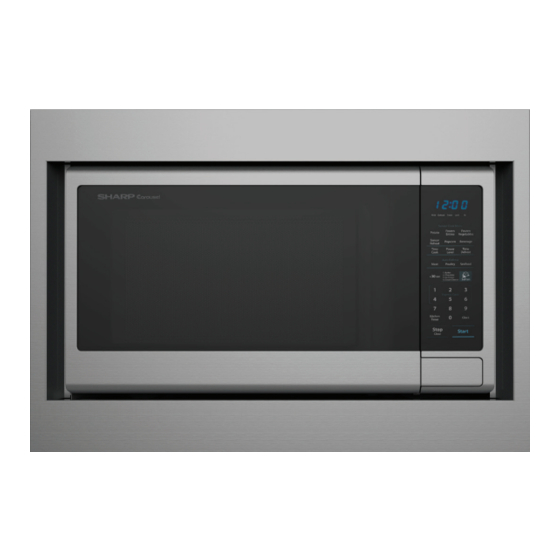
For Sharp Carousel
Models RK56S27 or RK56S30
S = STAINLESS
THIS KIT IS UL APPROVED TO ALLOW CERTAIN MICROWAVE
OVENS TO BE INSTALLED ABOVE ANY ELECTRIC WALL OVEN.
PLEASE SEE THE OPERATION MANUAL REGARDING APPROVED
BUILT-IN APPLICATIONS.
IMPORTANT:
This Built-in Kit is designed for and approved only for those
Sharp Microwave Ovens specifying Built-In Kit RK56S27 or
RK56S30. Refer to instruction manual for approved models.
PLEASE READ THESE INSTRUCTIONS THOROUGHLY
BEFORE BEGINNING INSTALLATION!
• Be sure to DISCONNECT THE PLUG of the microwave
oven from the electrical outlet before installing the Built-in
Kit. Remove the Carousel turntable from the oven cavity.
• Because the kit includes metal parts, due caution should
be used in handling and installation to avoid the possibil-
ity of injury.
ITEM
PART NAME
A
FRONT FRAME
RK56S27: FDECAB252MRK0
RK56S30: FDECAB253MRK0
B
BACK FRAME
RK56S27: FDECAB255MRK0
RK56S30: FDECAB255MRK0
C
EXHAUST DUCT ASSEMBLY
PDUC-B188MRP0
D
SCREW D: XTSS740P20000
E
SCREW E: XOPS740P16000
Built-in Kit
®
QTY
1
1
1
2
4
A
C
V-cut
indicates
center of
duct
D
1
B
C L
E
Advertisement

Summary of Contents for Sharp Carousel RK56S27
- Page 1 PLEASE SEE THE OPERATION MANUAL REGARDING APPROVED BUILT-IN APPLICATIONS. IMPORTANT: This Built-in Kit is designed for and approved only for those Sharp Microwave Ovens specifying Built-In Kit RK56S27 or RK56S30. Refer to instruction manual for approved models. PLEASE READ THESE INSTRUCTIONS THOROUGHLY BEFORE BEGINNING INSTALLATION! •...
- Page 2 STEP 1 CABINET OR WALL OPENING • Please allow minimum 3" wood gap between the The opening in the wall or cabinet must be within the following dimensions: microwave oven cutout and the appliance cutout below the microwave oven. See Sketch 2 Cut Out RK56S27 &...
- Page 3 STEP 2 EXHAUST DUCT ASSEMBLY INSTALLATION 1. Place the EXHAUST DUCT ASSEMBLY in the center of the opening. Position the front edge of the duct 3/8" proud of the front edge of the cabinet. See Sketch 3. 2. Mark the two holes, center punch and pre-drill with 1/16" drill bit.
- Page 4 Equal gap top, bottom Screw E Screw E Mounting holes Mounting holes SKETCH 7 For any other assistance or information about this kit, please call Sharp’s Customer Assistance Center at 1-800-BE-SHARP (1-800-237-4277) SHARP ELECTRONICS CORPORATION 100 Paragon Drive, Montvale, New Jersey 07645 TINSEB567MRR0...


