
Related Manuals for Honeywell 5805


Summary of Contents for Honeywell 5805
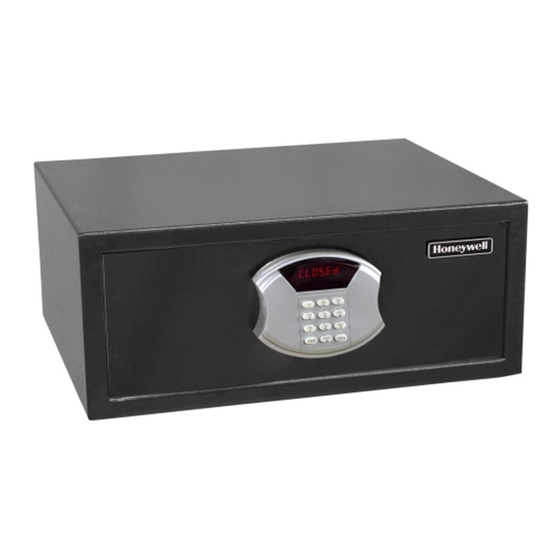
- Page 1 Models 5805 / 5806 STEEL SECURITY SAFE Read this manual carefully and never store it inside the safe!
-
Page 2: Package Contents
Models 5805 / 5806 Steel Security Safe with Digital Lock PACKAGE CONTENTS 1 – Steel Security Safe 1 – Operation Manual 2 – Override Access Keys 4 – “AA” Batteries 1 – Mounting Kit w/ Bolts ATTENTION DO NOT RETURN SAFE TO STORE! For missing parts or difficulty operating your safe, please contact our Consumer Assistance Department by telephone. -
Page 3: Setup And Operation
SETUP & OPERATION STEP 1. INSTALL BATTERIES 1. Use the override key to unlock and open the safe. 2. Pull the drawer forward and using a Phillips head screw driver, remove battery cover located on the inside front panel. 3. Insert (4) “AA” batteries making sure they are installed properly with regards to (+ -) polarity. - Page 4 ENTERING THE WRONG CODE If while entering your pass code you press an incorrect key, push the “CLEAR” button one time and it will erase the error. You can then re-enter the correct code. If you enter an incorrect pass code followed by “LOCK”, the safe will not open and the LED panel will display ”E-COdE”.
- Page 5 ORDERING NEW / REPLACEMENT KEYS The following information is required to order keys: 1. PROOF OF OWNERSHIP (1 of 2 Options Below) SALES RECEIPT & IDENTIFICATION – INTERNATIONAL ORDERS ONLY! • Copy of sales receipt showing Store, Date & Product Description. •...
-
Page 6: Mounting Kit
MOUNTING KIT For extra security, you may want to permanently secure your safe to the floor. Pre-drilled holes for this purpose are located on the bottom of the safe. While it is not extremely difficult to mount the safe, it is important that you have the proper tools and knowledge to do so. If not, then you might choose to utilize the services of a professional. -
Page 7: Limited Warranty
LIMITED WARRANTY LH Licensed Products, Inc., (“LHLP, Inc.”) warrants that for a period of seven (7) years from the date of purchase, this product will be free from structural or mechanical defects resulting from materials or workmanship. LHLP, Inc., at its sole option and as the purchaser’s sole remedy under this warranty, will repair or replace this product or any component of the product found to be defective during the warranty period. -
Page 8: Consumer Assistance
The Honeywell Trademark is Used under license from Honeywell International Inc. Honeywell International Inc. makes no representations or warranties with respect to this product.