Advertisement
Quick Links
Advertisement

Related Manuals for HP Enterprise OfficeConnect 1405 v3 Series


Summary of Contents for HP Enterprise OfficeConnect 1405 v3 Series
- Page 1 HPE OfficeConnect 1405 v3 Switch Series Quick Setup Guide 5200-0803 The information in this document is subject to change without notice. © Copyright 2016 Hewlett Packard Enterprise Development LP Part number: 5200-0803 Hewlett Packard Enterprise 3000 Hanover Street Palo Alto, CA 94304...
-
Page 2: Product List
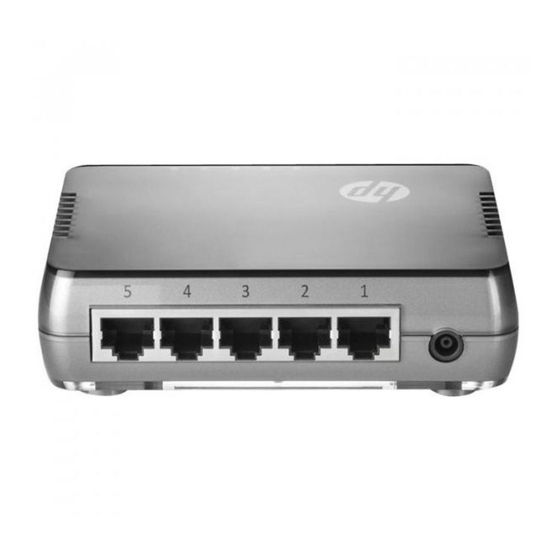
Product list Table 1 Product list Product Description Alias code HPE OfficeConnect HPE 1405 5G HNGZA-HA JH407A 1405 5G v3 Switch v3 Switch 0030 HPE OfficeConnect HPE 1405 8G HNGZA-HA JH408A 1405 8G v3 Switch v3 Switch 0031 Installation tools and accessories Figure 1 Installation tools (user supplied) Phillips ESD wrist strap... -
Page 3: Installing The Switch
Installing the switch CAUTION: Before installation, wear an ESD wrist strap, and make sure the wrist trap has good skin contact and is reliably grounded. The procedures for installing the HPE 1405 5G v3 Switch and the HPE 1405 8G v3 Switch are the same. This section uses the HPE 1405 5G v3 Switch as an example. - Page 4 Table 2 Installation hole spacing for each model Chassis Installation hole spacing 74 mm (2.91 in) HPE 1405 5G v3 Switch HPE 1405 8G v3 Switch 102 mm (4.02 in) To install the switch on a wall: Drill two holes at the same height. Insert one wall anchor into each hole until the anchors are flush with the wall surface.
-
Page 5: Under-Table Mounting
NOTE: For wall mounting, the network ports can face upwards or downwards. Under-table mounting WARNING! • Make sure the table is sturdy enough to support the weight of the switch and attached cables. • Ensure good ventilation to prevent overheating. The HPE 1405 5G v3 Switch and HPE 1405 8G v3 Switch can be installed under a table. -
Page 6: Connecting The Power Adapter
Wood table Mounting slots Third securing screw After installation, install the securing screw (included in the kit) to prevent switch movement. Connecting the power adapter WARNING! To avoid bodily injury, first connect the power adapter to the switch and then to the power supply system. -
Page 7: Connecting Network Cables
Connecting network cables Documentation To access documentation and support services, go to the Hewlett Packard Enterprise Support Center website: www.hpe.com/support/hpesc...